The Imaging Center also offers spiral or wire binding up to 11” in length. Your booklet must be submitted with the pages in the correct order and orientation from front cover to back cover.
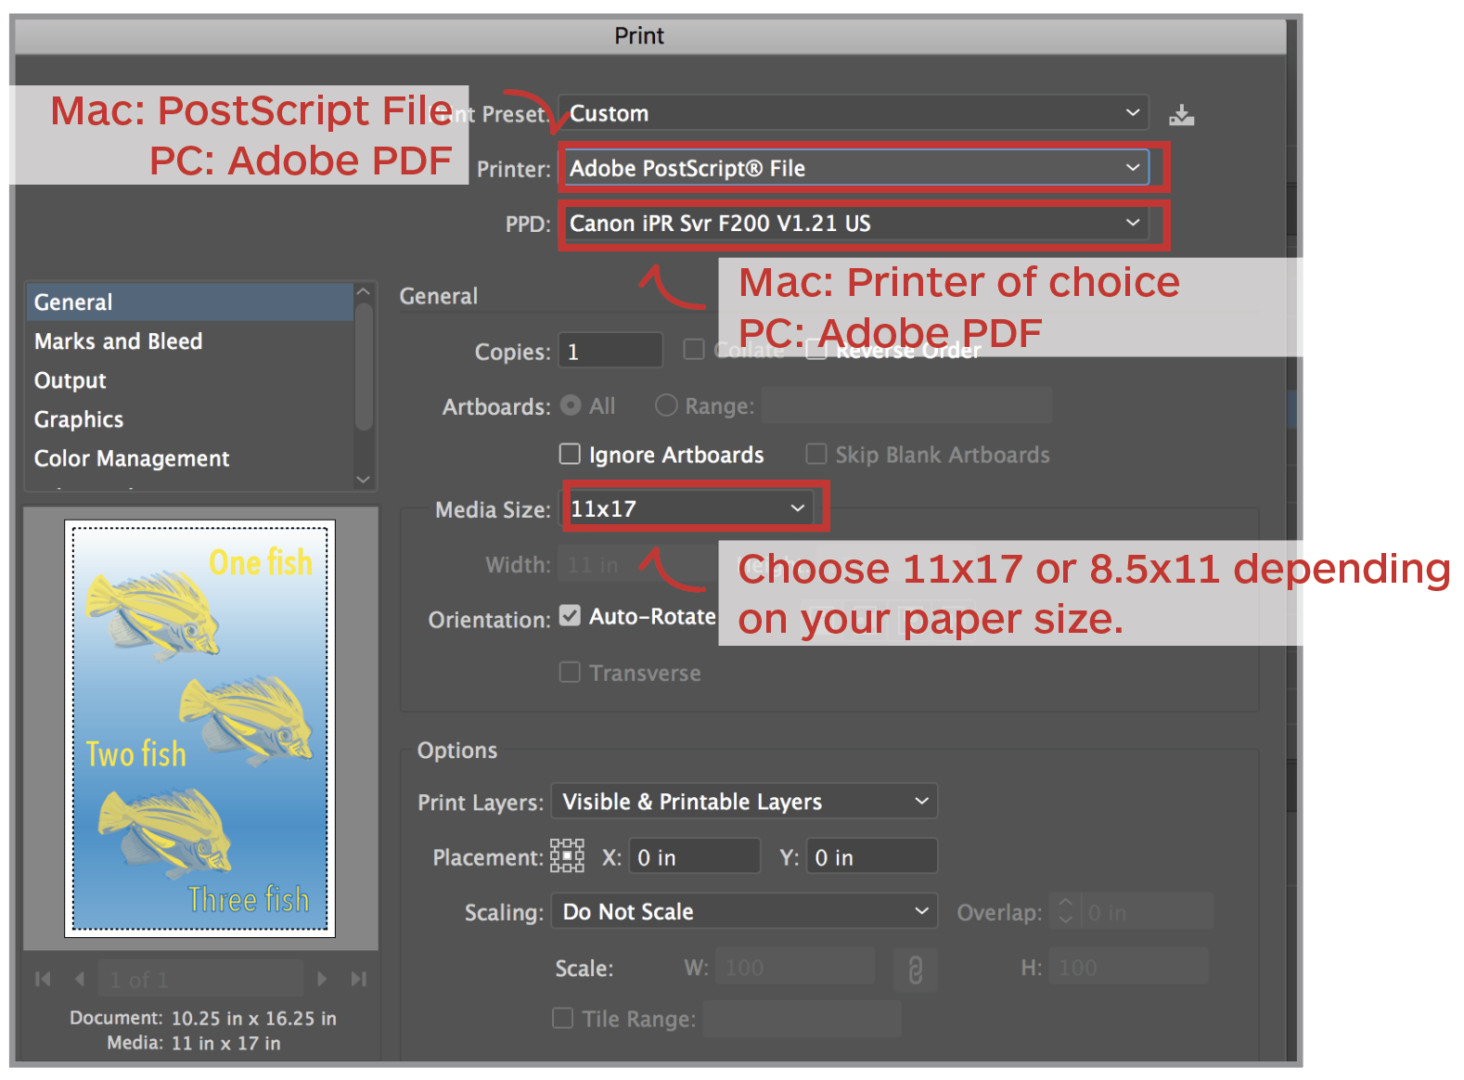
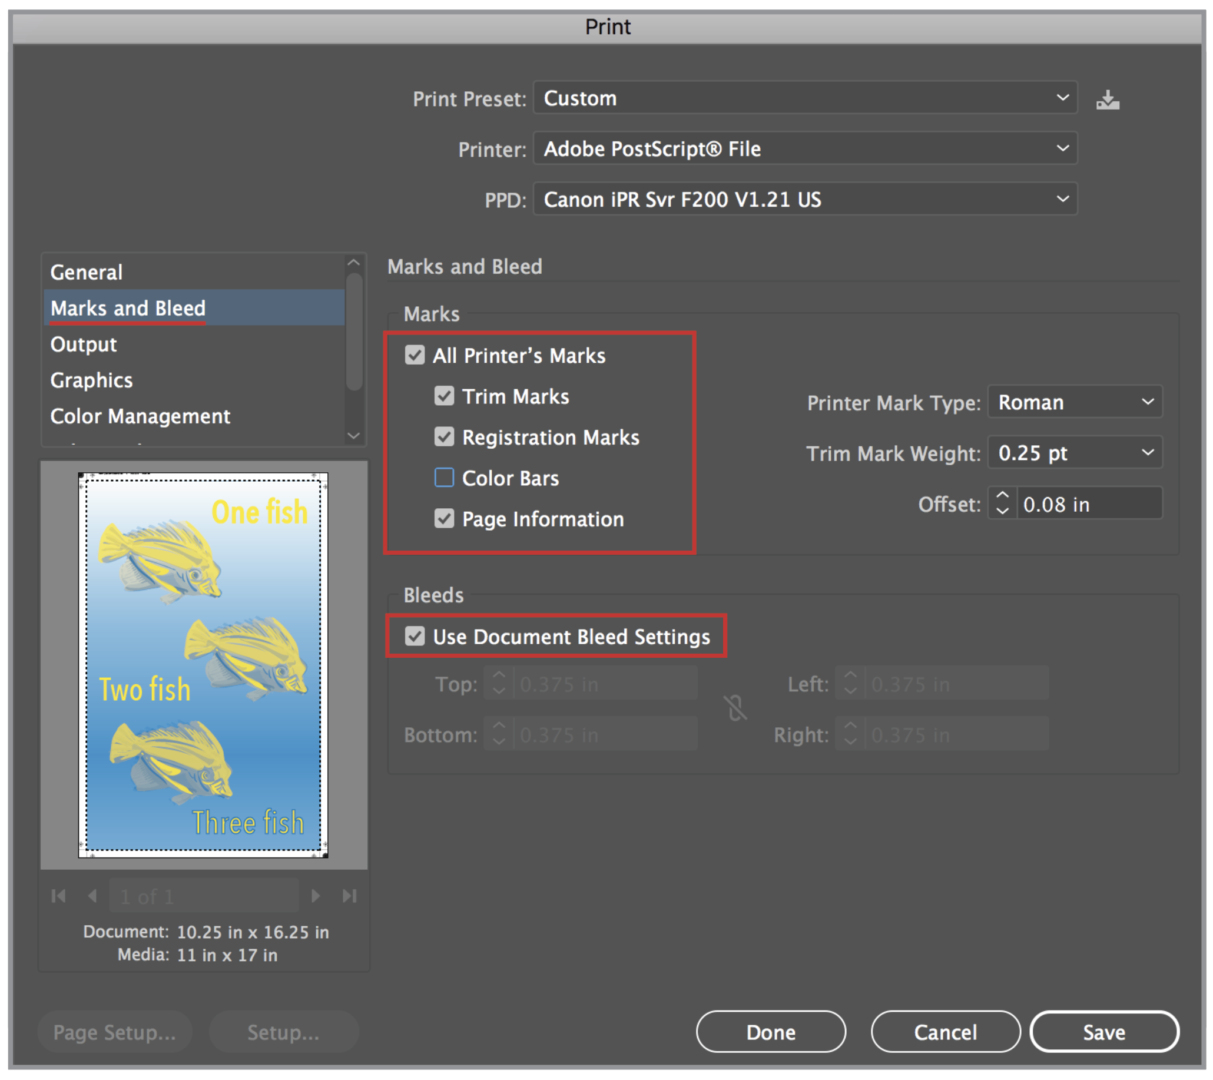
Make sure to save your file with crop marks and bleed to ensure that your type or the image isn’t trimmed off. The Imaging Center has a cutting tolerance of 1/16”. Anything that comes within 1/16” (0.063”) of the edge of the trim line could potentially be cut off. Be sure to place all elements more than 1/16” (0.063”) away from the edge of the design.
Covers must also be trimmed to size. If you are submitting an already printed book, IC staff can give you covers to trim to size. If the booklet is being printed in the IC and then trimmed, the IC will include the covers in the stack.
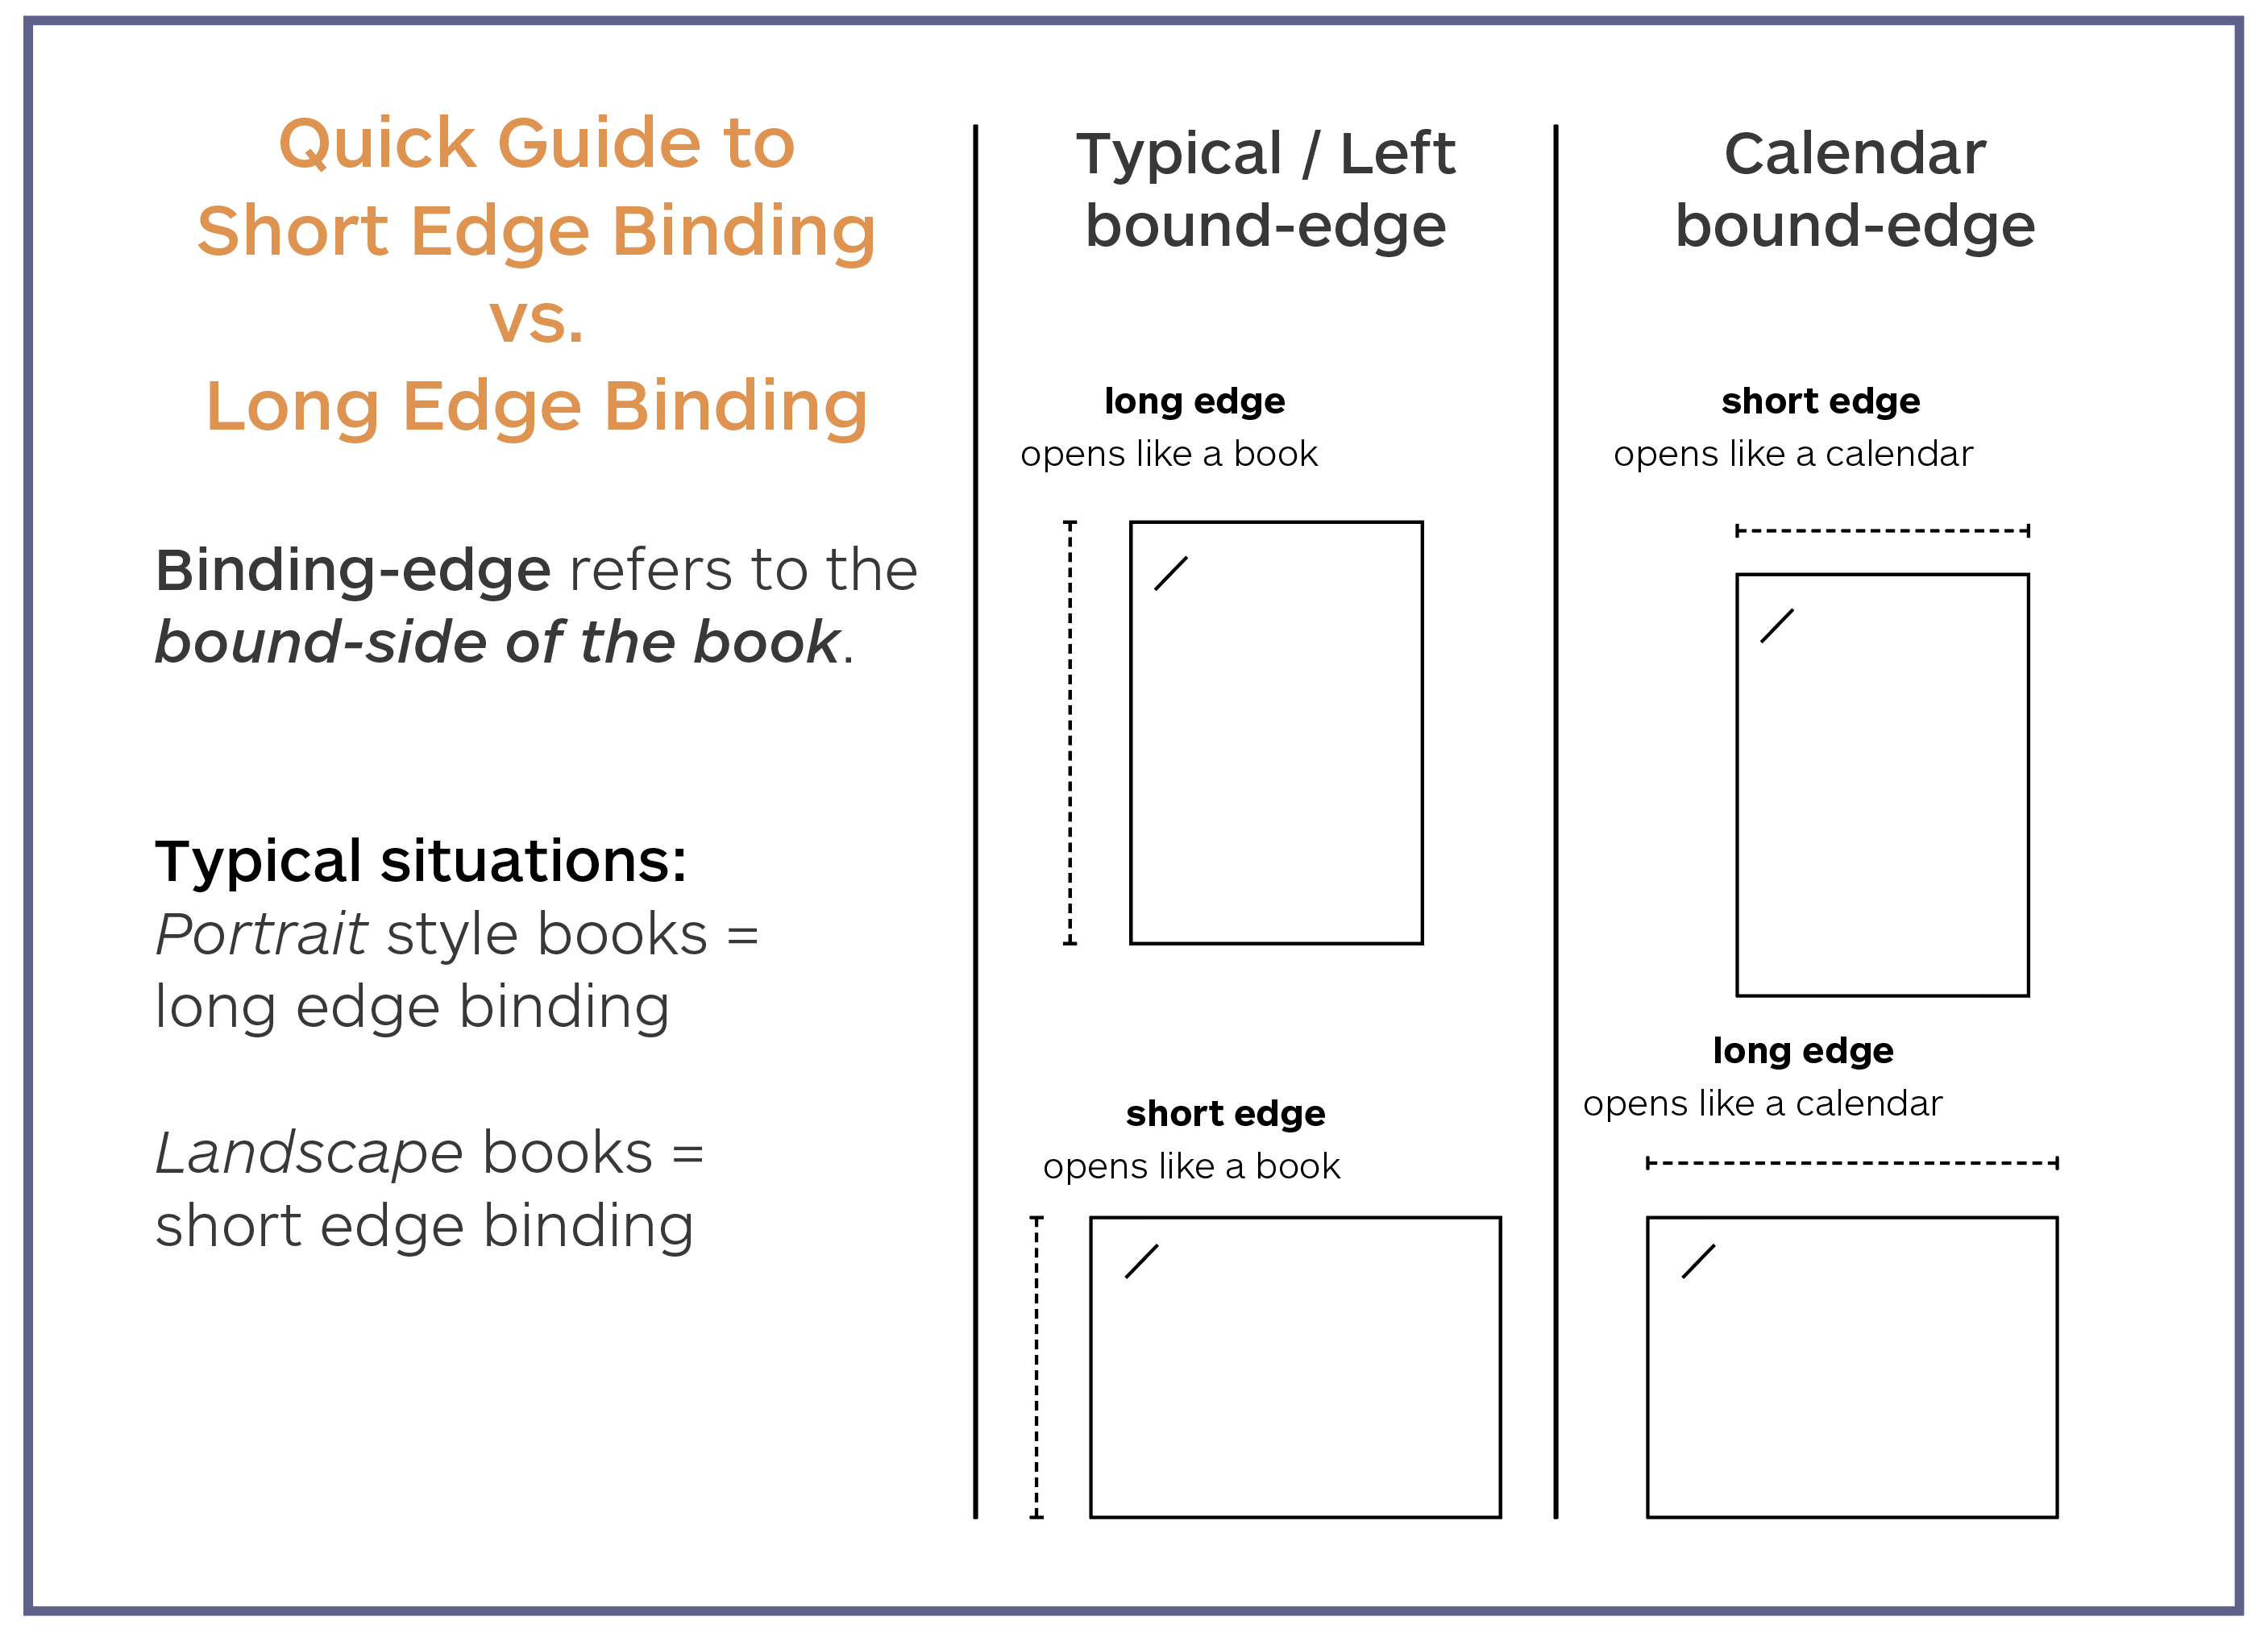
Give yourself an extra 1/4” (0.25”) margin on the bound edge when designing booklets.
The standard turnaround time for the cutting & binding processes is 24 hours (one business day). During midterms and finals, turnaround times may increase. Your job will be processed in the order that it was received.
All pages must be the same length; the Imaging Center cannot guarantee that the binding machines can evenly punch through sketchbooks and/or tracing paper.
The IC does reserve the right to deny submitted collections of various papers and sizes.
Visual Guide to a Binding Edge
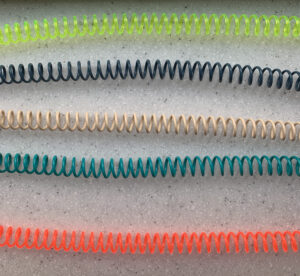
Plastic Coil | Standard Colors
Plastic Coil | Speciality Colors
All of our color coils come in a 10mm or 14mm size — so a max of 115 sheets of 20# bond paper — the thicker the paper, the less we’d be able to fit.