At this point (one way or another) all your colors should be divided into channels:
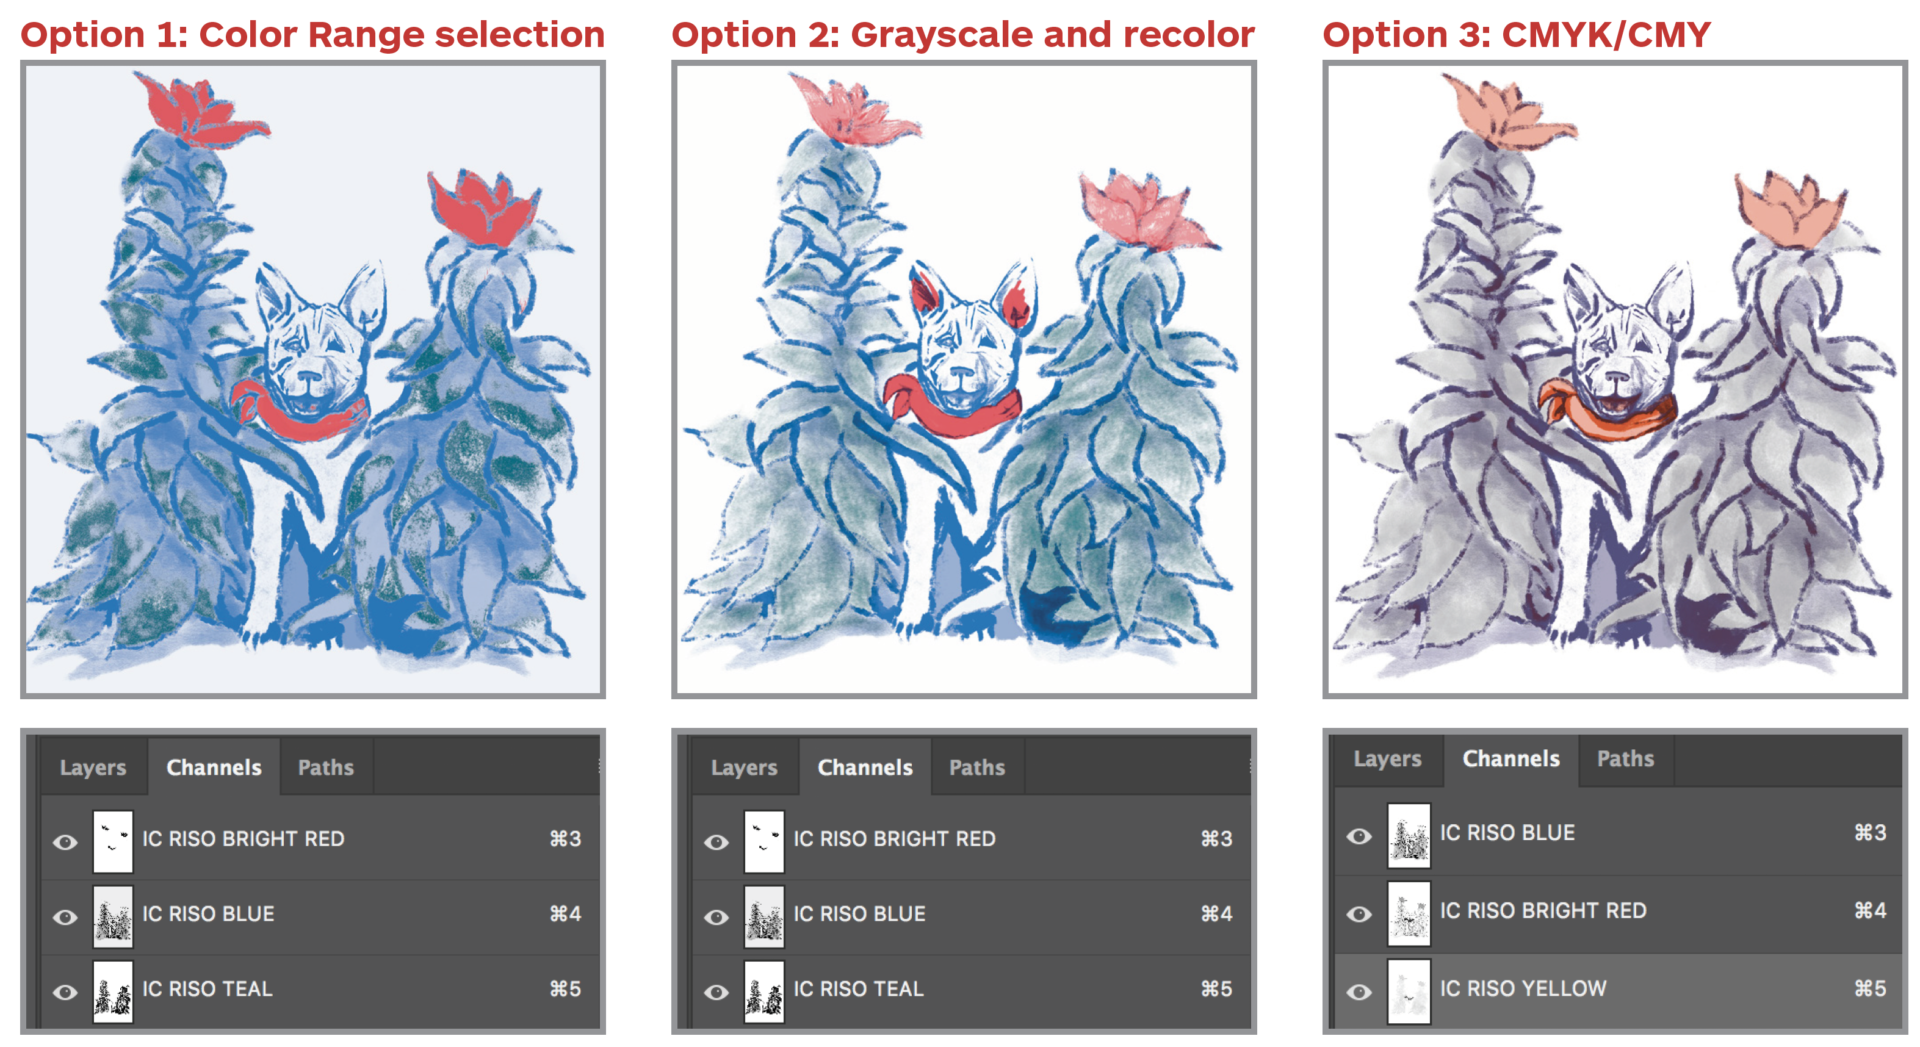
None of these is a perfect conversion, so you may want to make some adjustments directly to the channels.
If you are happy with your conversion, skip to Split Channels!
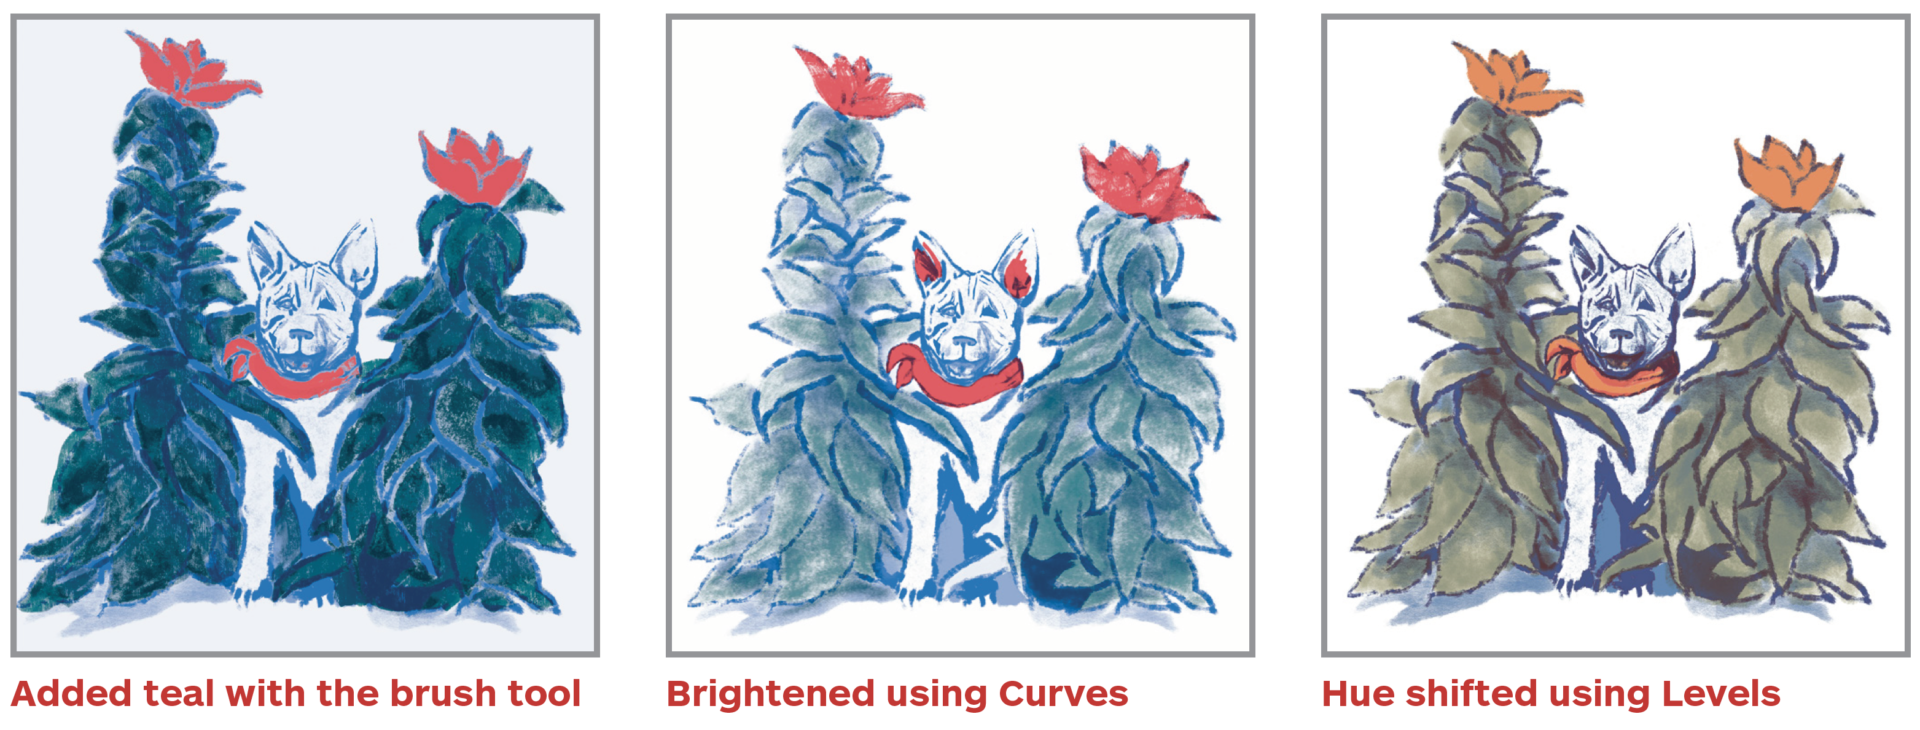
Adjust Color Using the Brush Tool
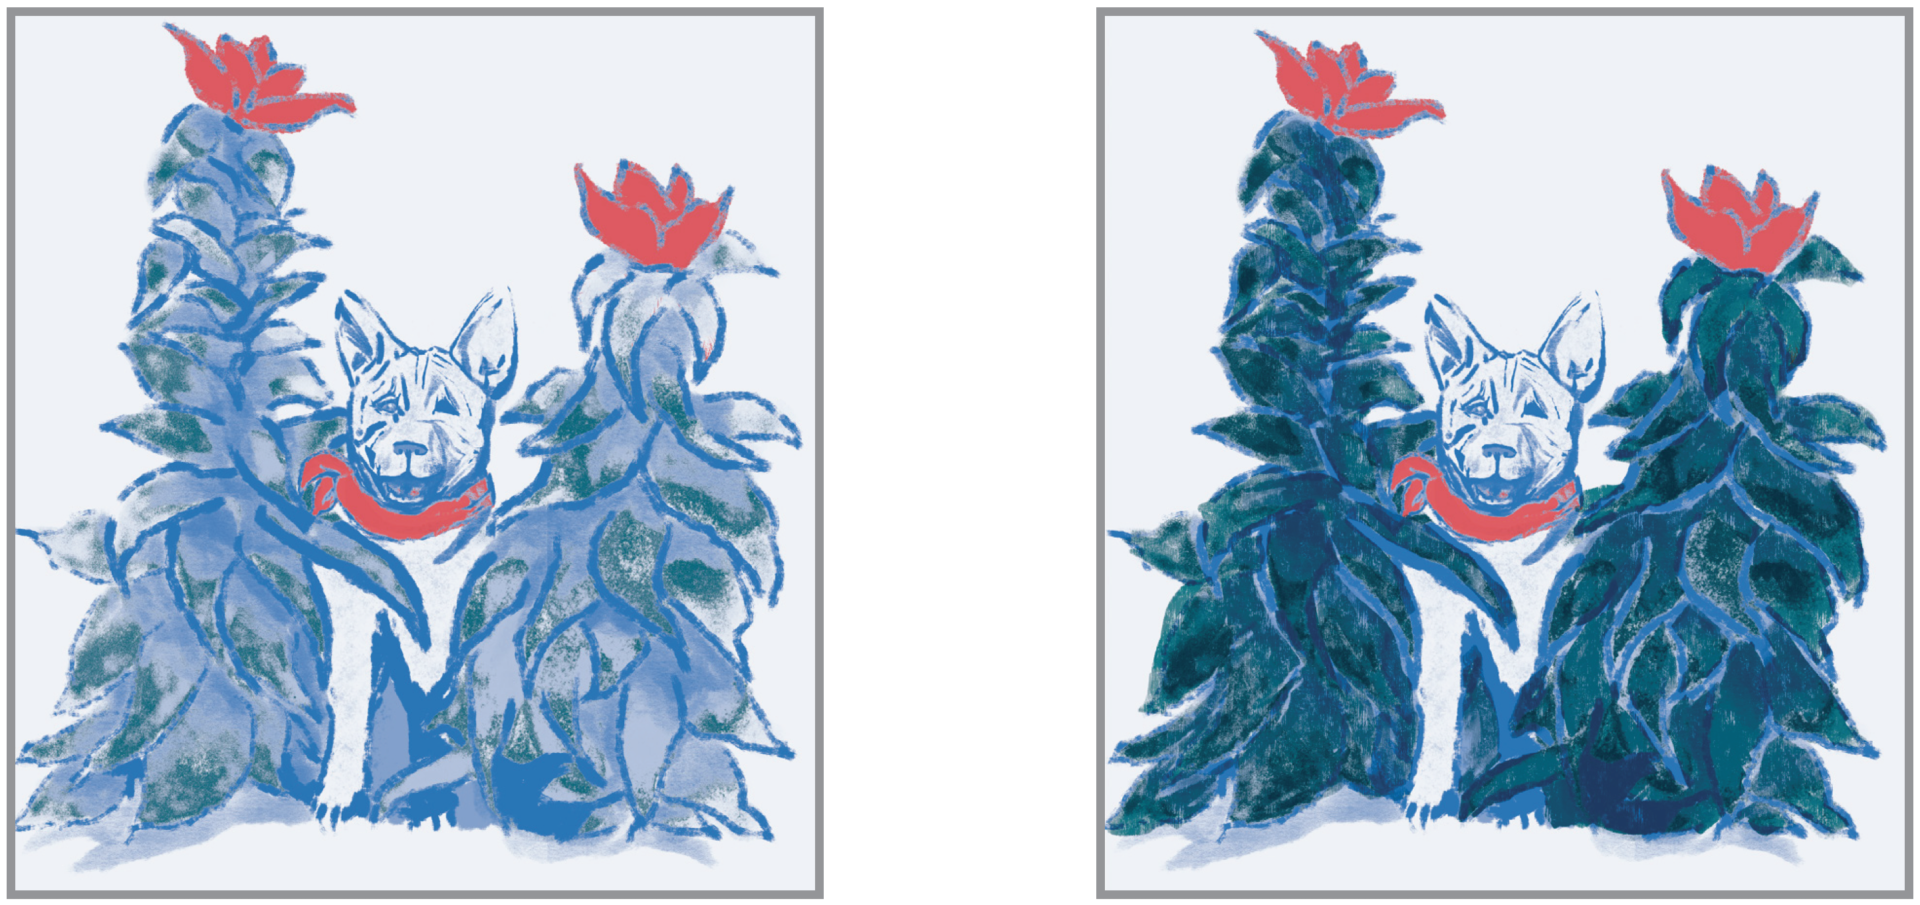
Color range selection doesn’t deal with blended or overlapped colors very well. You may want to go back in with a brush and fill in (or remove) areas on each channel.
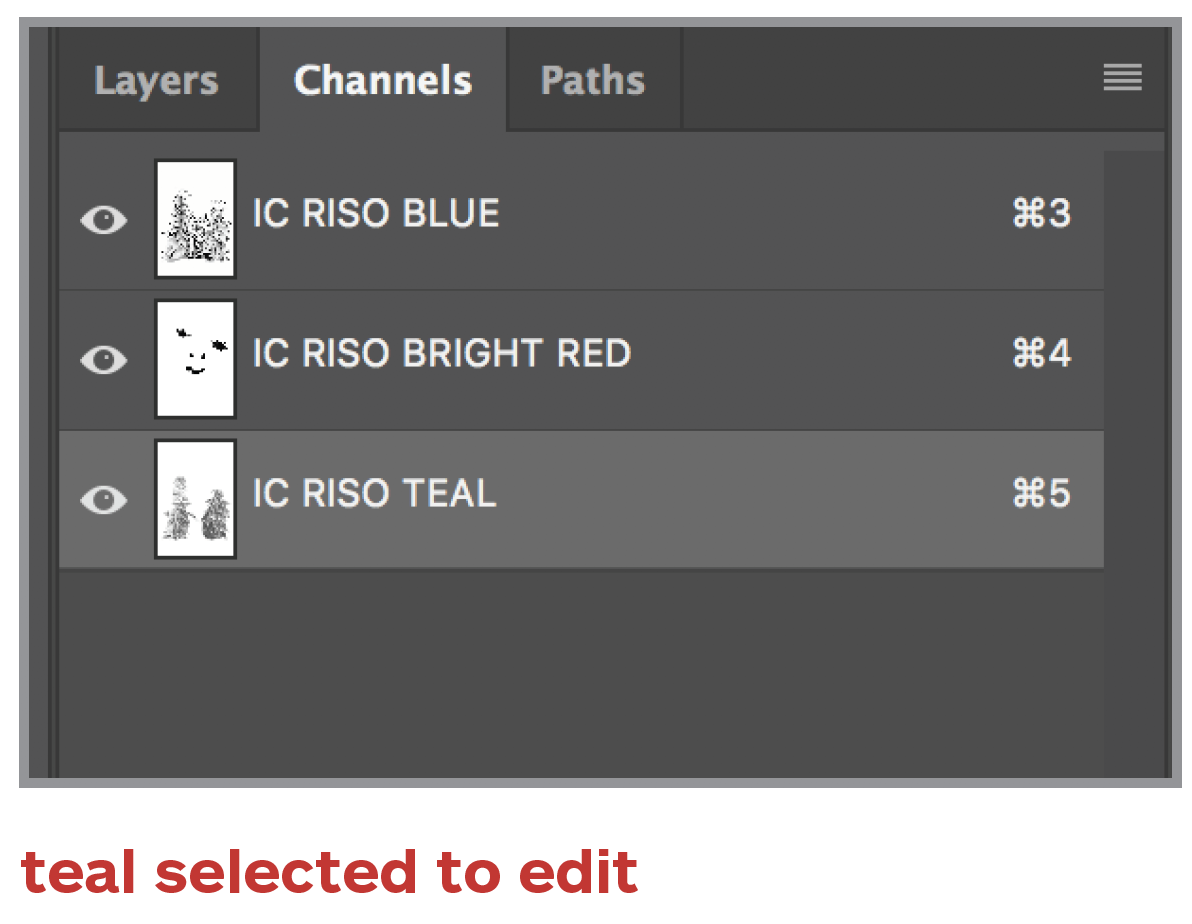
Select the spot channel you want the change.
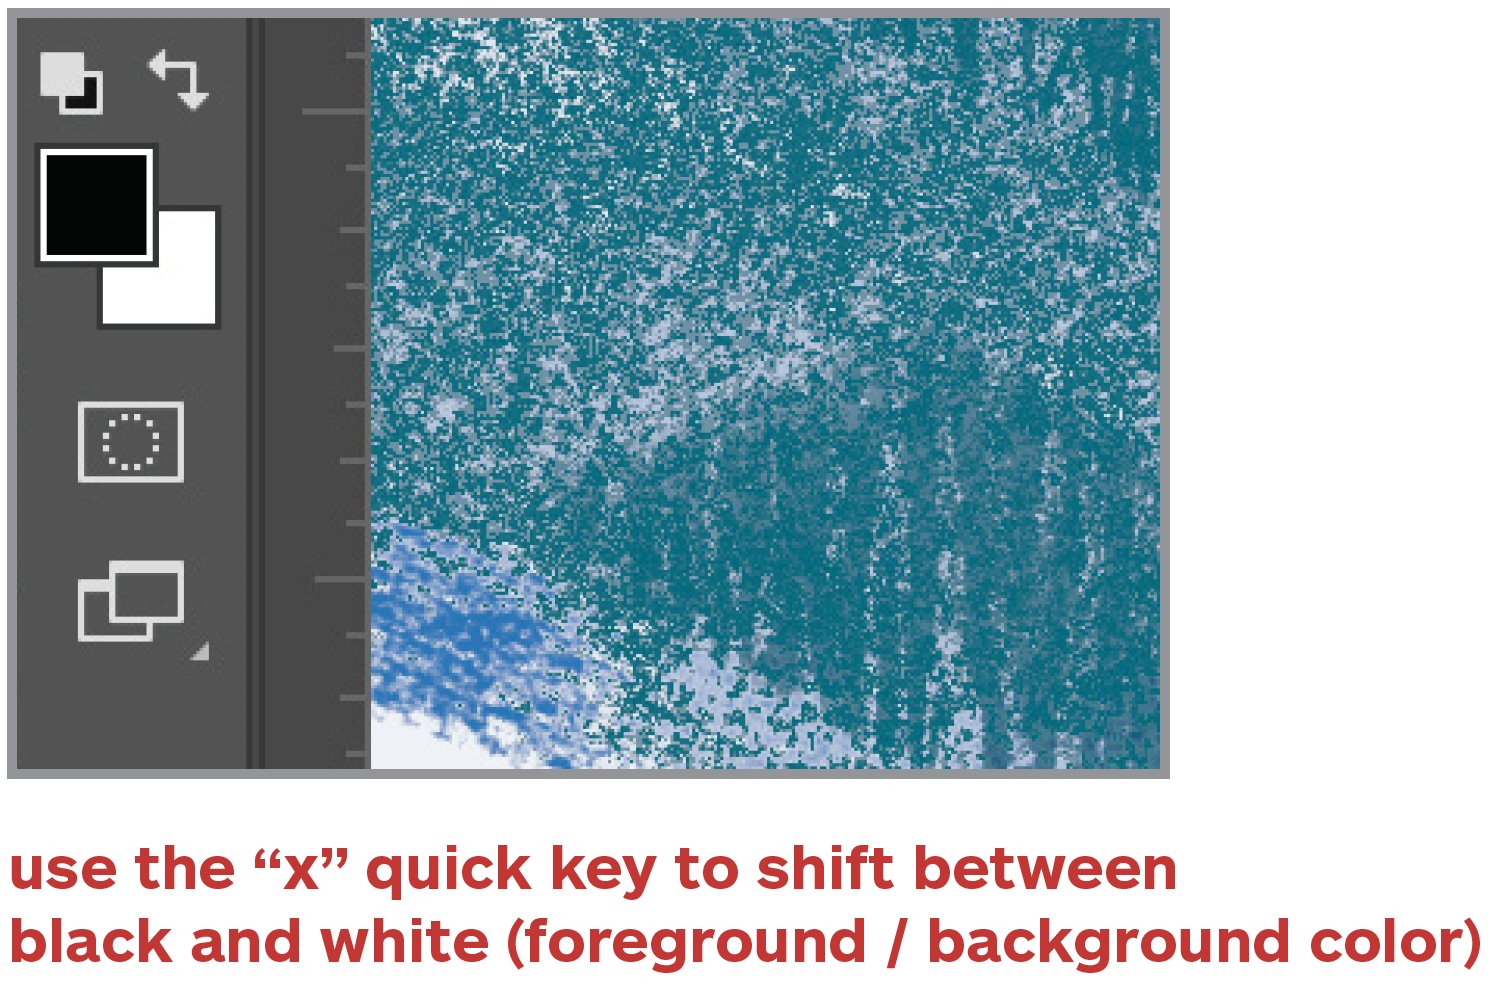
Set your foreground color as black and background color as white.
Use the brush tool to paint in or remove color.
Black adds color and white erases. Grey can be used to paint in a lower opacity.
If you are happy with your conversion, skip to Split Channels!
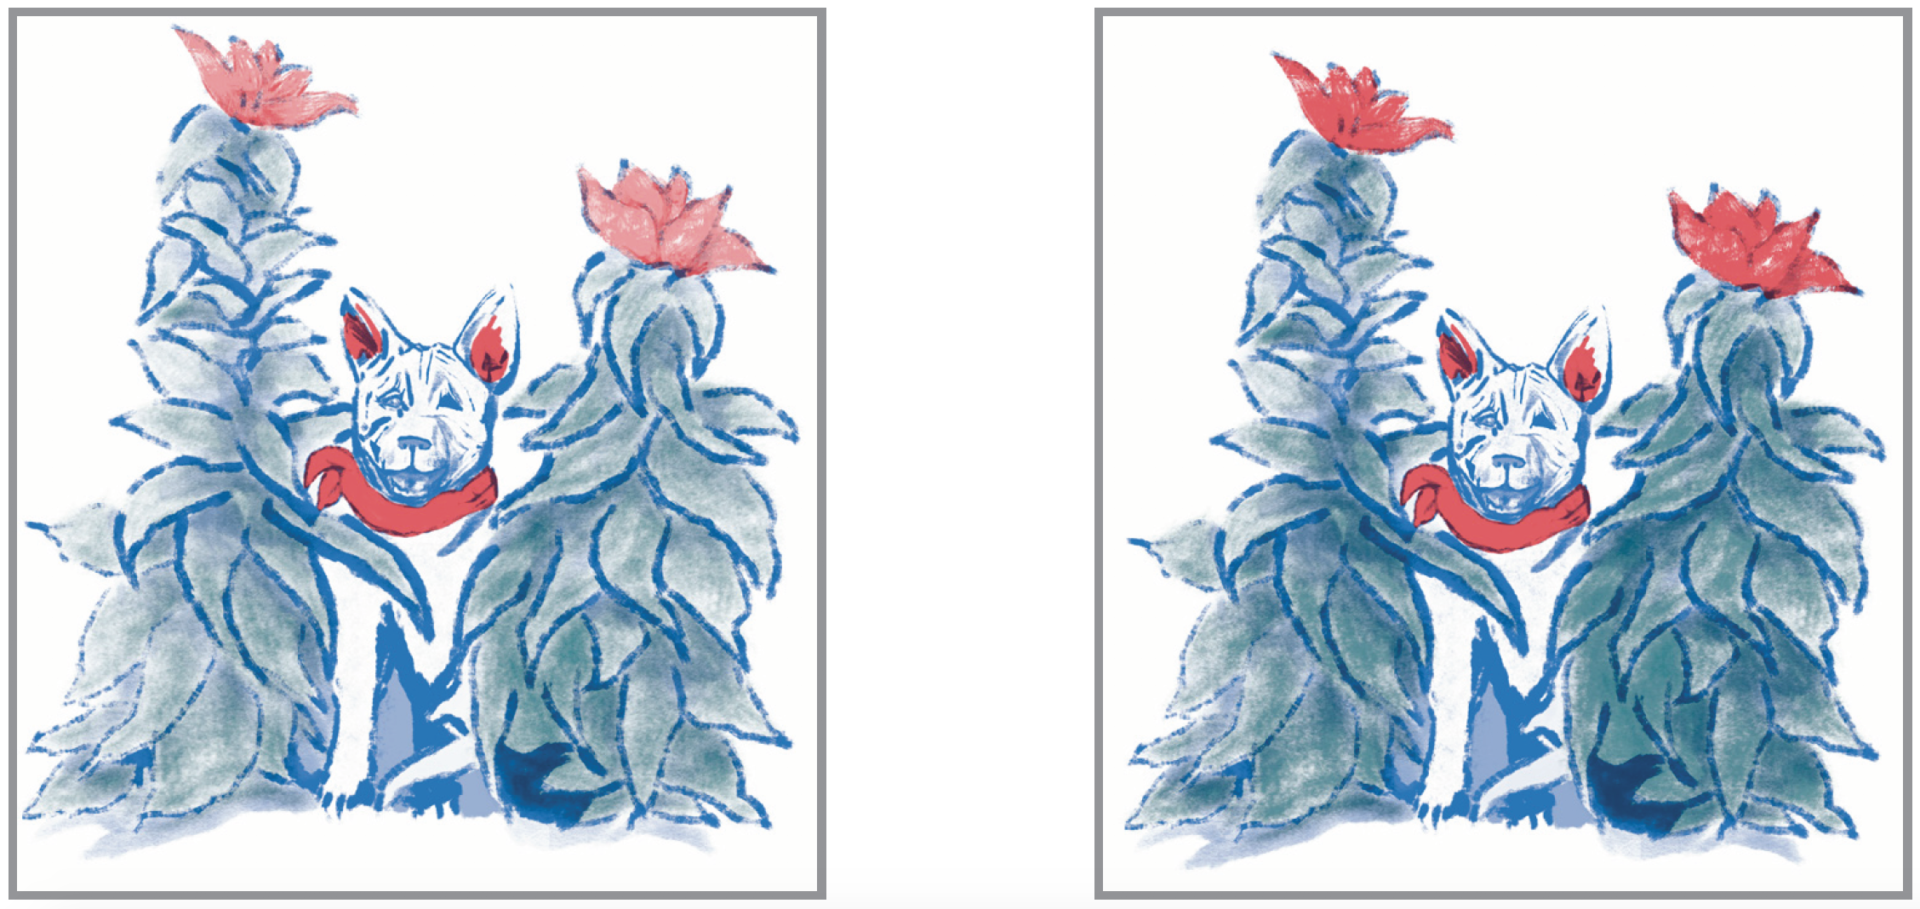
Change the Value Using Curves
Select all your channels and open up the Curves Adjustment. Sometimes the grayscale image is too light. This allows you to control the luminosity of each color.
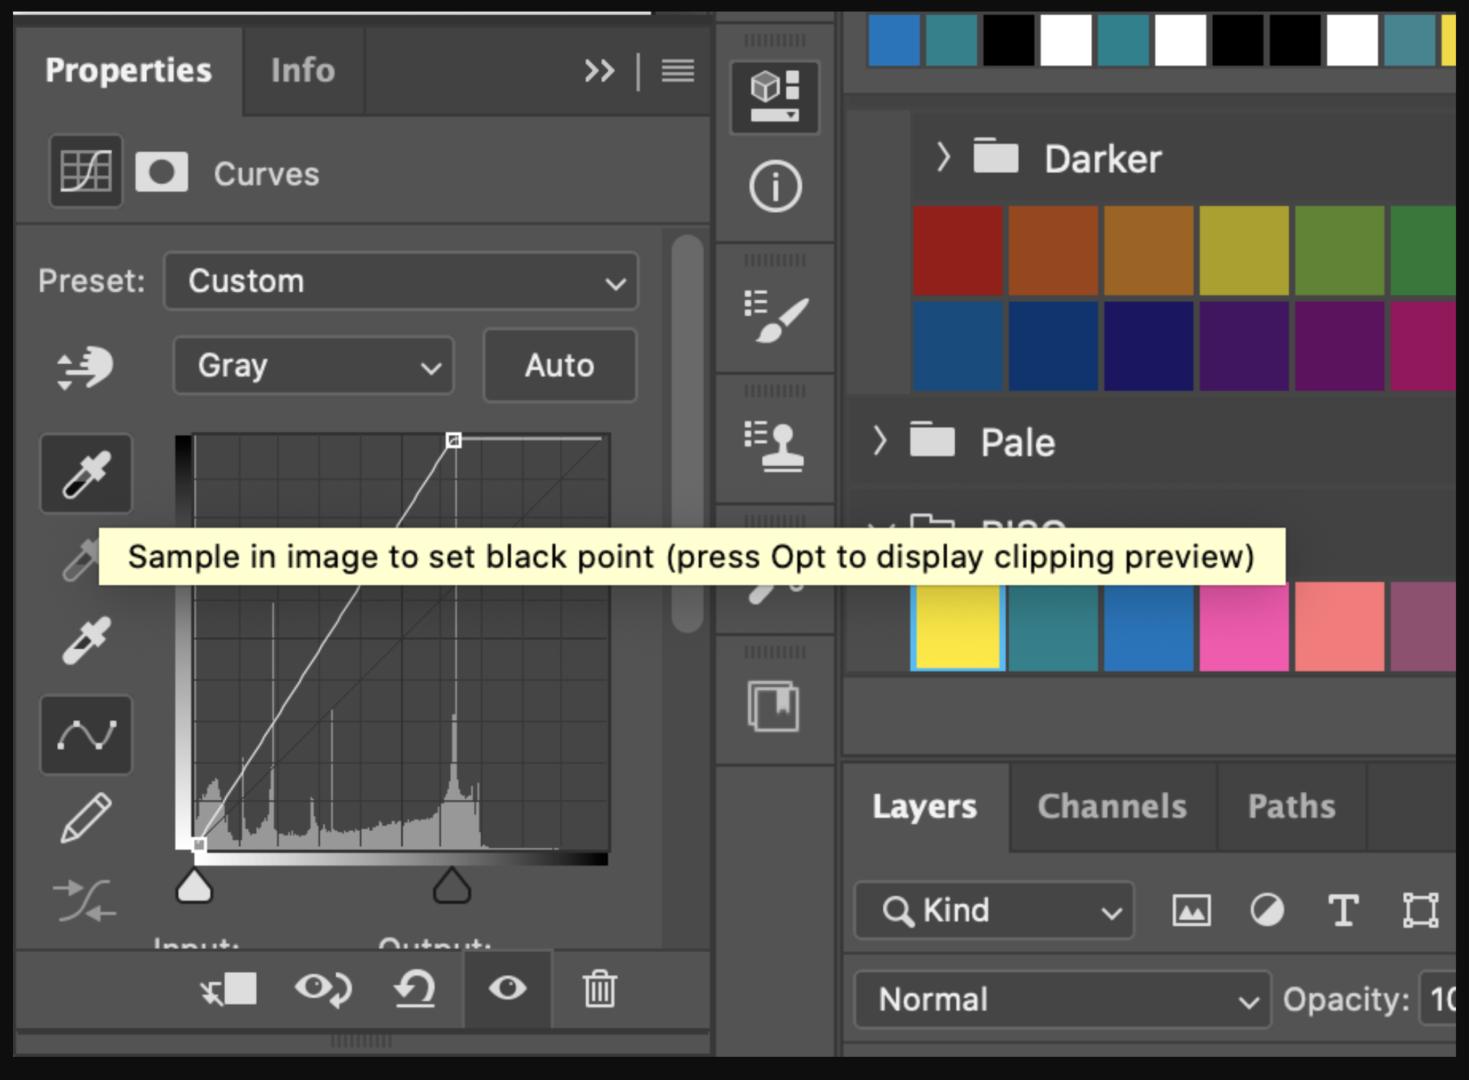
Menu Bar > Image > Adjustments > Curves…
If you are happy with your conversion, skip to Split Channels!
Change Hues Using Levels
Select all your channels and open up the Levels Adjustment. This allows you to control the intensity of each color. You can adjust your hue by adjusting the levels. The color usually needs to be adjusted when converted from CMY to BRY:
Menu Bar > Image > Adjustments > Levels…
If you are happy with your conversion, skip to Split Channels!