Video
Step-by-step
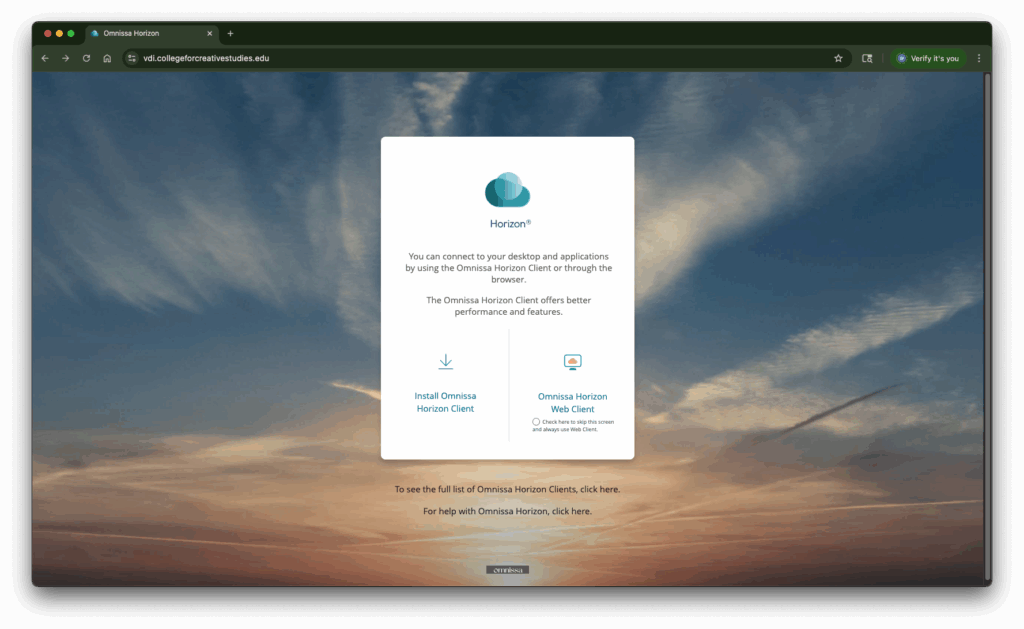
In a web browser go to: https://vdi.collegeforcreativestudies.edu/
Click on Install VMware Client
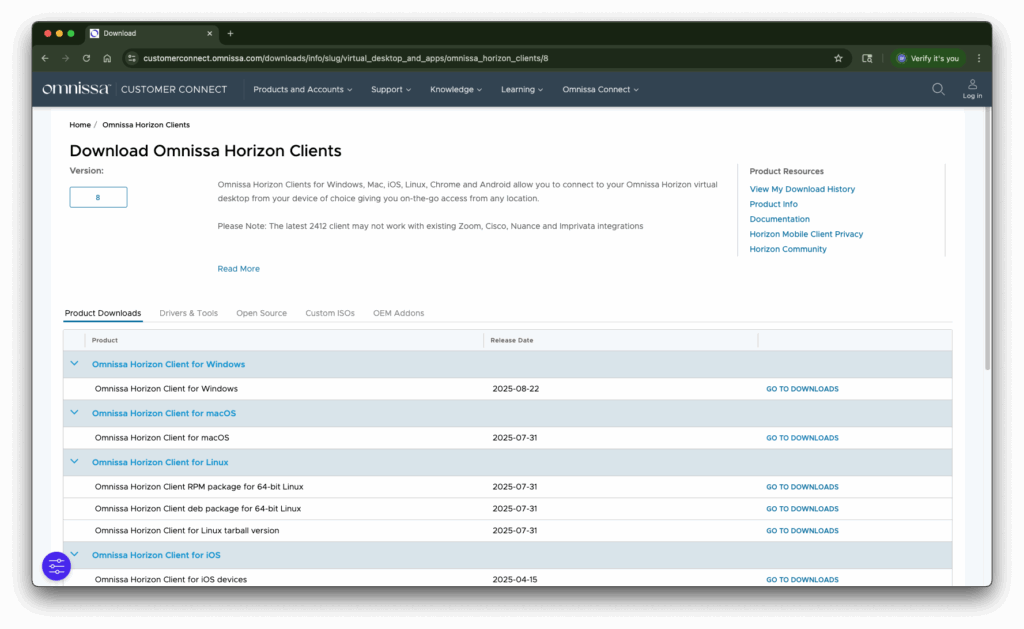
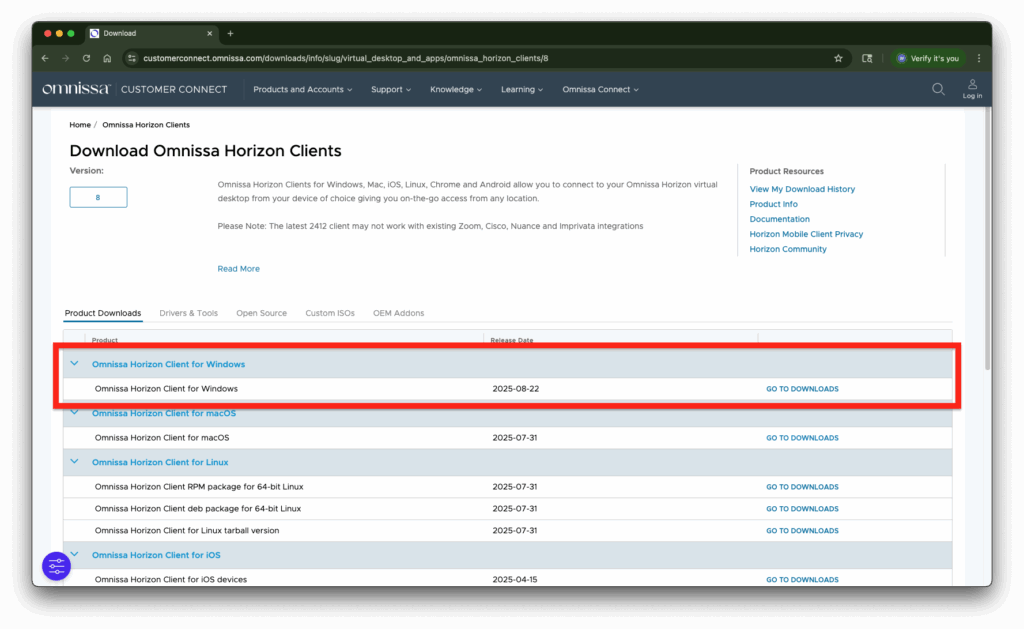
Download the appropriate client for your operating system by clicking on ‘Go To Downloads’.
Click on Download Now
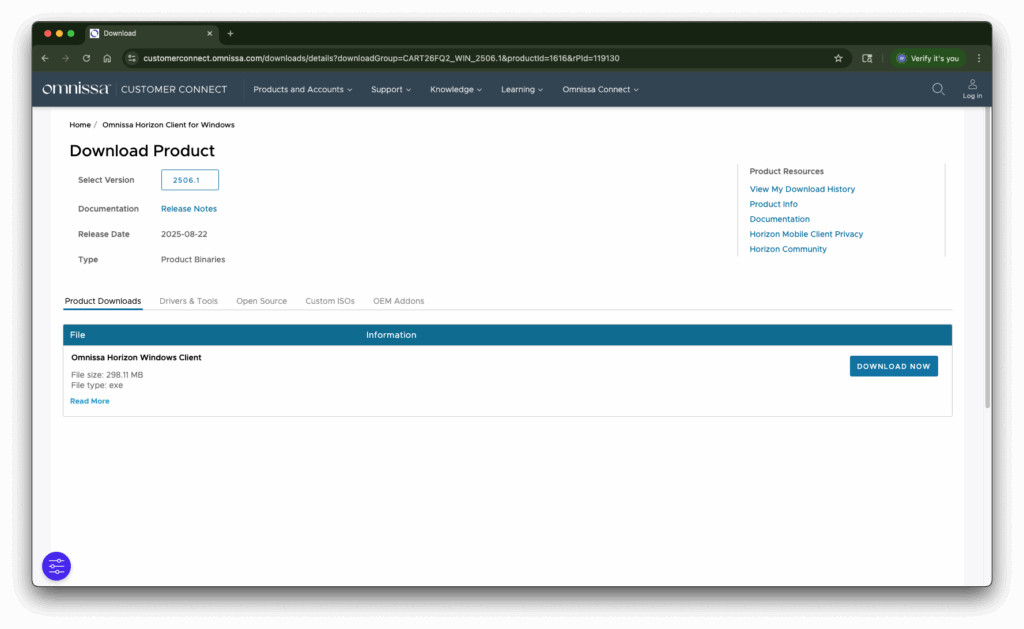
Wait for the download to complete
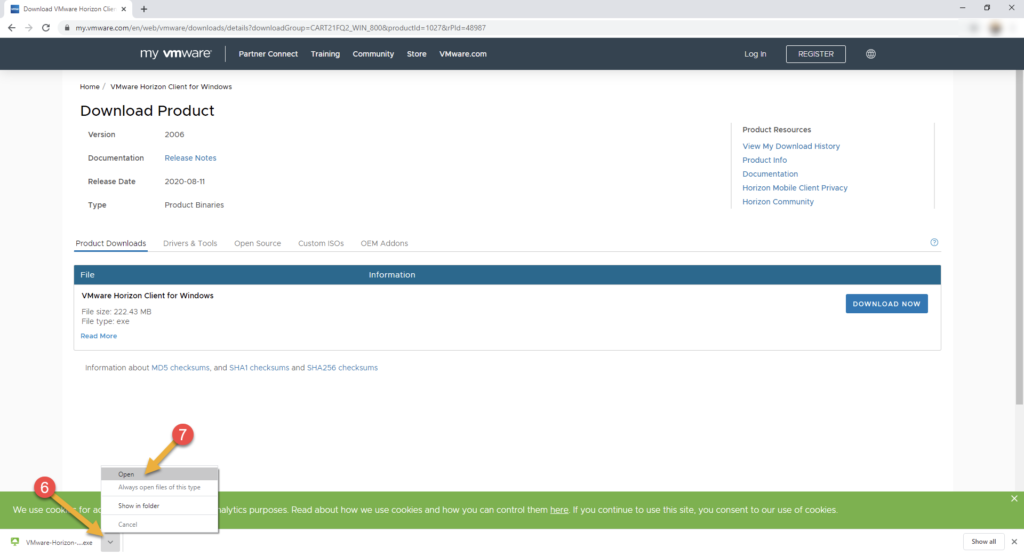
Click on the arrow to bring up the dialog box
Click on Open

Click on Agree & Install


Click on Finish

Click on Restart Now

After reboot launch the VMware client

Click the + to Add Server

Add the server vdi.collegeforcreativestudies.edu

Input your CCS username and password,
Click on Login

A list of available desktops will be shown, click on one to launch it

Wait for the desktop to launch

You will see the initial login screen

If its your first time you may see the Quest Desktop Authority splash screen
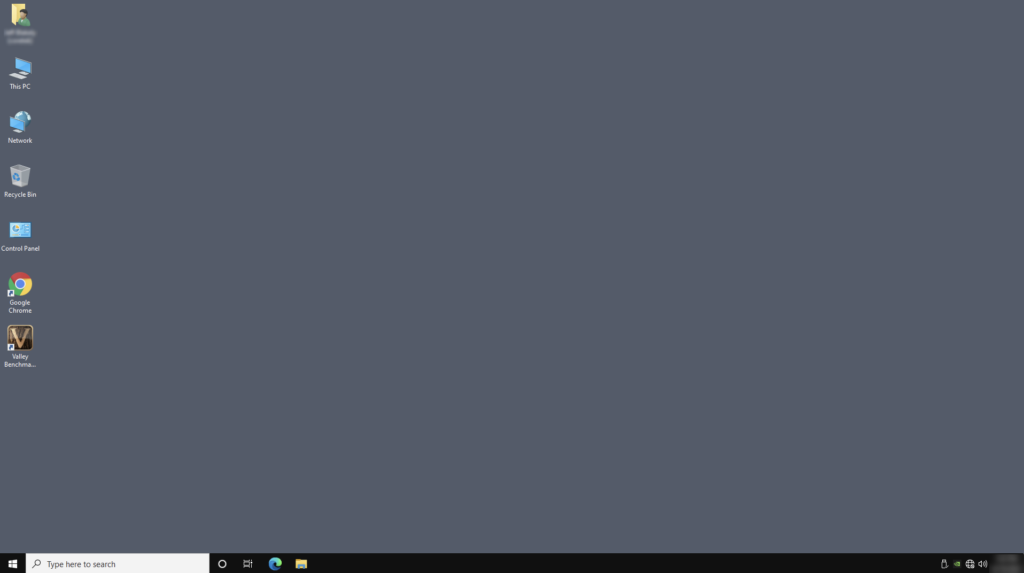
You should now have access to your desktop