Video Walk-through
Step-by-step
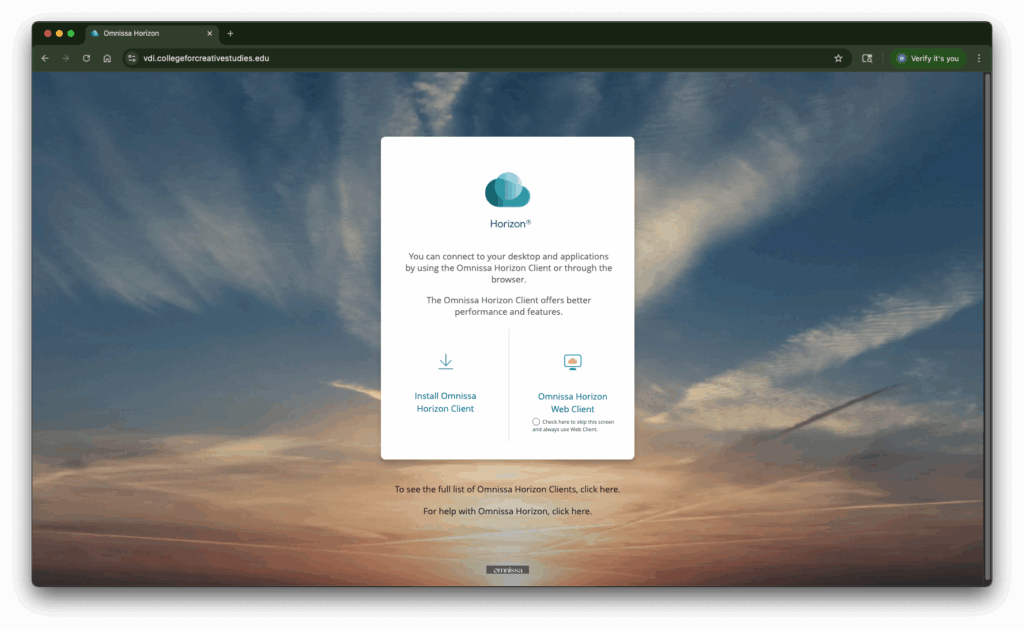
In a web browser go to: https://vdi.collegeforcreativestudies.edu/
Click on Install Omnissa Horizon Clients.
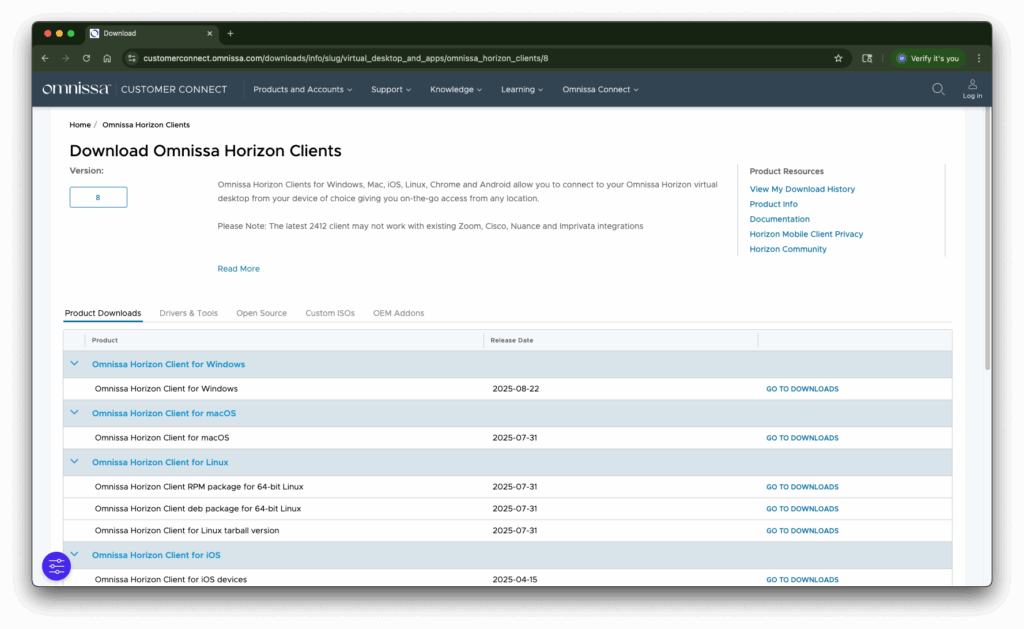
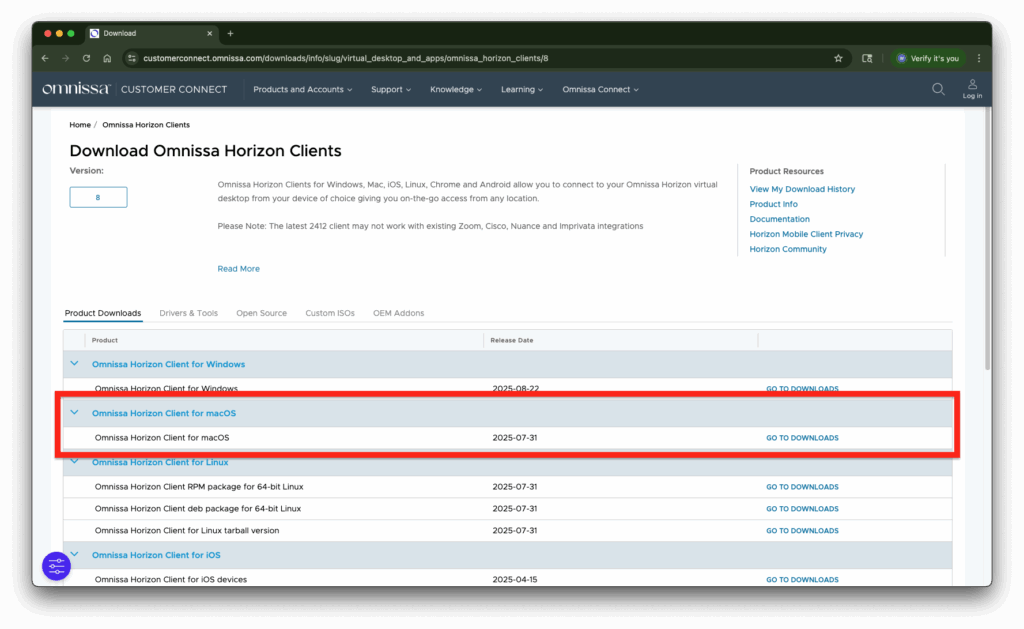
Download the appropriate client for your operating system by clicking Go To Downloads .
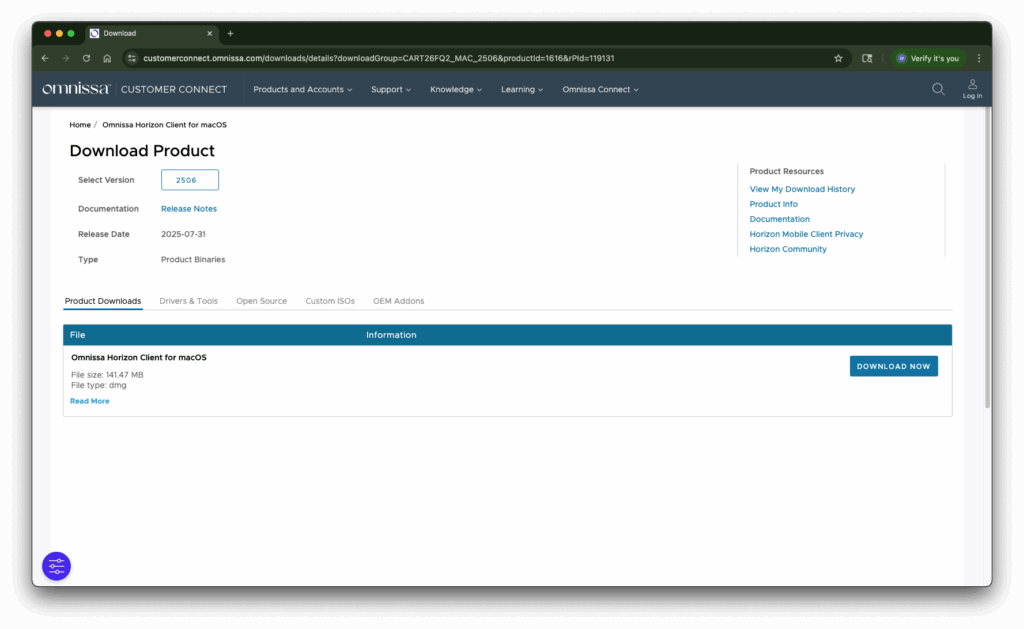
Click on Download Now.
Locate the downloaded installer to mount it.
Double click on the VMware Horizon Client.

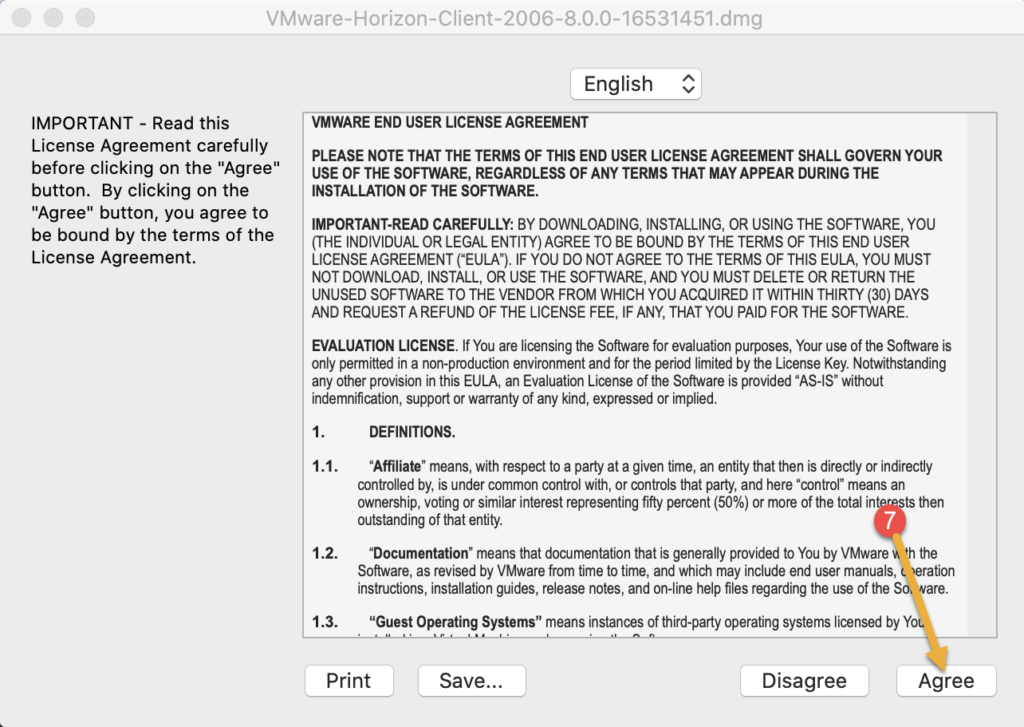
Click on Agree & Install .
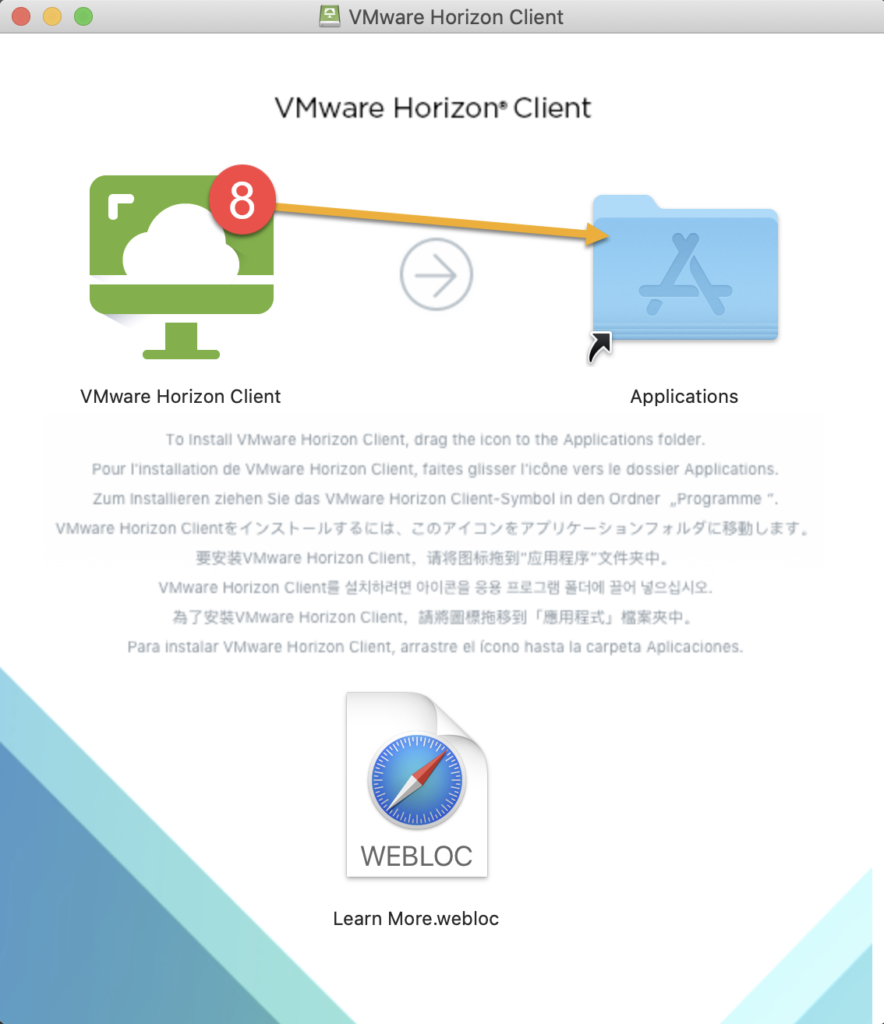
Drag the VMware Client icon to the Applications folder .
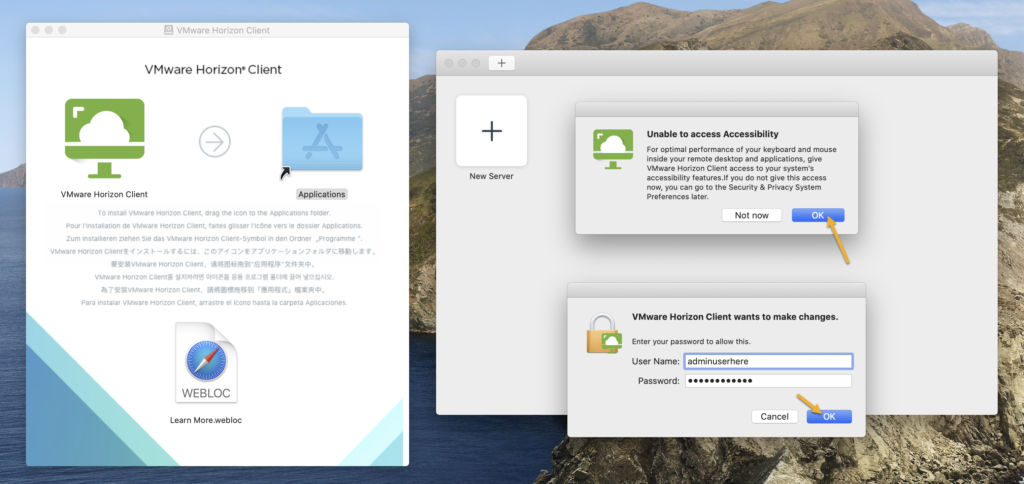
If you are prompted to Enable Accessibility Input your admin credentials for .you Mac and click OK .
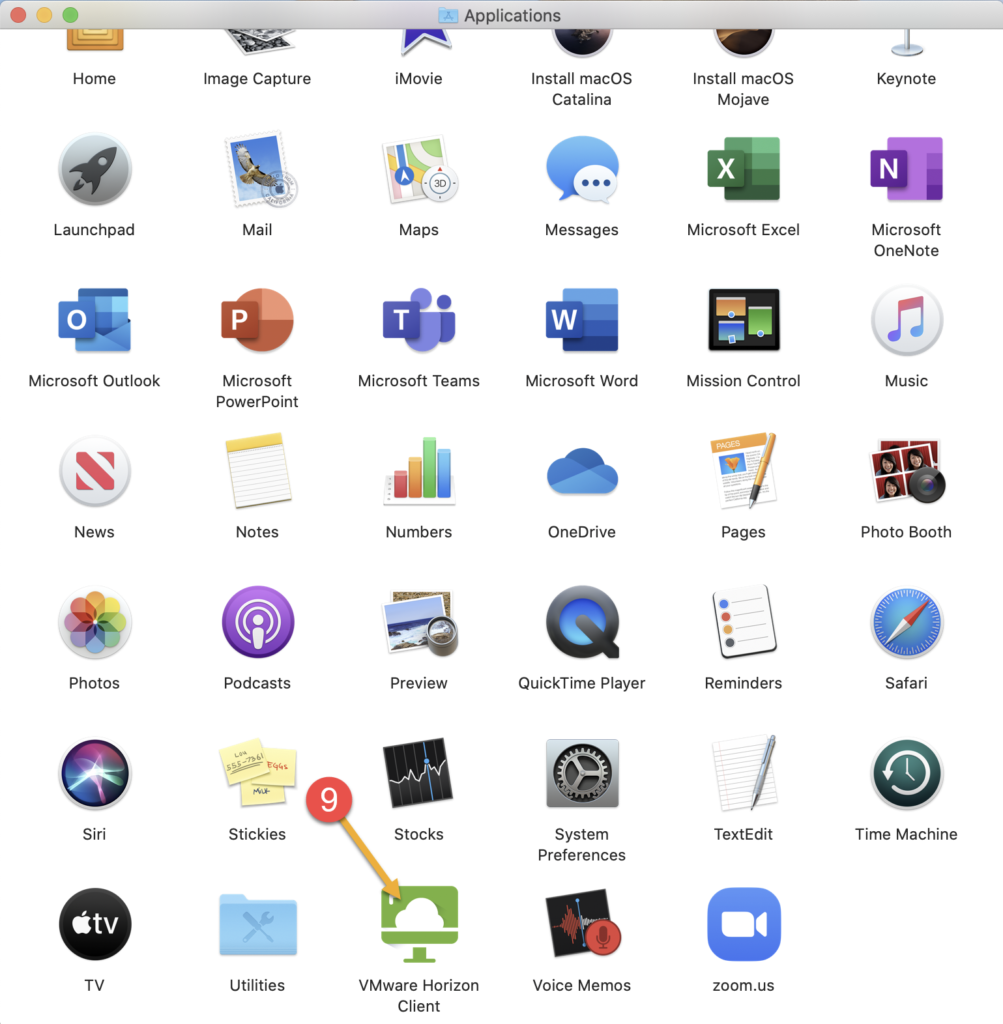
Locate the VMware Client within your Applications folder and launch the application .
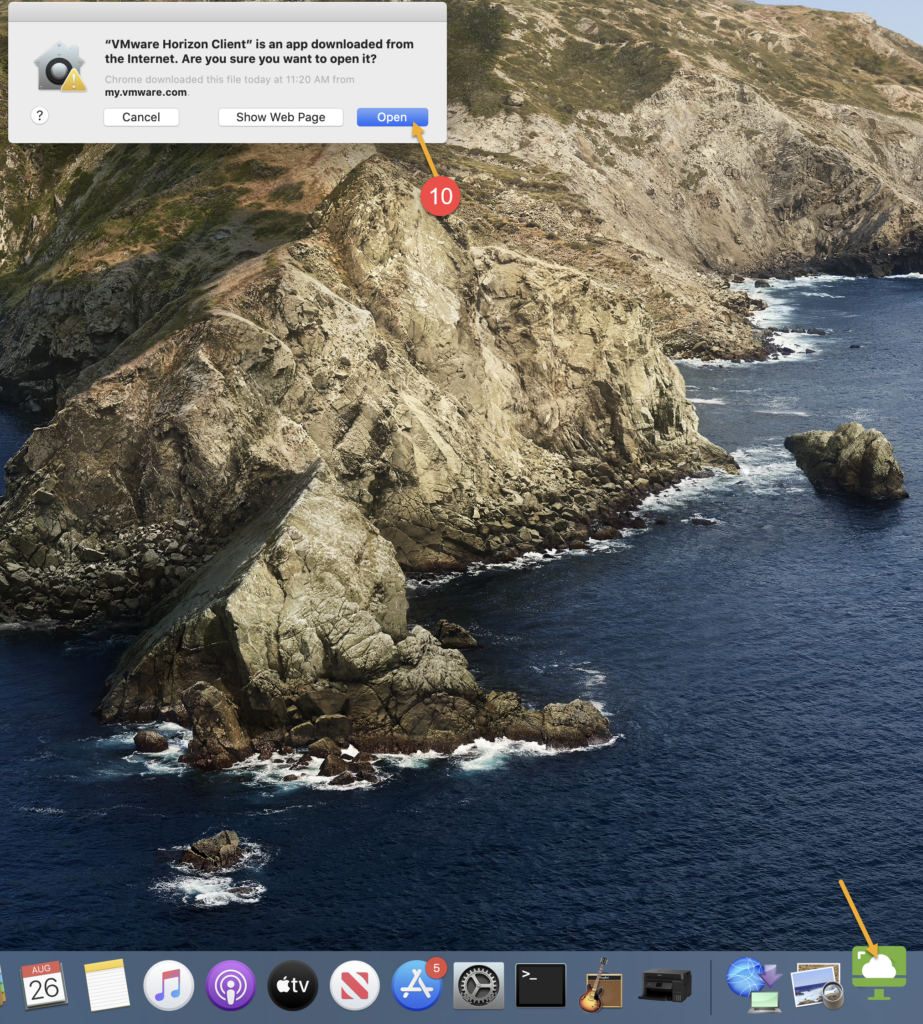
When prompted ‘Are you sure you want to open it?’ click on Open .
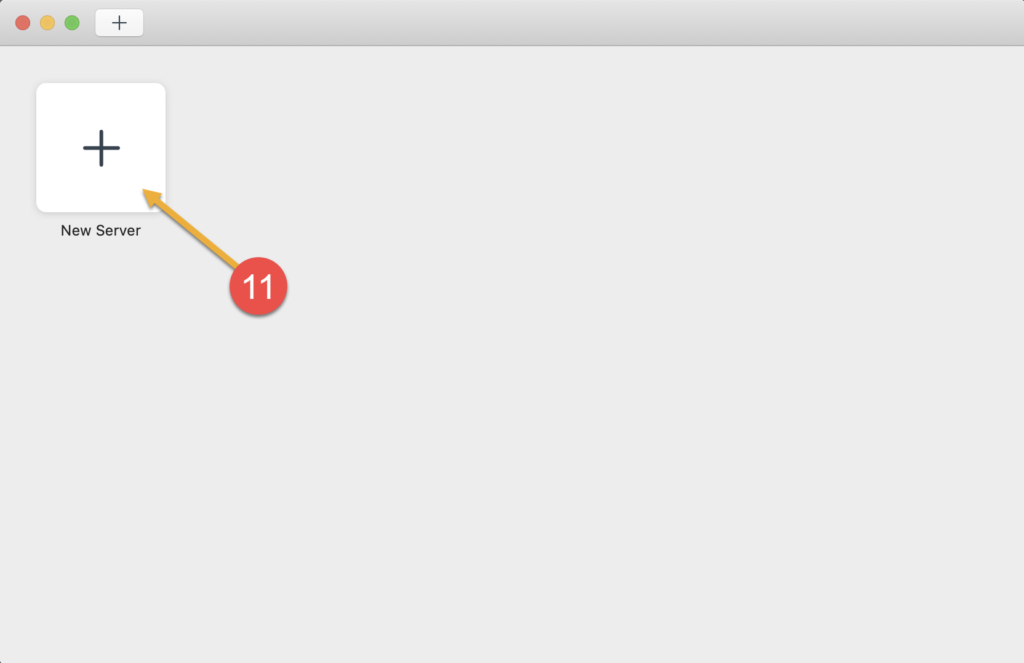
Click the + to Add Server .
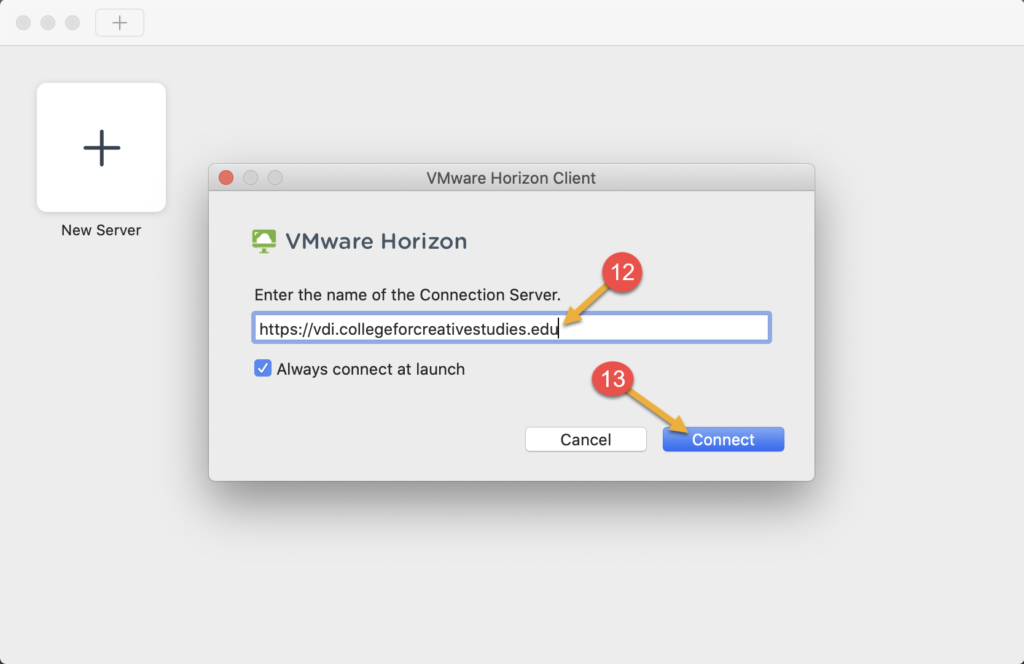
Add the server vdi.collegeforcreativestudies.edu.
Click Connect.
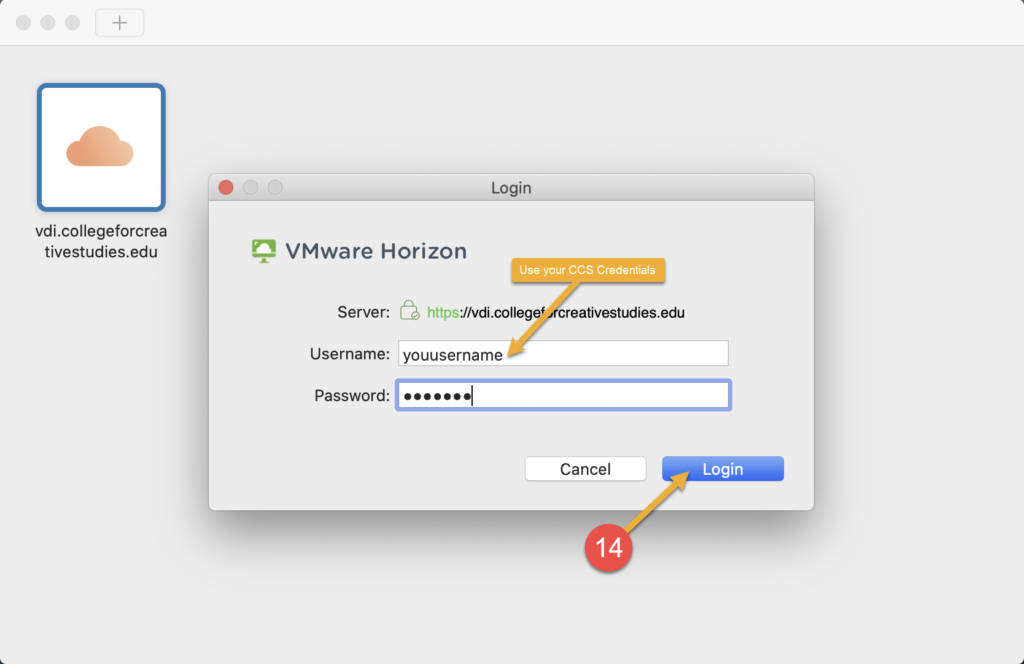
Input your username and password (use your CCS Credentials), click on Login.
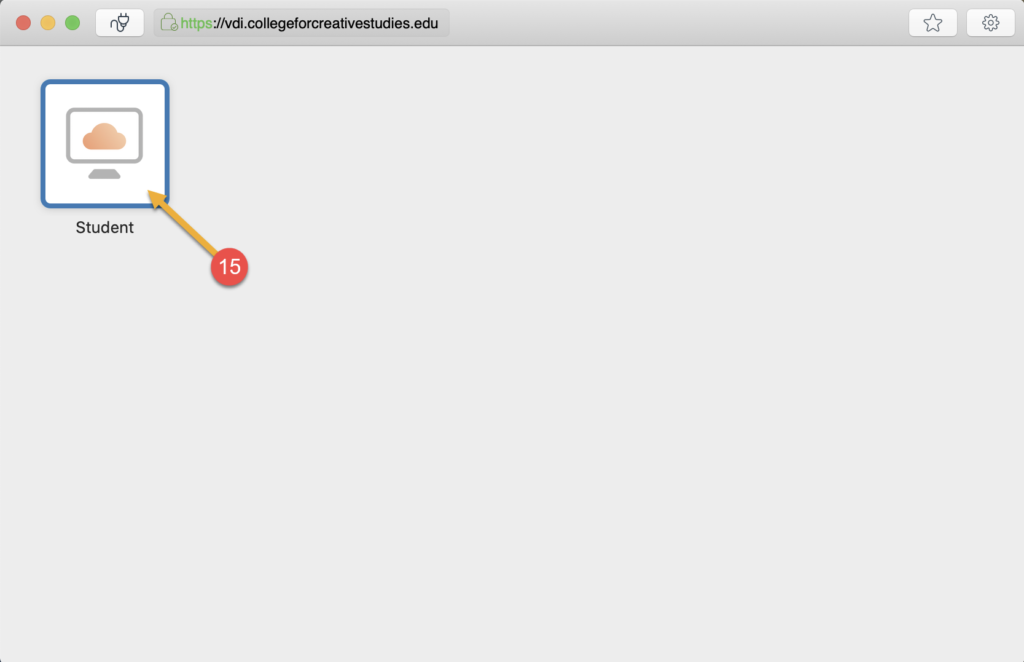
A list of available desktops will be shown, click on one to launch it.
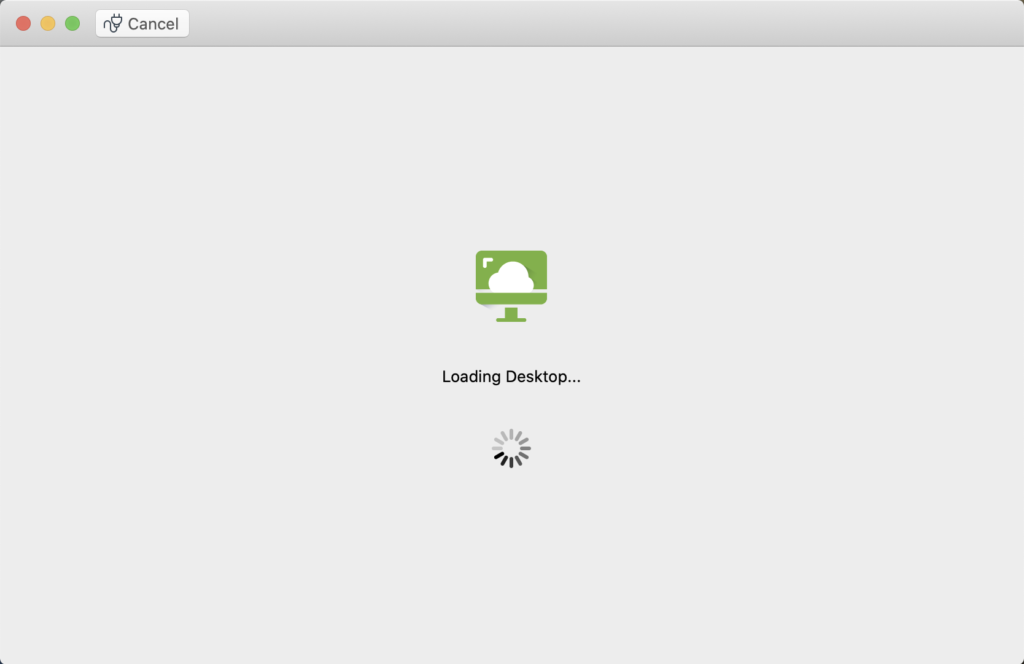
Wait for the desktop to launch.
Depending on your monitor the desktop may go full screen Press F3 do get back to you Mac.
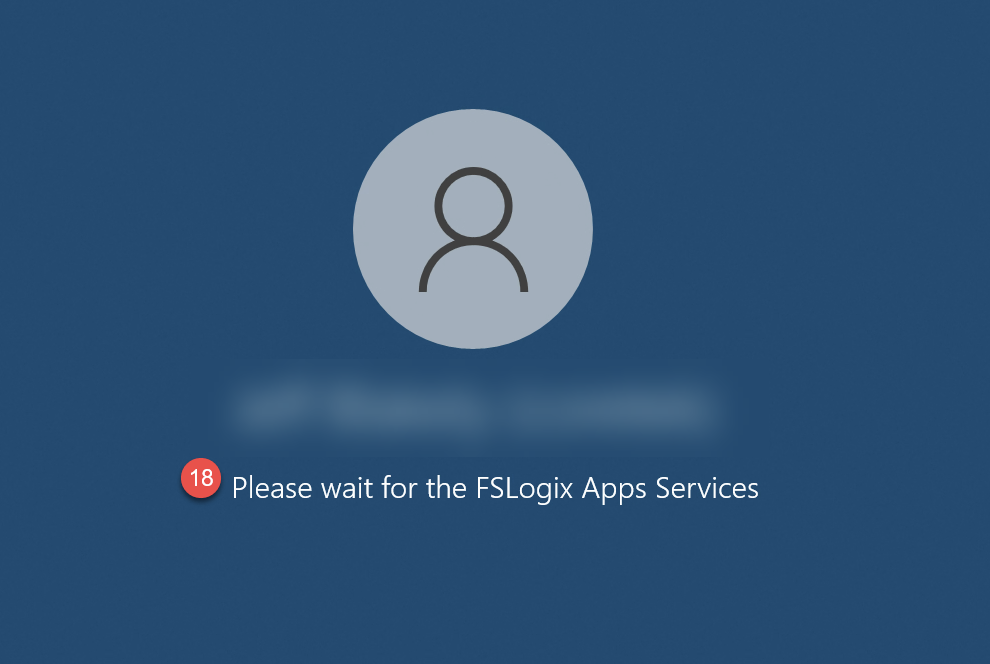
You will see the initial login screen.
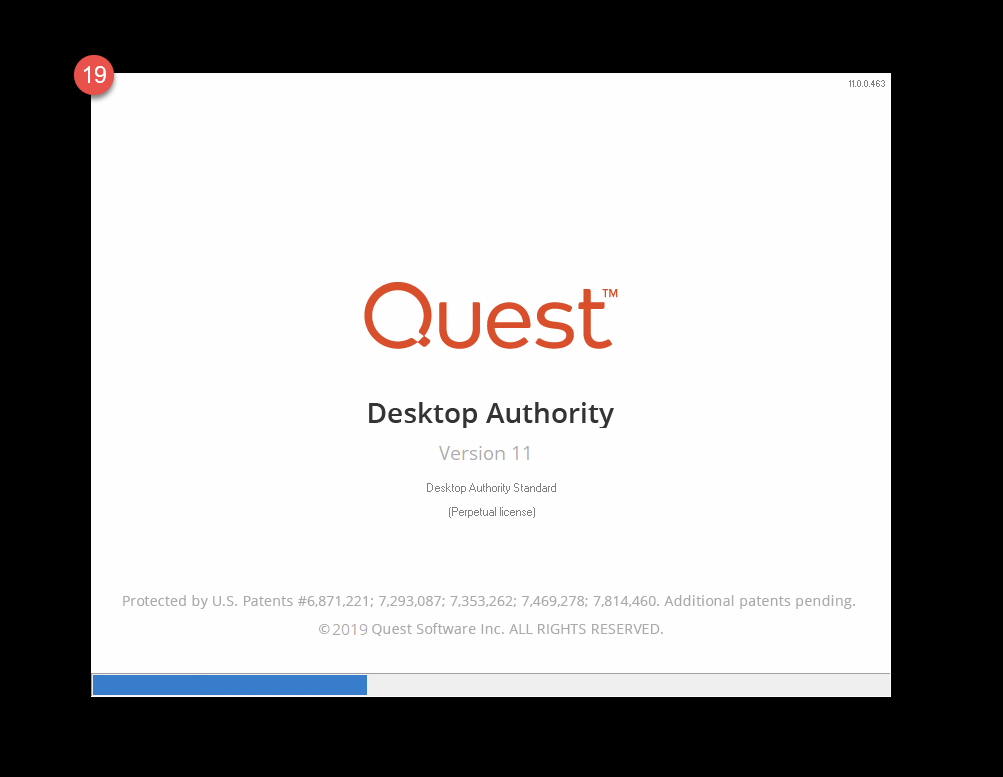
If its your first time you may see the Quest Desktop Authority splash screen.
You should now have access to your desktop.