Video
Step-by-step
![](https://campus.collegeforcreativestudies.edu/its/wp-content/uploads/sites/29/2020/08/image-1024x555.png)
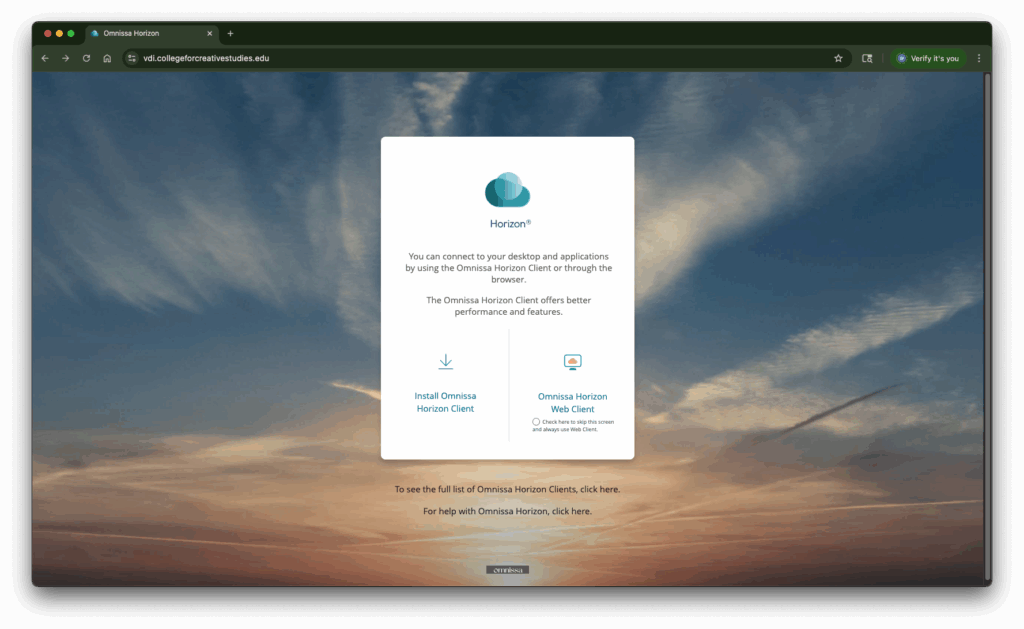
In a web browser go to: https://vdi.collegeforcreativestudies.edu/
Click on Install VMware Horizon Client
![](https://campus.collegeforcreativestudies.edu/its/wp-content/uploads/sites/29/2020/08/image-1-1024x555.png)
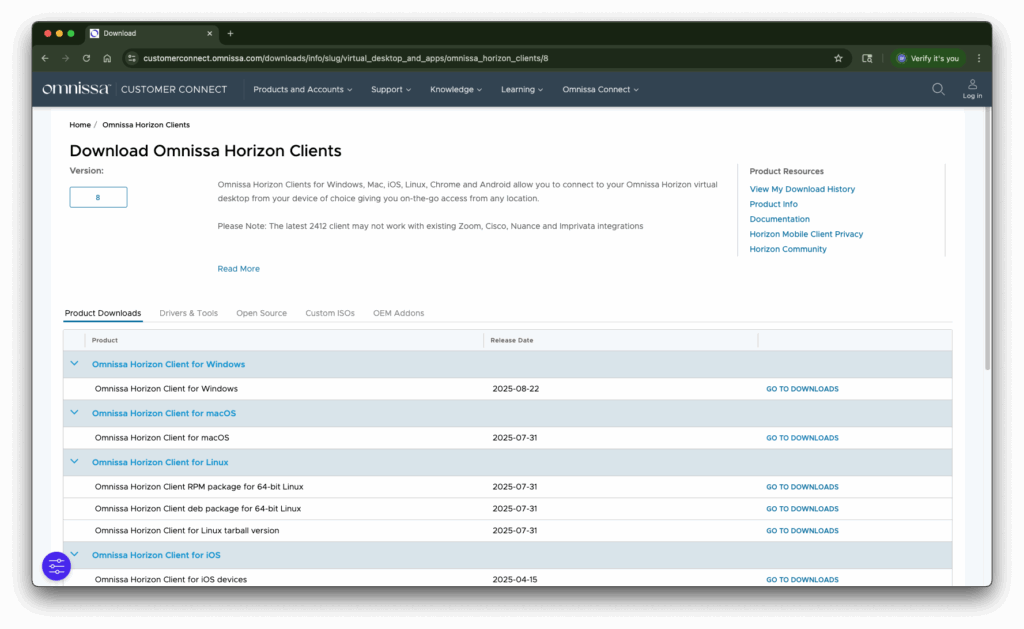
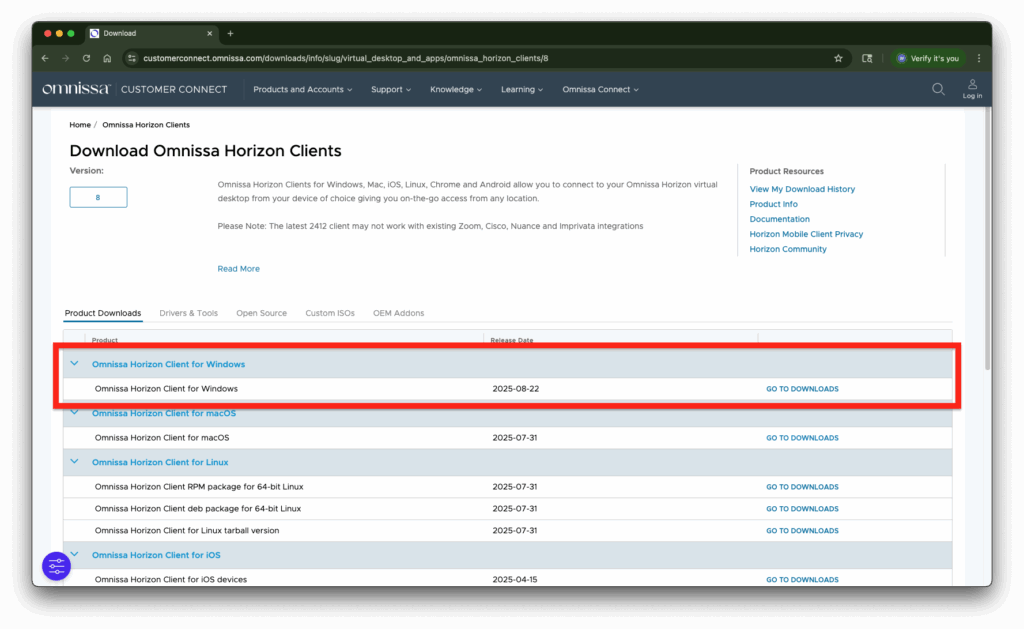
Download the appropriate client for your operating system (in this example Windows) Click on ‘Go To Downloads’
![](https://campus.collegeforcreativestudies.edu/its/wp-content/uploads/sites/29/2020/08/image-2-1024x555.png)
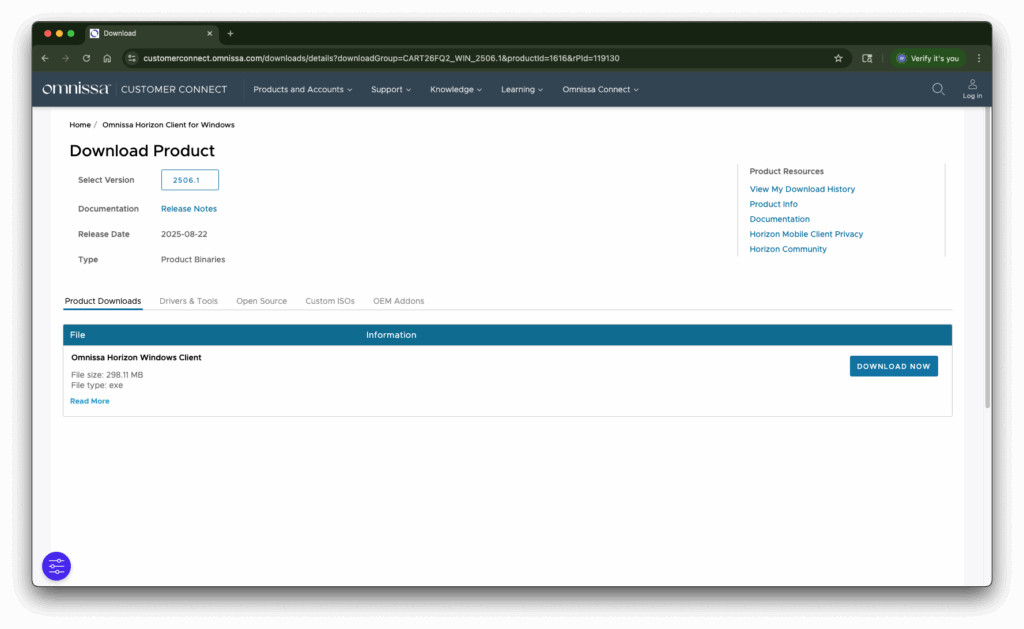
Click on Download Now
![](https://campus.collegeforcreativestudies.edu/its/wp-content/uploads/sites/29/2020/08/image-3-1024x555.png)
Wait for the download to complete
![](https://campus.collegeforcreativestudies.edu/its/wp-content/uploads/sites/29/2020/08/image-4-1024x555.png)
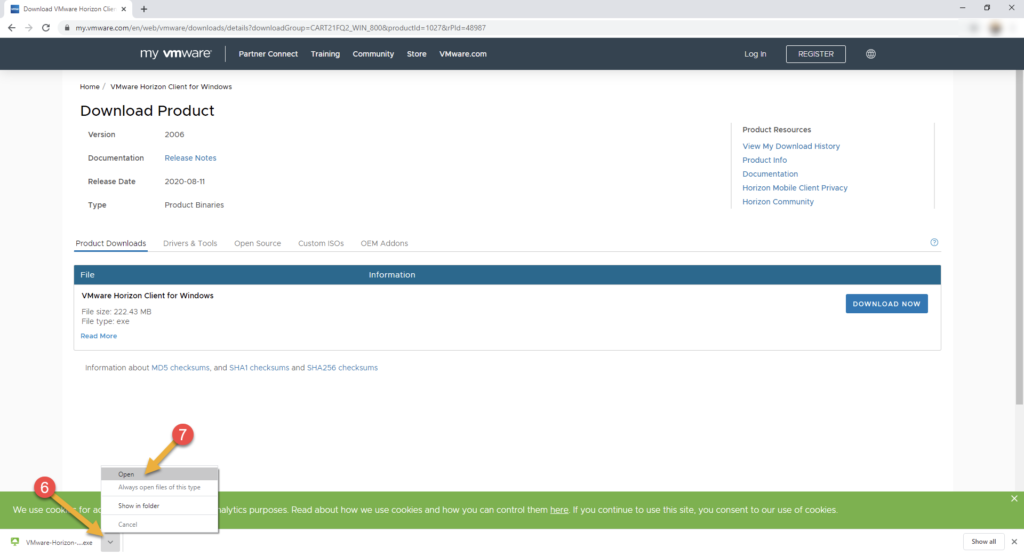
Click on the arrow to bring up the dialog box
Click on Open
![](https://campus.collegeforcreativestudies.edu/its/wp-content/uploads/sites/29/2020/08/image-5.png)
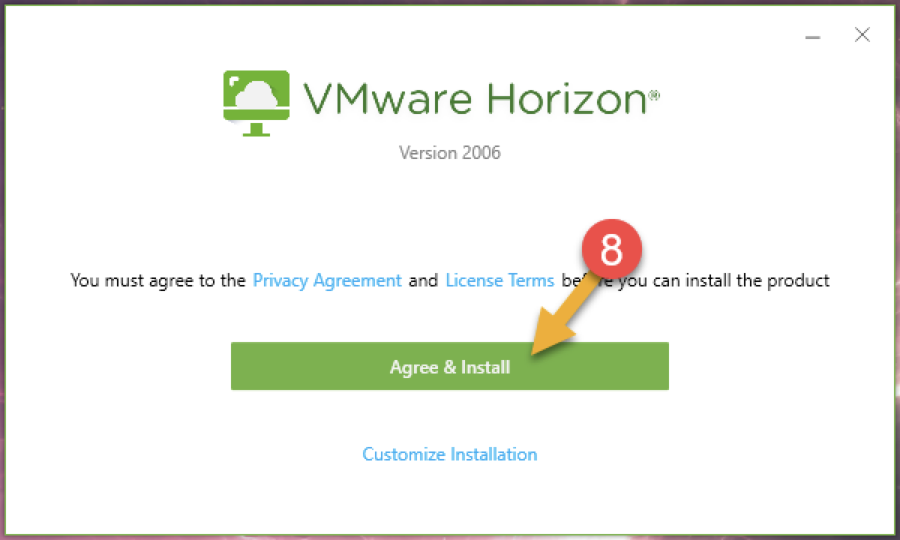
Click on Agree & Install
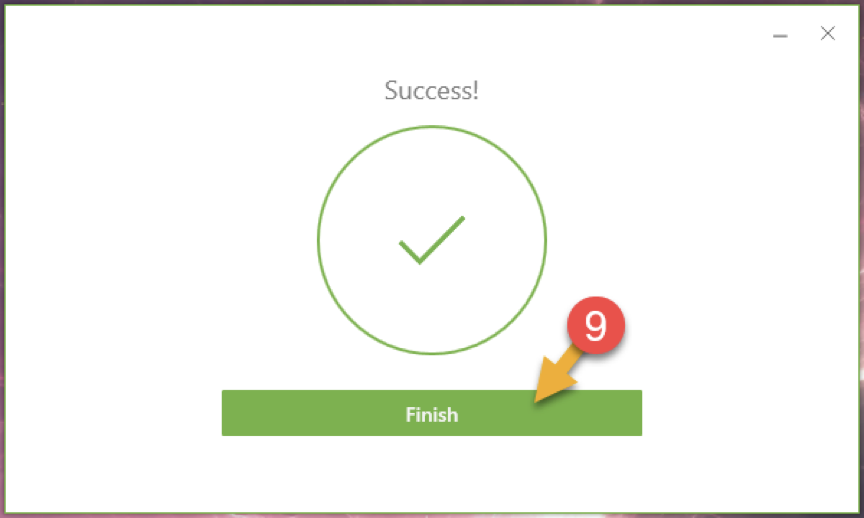
![](https://campus.collegeforcreativestudies.edu/its/wp-content/uploads/sites/29/2020/08/image-6.png)
![](https://campus.collegeforcreativestudies.edu/its/wp-content/uploads/sites/29/2020/08/image-7.png)
Click on Finish
![](https://campus.collegeforcreativestudies.edu/its/wp-content/uploads/sites/29/2020/08/image-8.png)
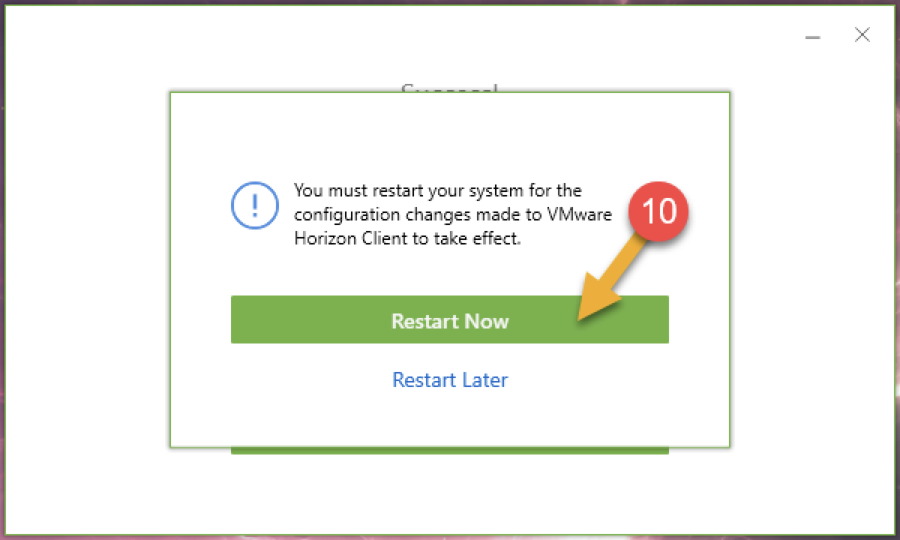
Click on Restart Now
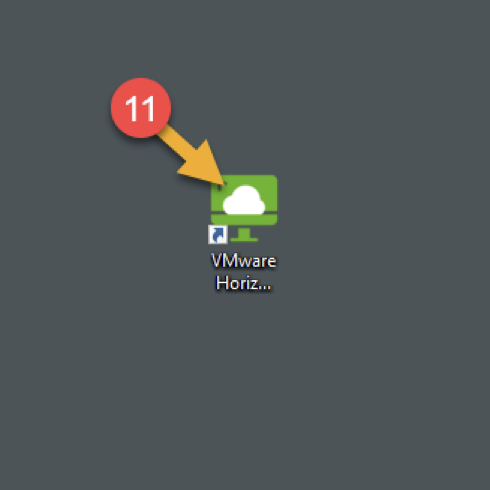
![](https://campus.collegeforcreativestudies.edu/its/wp-content/uploads/sites/29/2020/08/image-9.png)
After reboot launch the VMware Horizon Client
![](https://campus.collegeforcreativestudies.edu/its/wp-content/uploads/sites/29/2020/08/image-10.png)
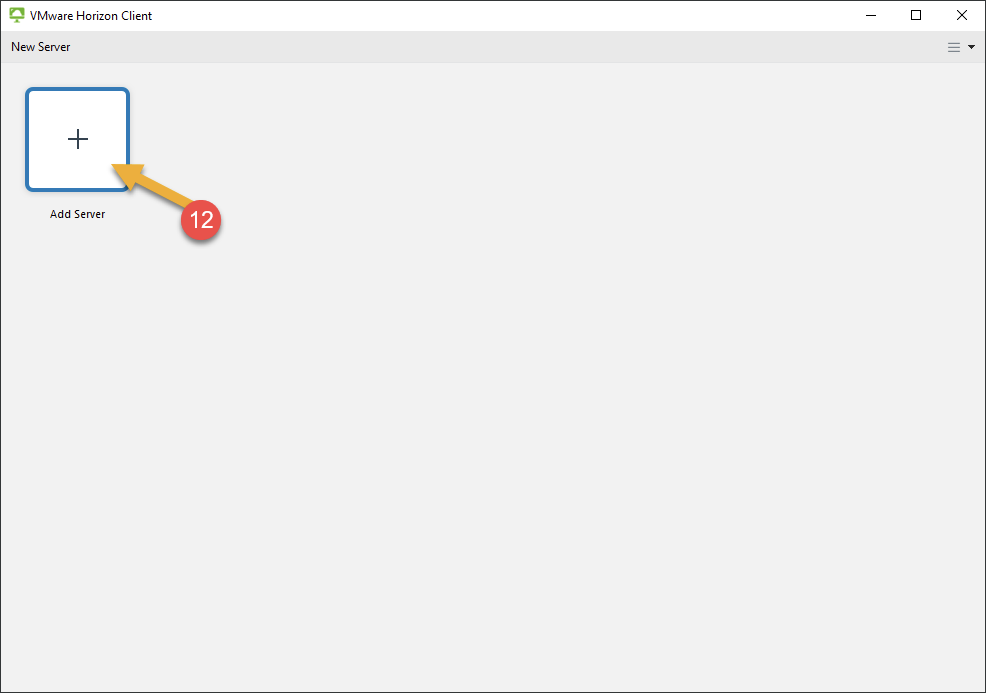
Click the + to Add Server
![](https://campus.collegeforcreativestudies.edu/its/wp-content/uploads/sites/29/2020/08/image-11.png)
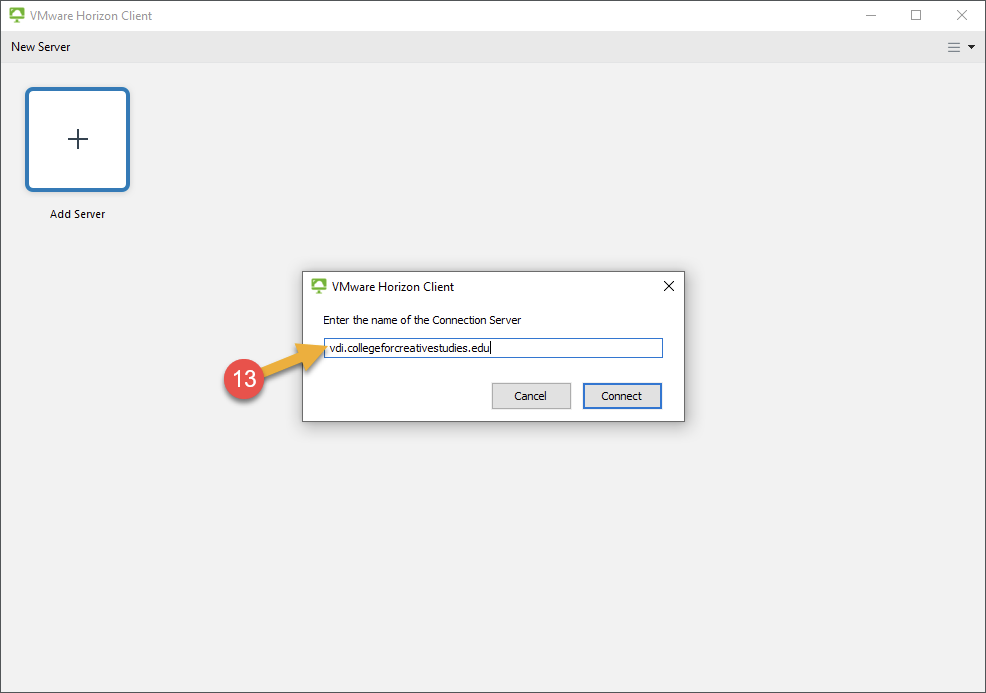
Add the server vdi.collegeforcreativestudies.edu
![](https://campus.collegeforcreativestudies.edu/its/wp-content/uploads/sites/29/2020/08/image-12.png)
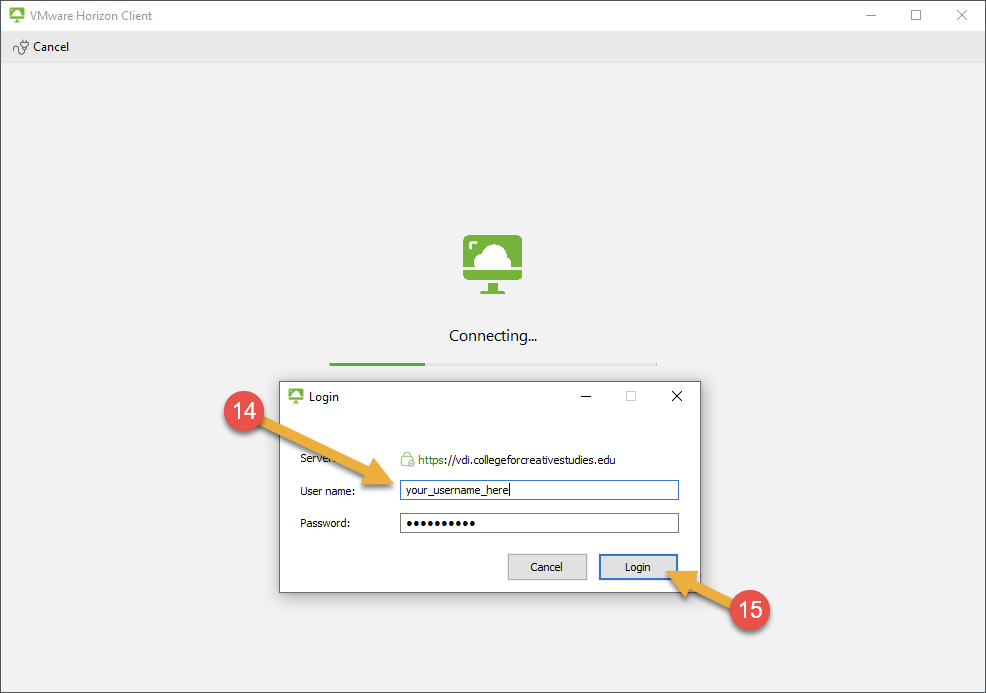
Input your CCS username and password,
Click on Login
![](https://campus.collegeforcreativestudies.edu/its/wp-content/uploads/sites/29/2020/08/image-13.png)
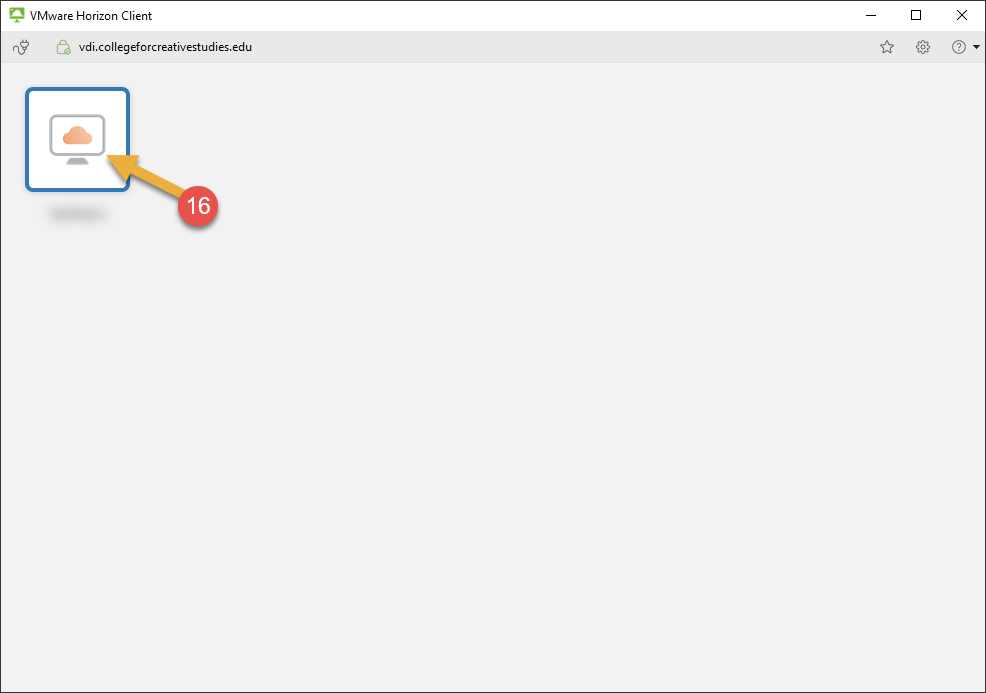
A list of available desktops will be shown, click on one to launch it
![](https://campus.collegeforcreativestudies.edu/its/wp-content/uploads/sites/29/2020/08/image-15.png)
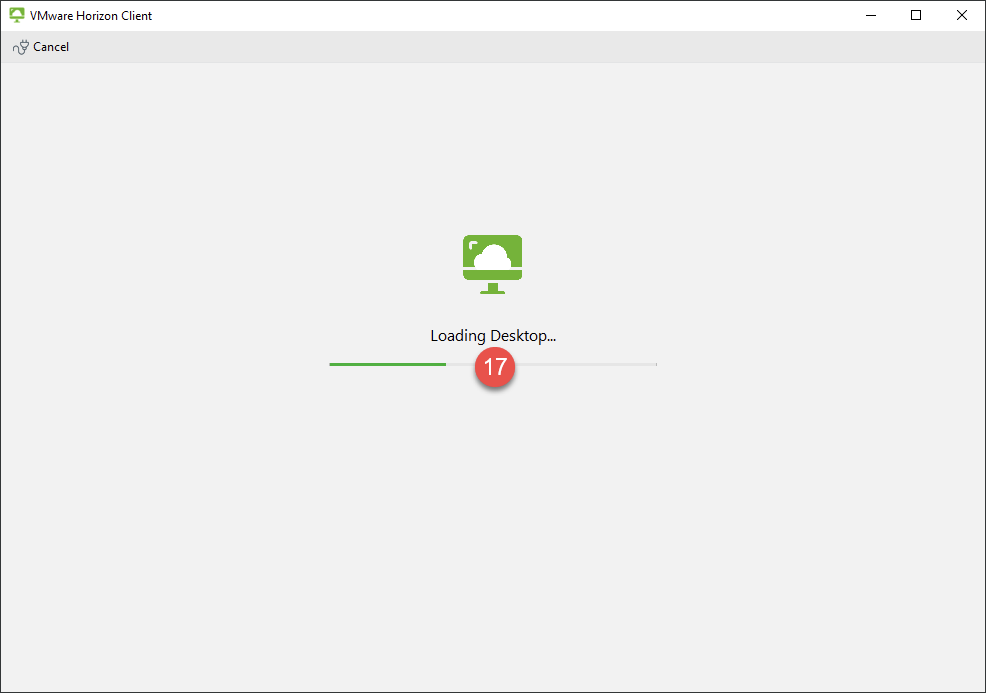
Wait for the desktop to launch
![](https://campus.collegeforcreativestudies.edu/its/wp-content/uploads/sites/29/2020/08/image-16.png)
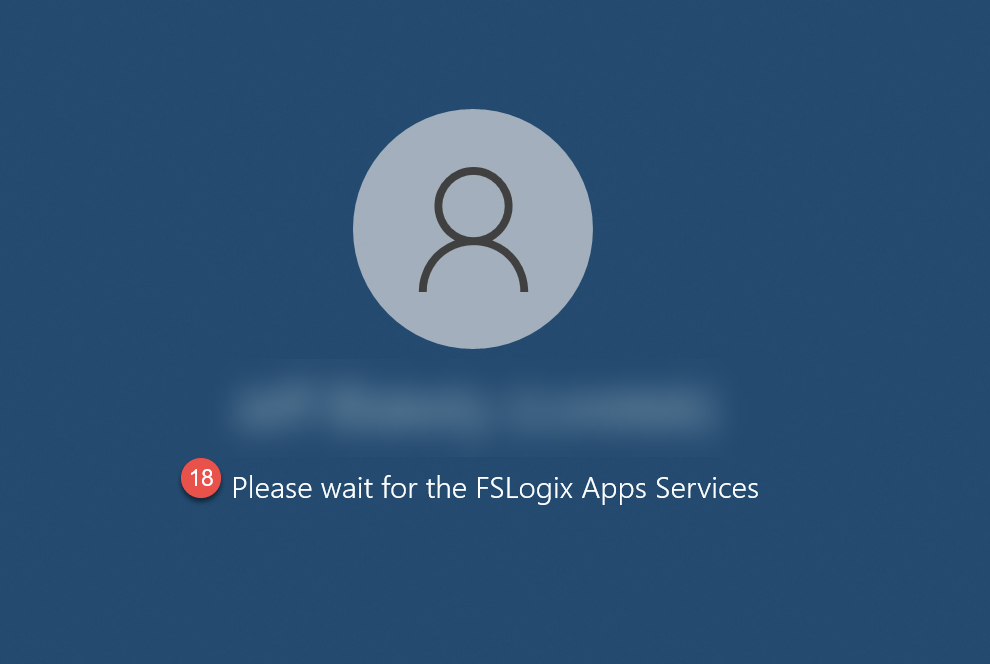
You will see the initial login screen
![](https://campus.collegeforcreativestudies.edu/its/wp-content/uploads/sites/29/2020/08/image-17.png)
If its your first time you may see the Quest Desktop Authority splash screen
![](https://campus.collegeforcreativestudies.edu/its/wp-content/uploads/sites/29/2020/08/image-18-1024x573.png)
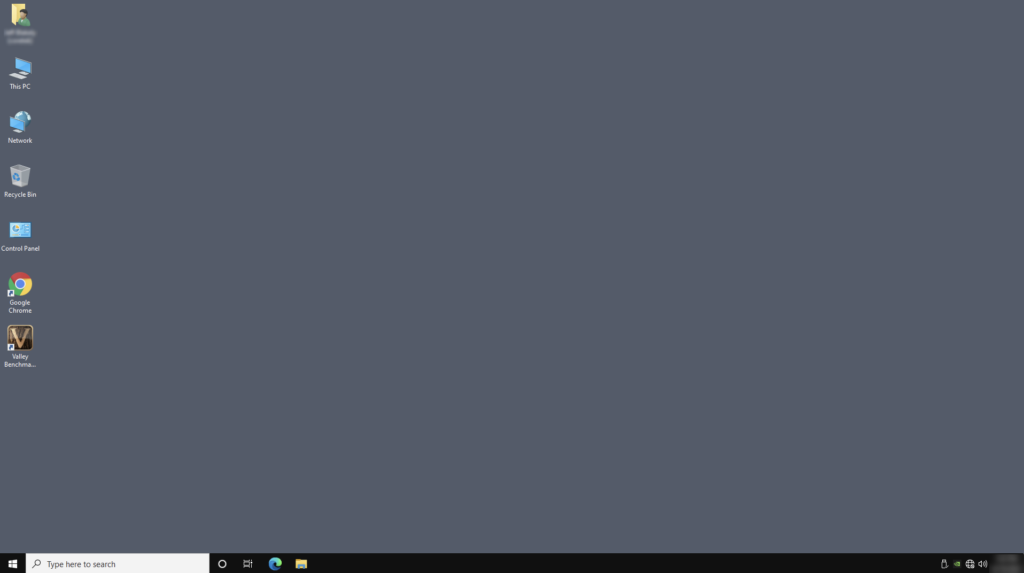
You should now have access to your desktop