Introduction: Before you Begin
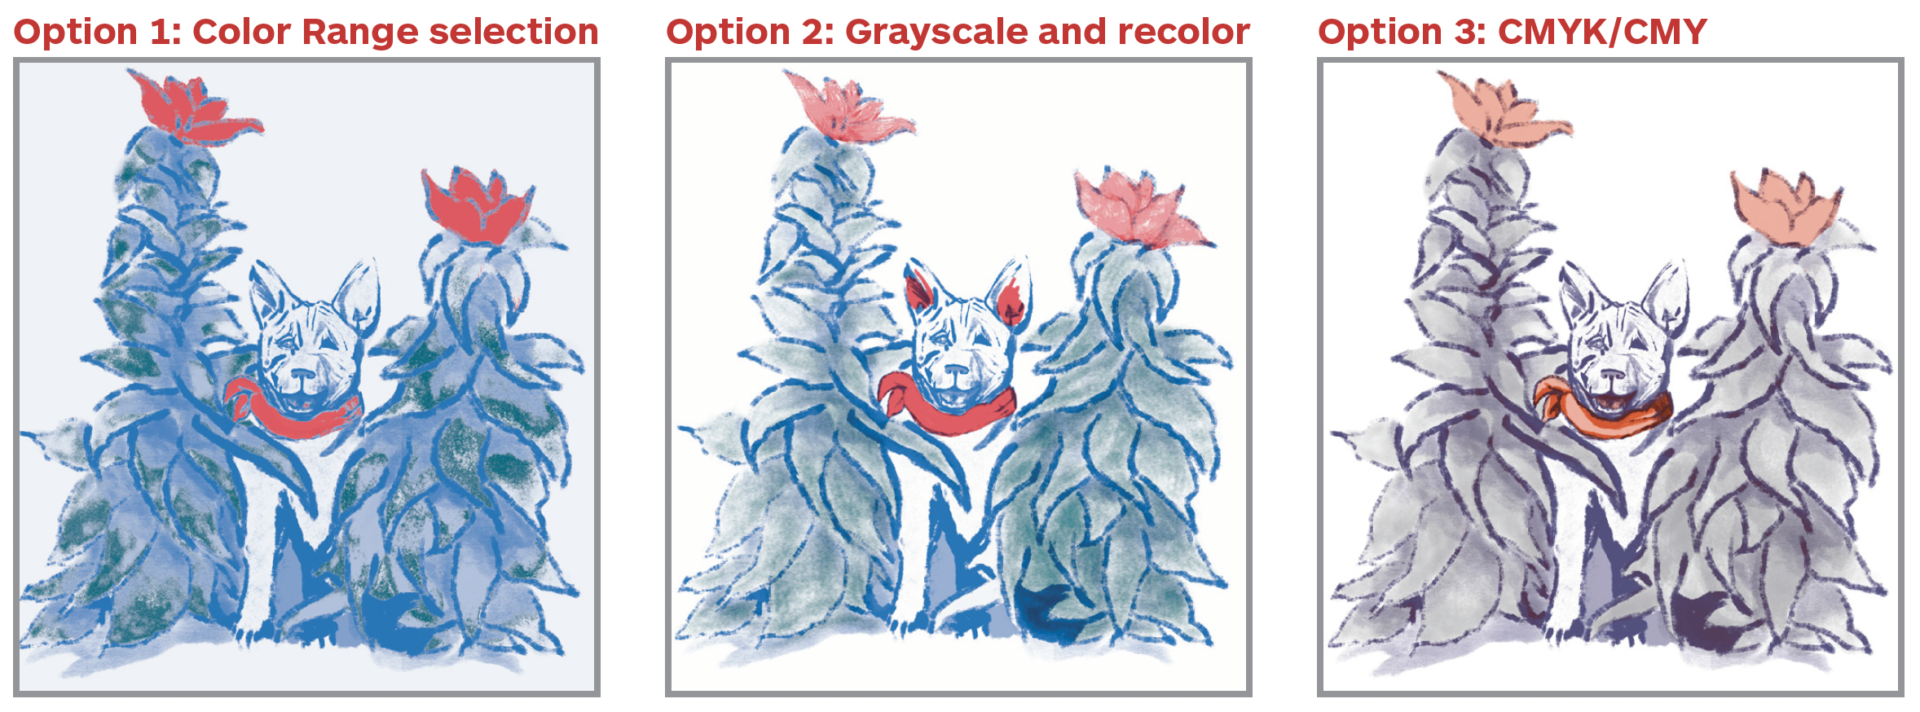
If you didn’t separate your colors into layers while you made the piece, you have a few options:
- Option 1: Separate out the colors using the Menu > Select > Color Range (try a few different tolerances) and make spot channels with that.
- Option 2: Convert the whole image to Grayscale, and re-color the whole image using the multi-channel color space.
- Option 3: Simulate a four-color process print (CMYK) by using the channels as they are.
Adjust your document setup by checking the following:
- Check your image size
- The maximum printable area is 10” x 16″.
- This allows room for crop and registration marks.
- Set your resolution to 600 dpi
- Menu Bar > Image > Image Size > Resolution: 600
- Set your color space to Adobe RGB (1998)
- Menu Bar > Edit > Convert to Profile > Destination Space: Adobe RGB (1998)
- Download the IC Riso swatches HERE
- If you prefer to add the Riso colors manually, be sure to add them as SPOT PANTONE colors
- Save your document as a new file.
- Note: these methods all require switching your color mode and deleting channels, which can be a destructive workflow (e.g., layers get flattened or color information is discarded). When working with channels, it is difficult to revert back to the previous look. It is best to keep your final piece, with all its layers and edits, as a separate file.

All Information Can be Found Here
Color Systems & Color Spaces
Updated on July 14, 2022
Understanding RGB vs. CMYK vs. CMY The primary colors of light RGB (Red, Green, and Blue), represent a visual range that, in
Option 1: Color Range Selection
Updated on June 22, 2021
Option 1 | Color Range Selection Color range selection works best for pieces that are graphic and have only a few clear color
Option 2: Convert to Grayscale & Re-color
Updated on June 22, 2021
Option 2 | Convert to Grayscale & Re-Color This method changes your piece to grayscale. You will manually add the colors back
Option 3: Convert to CMYK (or CMY)
Updated on June 22, 2021
Option 3 | Convert to CMYK (or CMY) This version involves working with color systems. Rather than print every single color in
Additional Image Adjustments
Updated on June 22, 2021
At this point (one way or another) all your colors should be divided into channels: None of these is a perfect conversion, so
Photoshop Overview
Updated on June 22, 2021
Introduction: Before you Begin If you didn’t separate your colors into layers while you made the piece, you have a few option
How to Split Channels in Photoshop
Updated on June 22, 2021
Each channel needs to be its own separate pdf file. The easiest way to do this is to split the channels. First, save your wor
Troubleshooting
Updated on August 31, 2022
Common Questions If I want to switch out the color of a plate (print on a blue plate using the teal drum), do I need to alter
