The laser cutter has two different modes: Vector Cutting/Etching and Raster Etching.
The laser cutter requires your file to be set up a particular way:
- Your File should be an RGB document (not CMYK)
- All lines must have a thickness of .01 px
- Red lines are for cutting through the material. RGB values must be ( 255,0,0 )
- Blue lines are for engraving. RGB values must be ( 0,0,255 )
- Black fills are for etching. RGB values must be ( 35,31,32 )
Be careful to not have any extra lines or points that you do not want the laser to engrave. Other than that, all it takes is a regular Illustrator file!
The laser cutter is a powerful tool that allows you to take digital files and make them into tangible objects.
Before we begin, there is a bit of information to read through, to insure your safety and the safety of the equipment.
The Laser Usage Guide can be found on the Campus Offices Acadmic Facilities page, read through this entire guide:
- from the main Access Manager, click on the Campus Offices link
- click on Academic Facilities
- scroll down and find CCS Taubman RP Modelshop Laser Cutter Usage Guide
You can also follow this link : CCS Taubman RP Modelshop Laser Cutter Usage Guide
Here are a couple of highlights to remember:
- Lasers are dangerous
- Never leave the laser cutter unattended while it is operating.
- Always use the exhaust system
- Know what to do in case of a fire inside the machine!
- Do Not stare at the laser light
- The Laser room computer is not a workstation. Have your files ready to go when you arrive.
- Clean up your mess.
- You will also find a list of acceptable materials to use in the laser cutter.
- Always ask questions, if you are unsure of anything involving using the laser cutter.
IN CASE OF A FIRE INSIDE THE MACHINE
You might see a small flame inside the laser cutter on occasion, but if something catches fire, you must address it immediately.
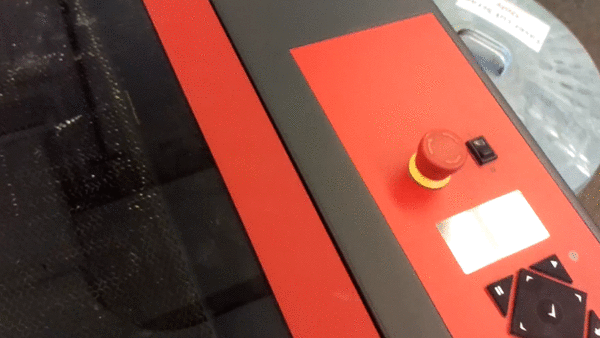
I. Hit the Emergency Stop
Always do this FIRST, in an emergency. This will immediately cut power to the laser cutter and stop it.
II. Use the spray bottle
If it is a small fire, open the lid and use the spray bottle to extinguish the fire.
III. Use the fire blanket
If it is a larger fire, or the spray bottle doesn’t work, use the wool Emergency Blanket to douse the fire.
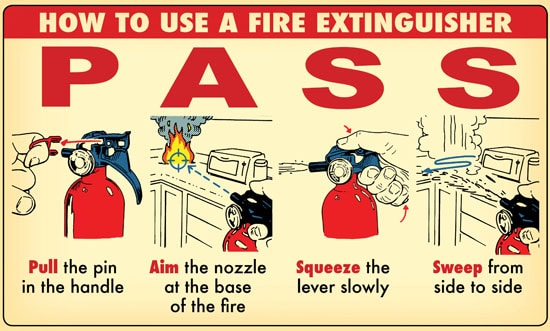
III. Use the fire extinguisher
If the fire is large, or the blanket doesn’t work, use the fire extinguisher.
The process of turning on the Laser Cutter and its supporting systems is a little different at each campus:
1. TURN ON THE LASER CUTTER
Turning on the FORD CAMPUS laser cutter:
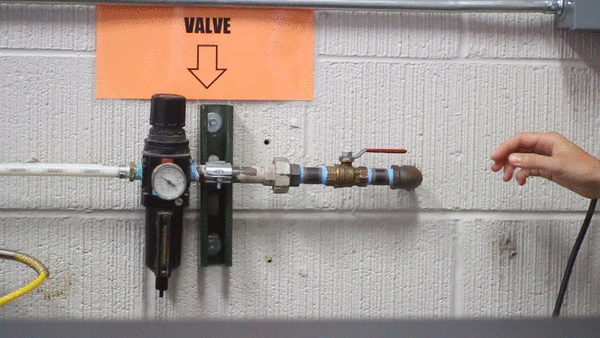
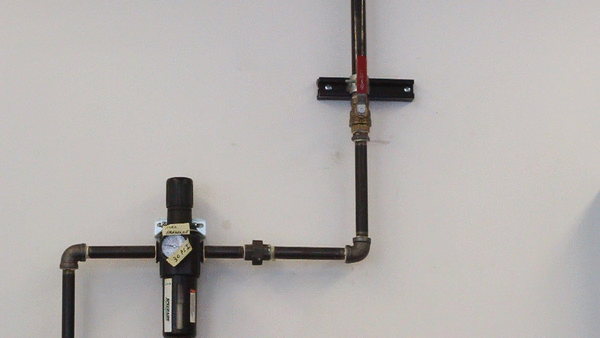
I. Open the air line by turning the handle so it is parallel to the pipe
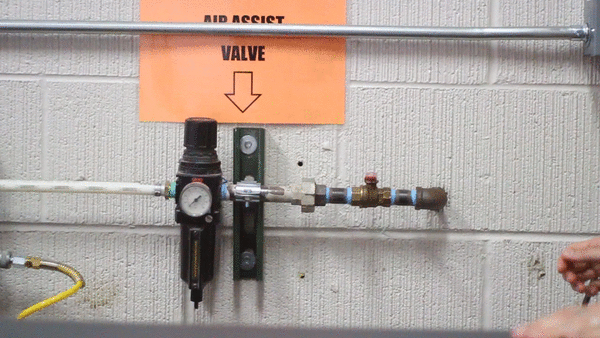
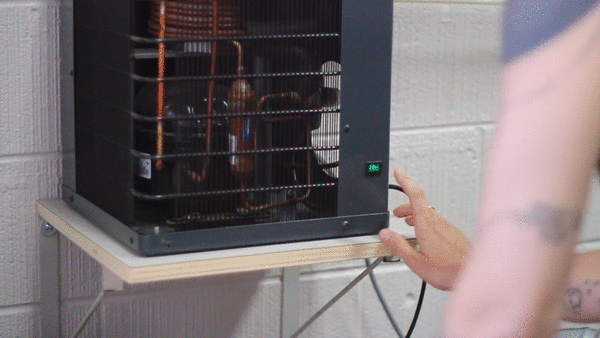
II. Switch on the air compressor so that the green switch lights up

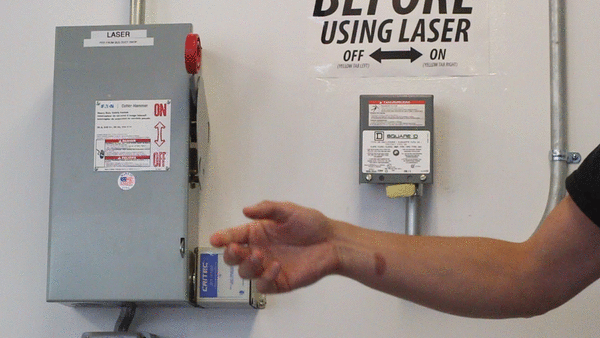
III. Turn on the Laser Cutter
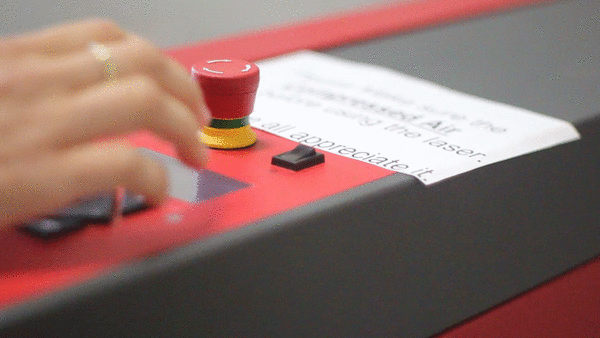
IV. Log into the computer with your CCS log in
Turning on the TAUBMAN CAMPUS laser Cutter
I. Open the air line by turning the handle so it is parallel to the pipe
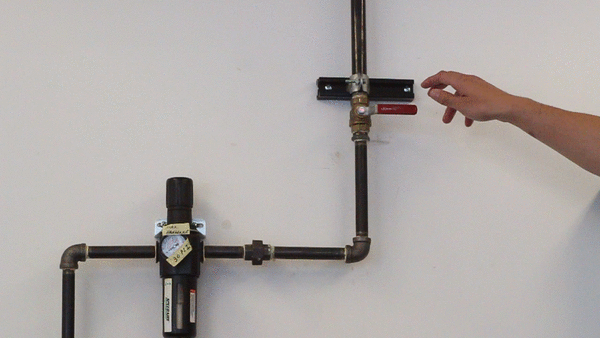
II. Turn on the yellow switch to power up the ventilation unit and flip the big switch to turn on power to the laser cutter
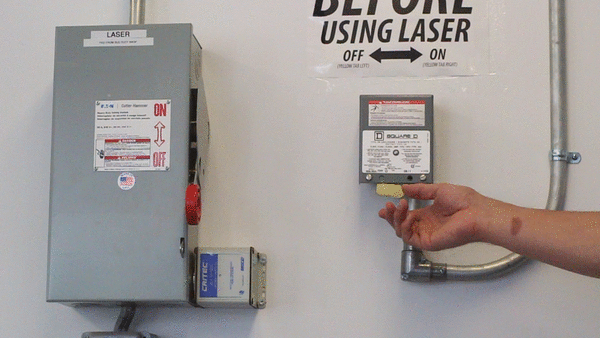
III. Turn on the laser cutter

IV. Log into the computer with the log in that is displayed on the monitor
2. PREPARE YOUR MATERIAL
I. Check to make sure that the material you are using is an approved material and not on the DO NOT USE materials list (see below, or the sign on the wall). Using an unapproved material results in serious health and safety risks.
II. Use the digital calipers or micrometer to accurately measure the thickness of your material. This is essential in order for the laser cutter to position itself to the correct height for your material.
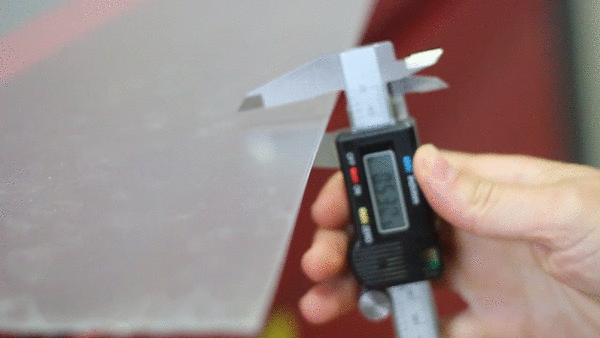
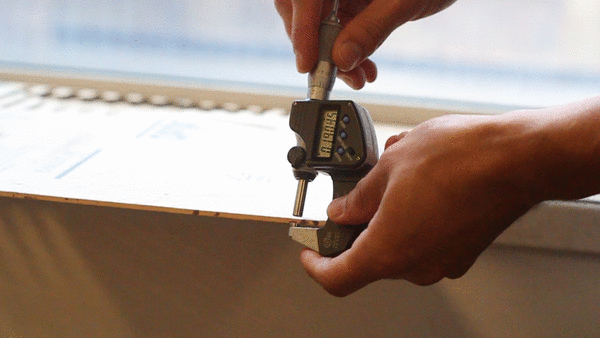
III. Write down the thickness to 3 decimal places, for later use. ex 0.934
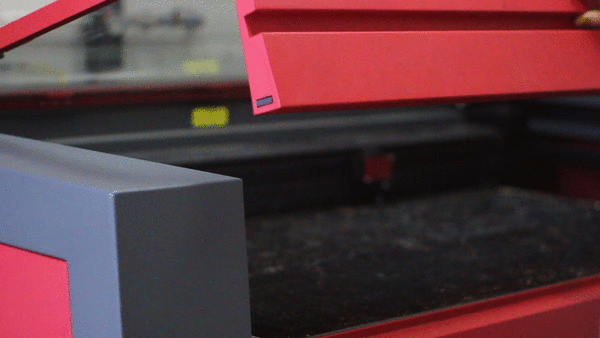
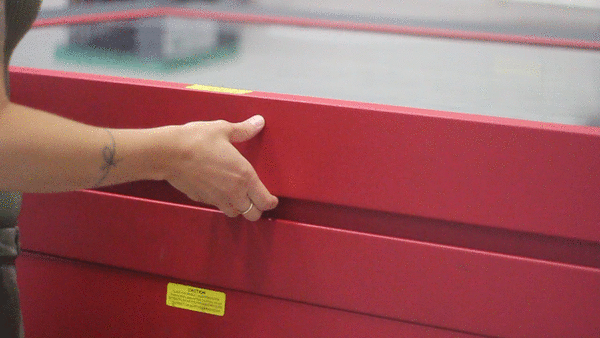
IV. Open the laser cutter bed.
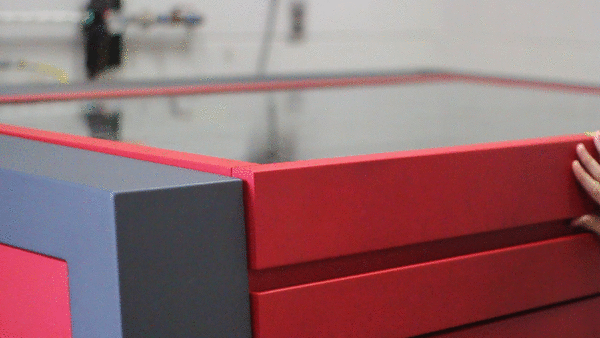
V. Place your material so that it lines up with the corner of the laser bed. If you are cutting all the way to the edge or your material, you will have to leave some space between the edge of the bed and your material.
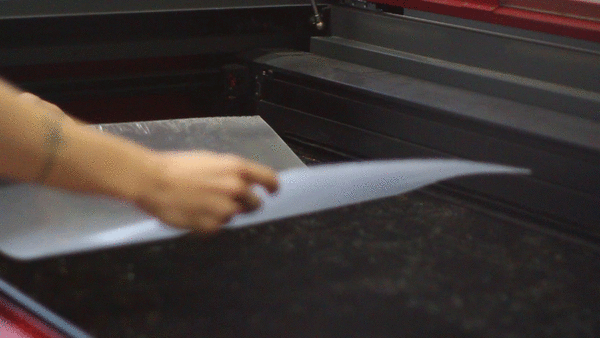
VI. Close the laser cutter bed.
3. PREPARE YOUR FILE
Your file should be ready to go, but there are some steps to ensure your file is set up correctly.
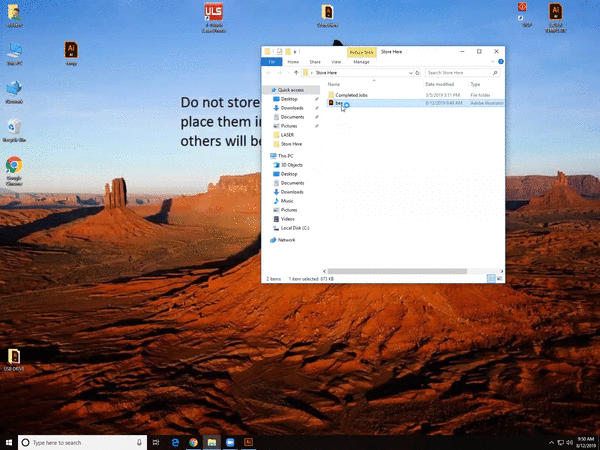
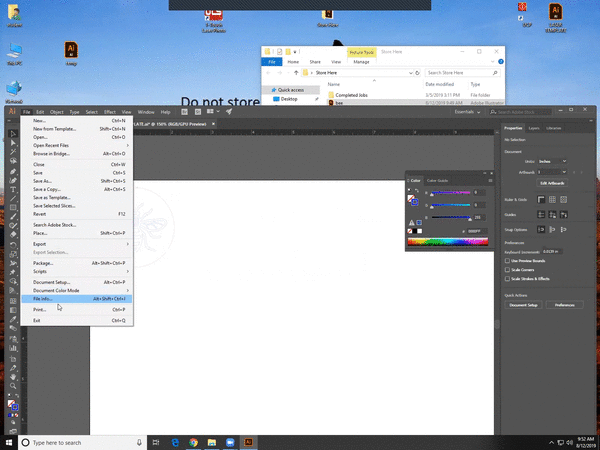
I. Copy your file from your USB drive to the Start Here folder on the computer.
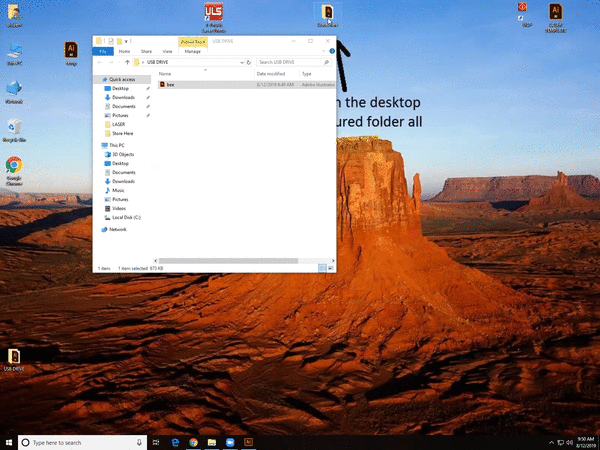
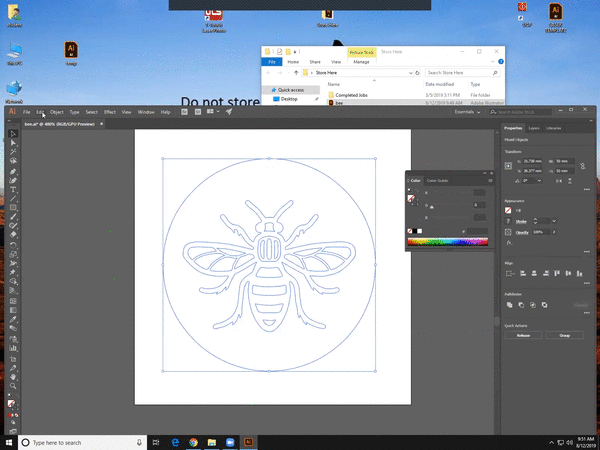
II. Open your file in Adobe Illustrator
III. Select all of your paths ( Ctrl+a ), and Copy ( Ctrl+ c ) them
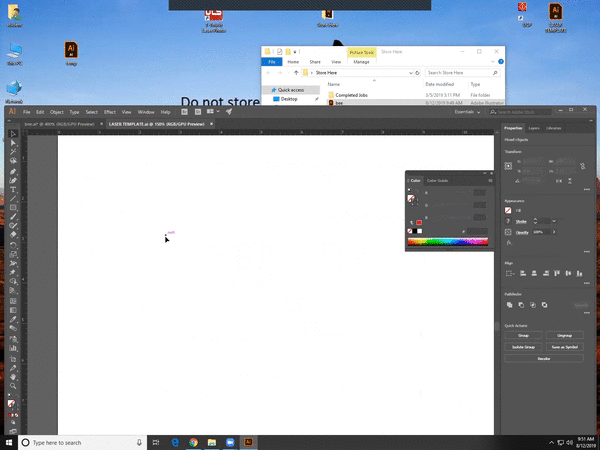
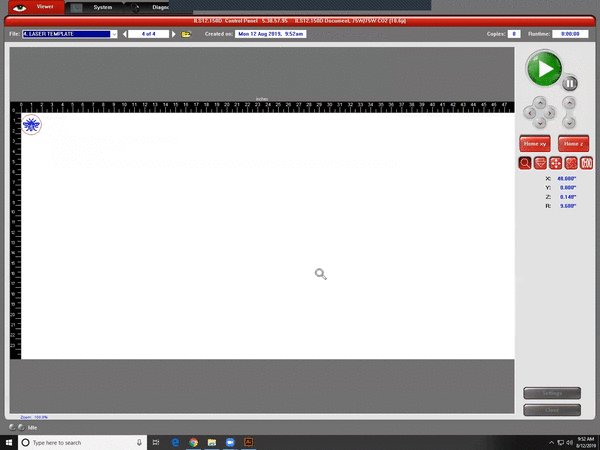
IV. Open the Laser Template file found on the desktop, and delete anything that is left in the file.

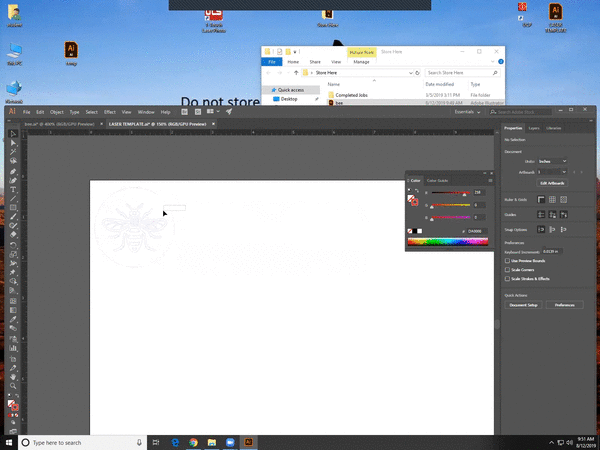
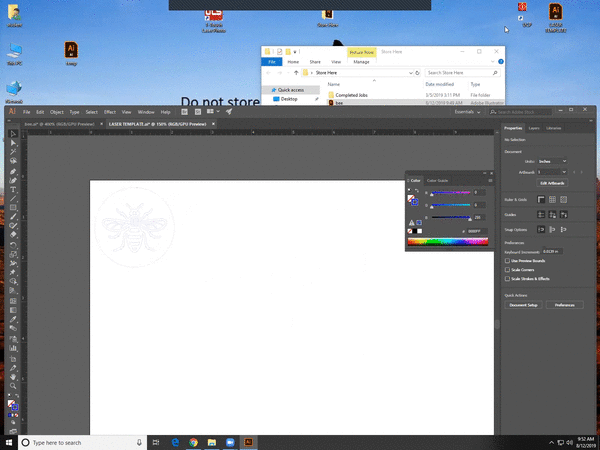
V. Paste your paths ( Ctrl +v ) into the template. And position your paths.
The artboard on this template file represents the entire laser bed, so the location of your paths has to match up with the location of your material on the laser bed. So if your material is in the upper left corner, then your paths need to also be in the upper left corner.
VI. Double check that all of your paths are the correct color and weight.
- all lines must have a thickness of .01 px
- red lines are for cutting through the material. RGB values must be ( 255,0,0 )
- blue lines are for engraving. RGB values must be ( 0,0,255 )
- black fills are for etching. RGB values must be ( 35,31,32 )
4. PRINTING YOUR FILE
Once your file is set up, the laser cutter and ventilation are turned on, and you’ve prepped your material, it is time to print.
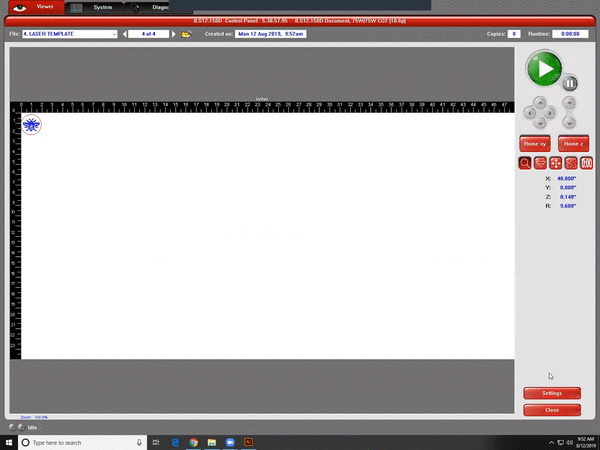
I. Go to File – > Print and click Print on the next dialog box
II. Open the UCP program on the desktop. Your paths will appear on this program.
III. Click Settings and select the materials tab so that we can set up the correct parameters for the laser cutter
IV. Choose your material from the materials list. This sets up the laser with the proper speed and intensity for the material that you wish to cut.
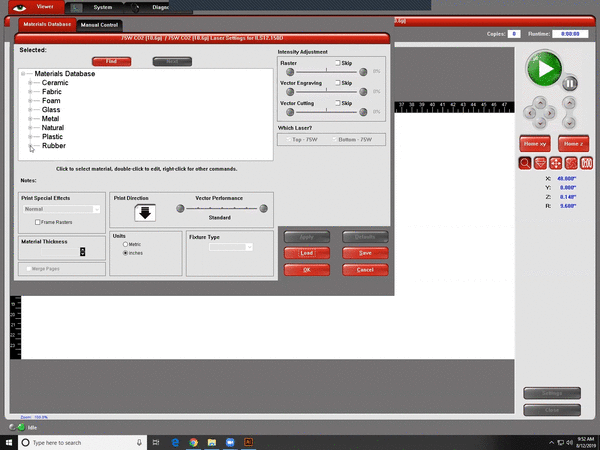
V. Input the thickness of your material, that you wrote down before
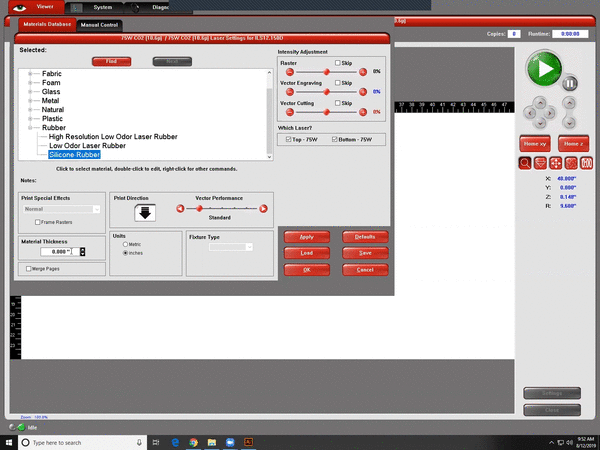
VI. Click Apply, and then Click OK

VII. Double check that your material on the bed lines up with your paths on the UPC program
VIII. Click the Play Button.
5. REMOVING YOUR PRINT
You must remain in the room, with the door open, while the laser cutter is operating. DO NOT stare at the laser!
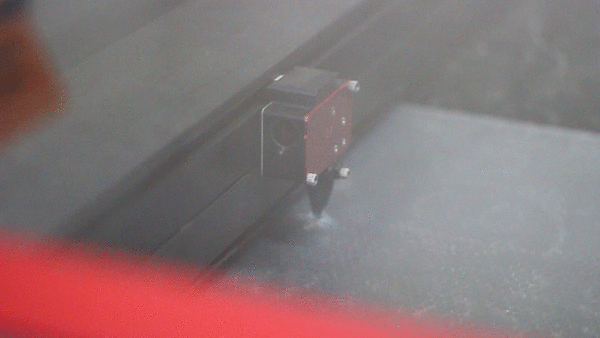
Once the laser cutter has finished
Wait for any smoke to clear from the laser bed
Open the laser cutter and remove your material
Clean up any little pieces of your material that are left on the bed. You can use the shop vac for little pieces.
Throw away any small scraps and take large scraps with you.
6. SHUTTING DOWN
Before you leave the laser cutter, you must shut down everything that you turned on.
Turning off the FORD CAMPUS laser cutter:
I. Close the air line by turning the handle so it is perpendicular to the pipe
II. Switch off the air compressor so that the green switch’s light turns off
III. Turn off the Laser Cutter

IV. Log Off the computer
Turning on the TAUBMAN CAMPUS laser Cutter
I. Turn off the laser cutter

II. Close the airline by turning the handle so that it is perpendicular to the pipe
III. Turn off the big power switch and the yellow ventilator switch
and finally, clean up
and shut the door behind you
Below is a list of pre-approved materials to work with the laser cutter
- Laser Tile
- Light
- Medium
- Dark
- Fabric
- Cotton
- Felt
- Film w/Heat Activated Backing
- Tackle Twill
- Wool
- Foam
- Foam Core
- Glass
- Alkali -Alumino-Silicate Glass,
- Soda-Lime Glass
- Metal
- Will not cut or etch base material must be coated or anodized (Markable)
- Natural
- Cork
- Leather
- Mat Board
- Mother of Pearl
- Paper
- Construction Paper
- Copier Paper
- Stone
- Granite
- Marble – Soft, Hard
- Vellum
- Wood
- Soft
- Medium
- Hard
- Very Hard
- Plastic
- ABS
- Acetal Copolymer (Delrin)
- Nylon 6/6
- Polycarbonate Acrylic
- Cast
- Continuous Cast
- Extruded
- Engravers Plastic
- Micro Surface
- Deep Engraving
- Metallic Surface
- Non Metallic Surface
- Polyester
- Mylar
- PETG
- Rubber
- Latex
- Low Odor
- Laser Rubber
- Silicone Rubber