Option 2 | Convert to Grayscale & Re-Color
This method changes your piece to grayscale. You will manually add the colors back in by painting on Spot Channels. This can be time-consuming if you have a detailed color image.
Change your mode to Grayscale
- Menu Bar > Image > Mode > Grayscale
- Click OK through the “Discard other channels?” warning. This process will also flatten your layers.
Your piece will be in black and white without any color information. You should only have one Gray channel.
Change your mode to Multi-channel
- Menu Bar > Image > Mode > Multichannel
- Click OK through the “Flatten layers?” warning. (This process will flatten your layers.)
Your single Gray channel should change to Black.
Change your Black Channel (your first color) to a Riso spot color
- Double-click on your black channel.
- Use the eyedropper to select your desired spot color from the Riso swatches panel.

- Click on the black swatch to pull up the Color Picker box.
- Click on Color Libraries and type in your desired Pantone color using the Riso color guide.
Because you only have one channel, the content in your piece will appear in grayscale. Click OK.

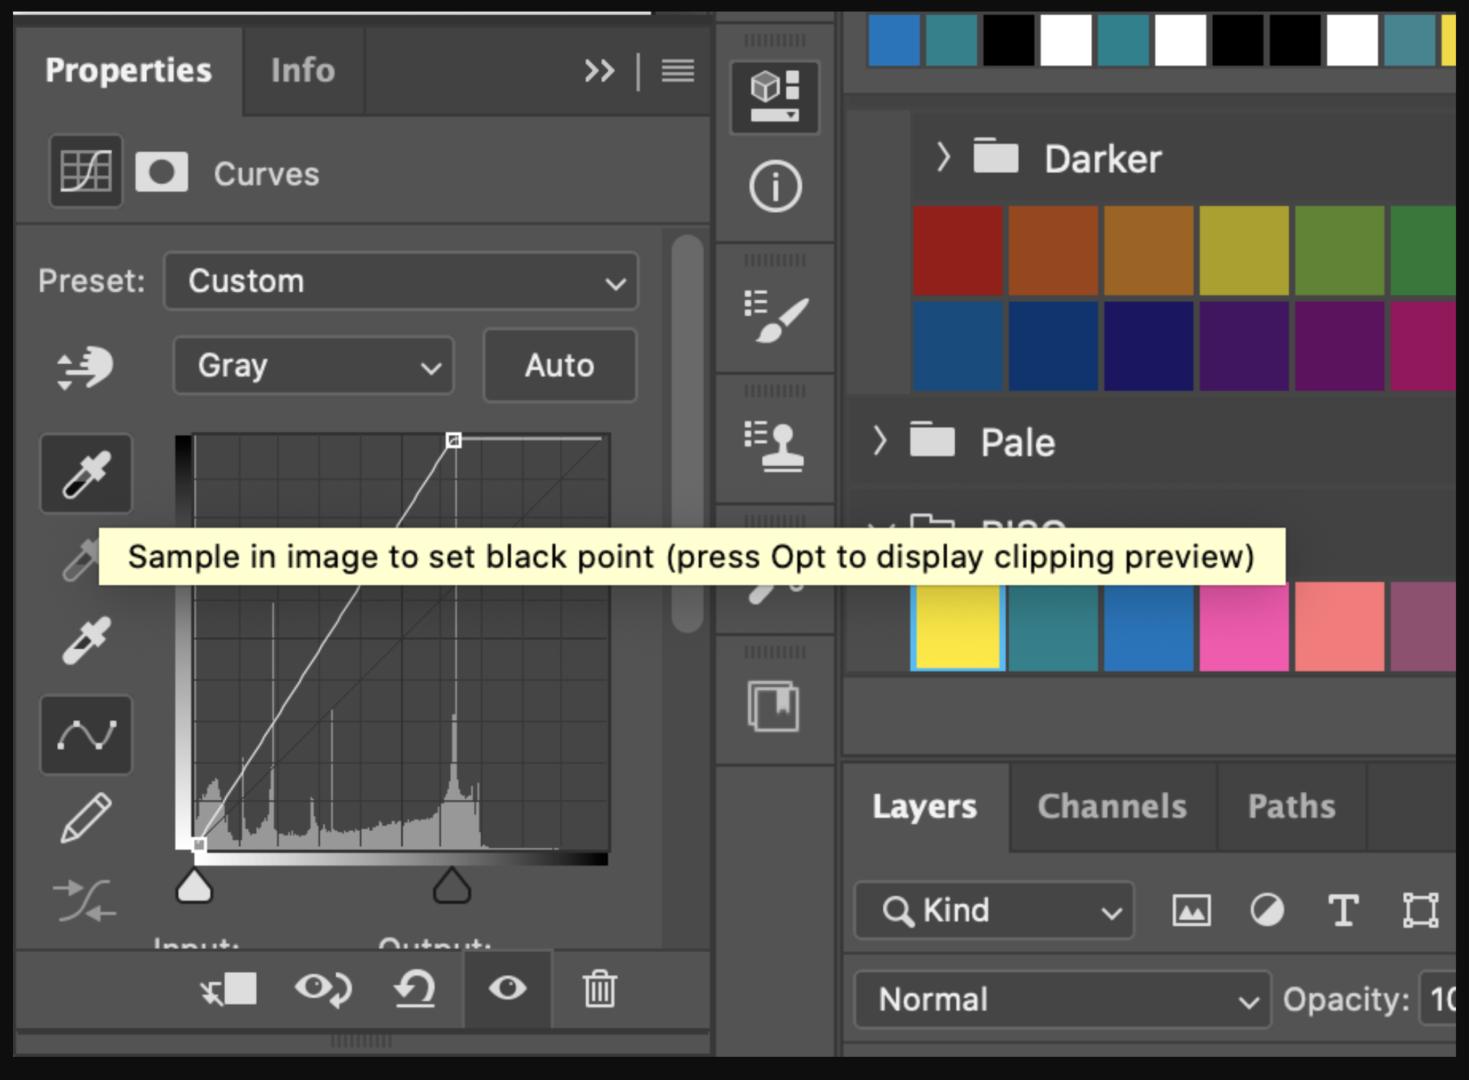
If your image appears washed out, feel free to change the values using Curves, Levels, or your own favorite method of adjusting Luminosity. I would suggest re-setting your black point using Curves:
Menu Bar > Imaging > Adjustments > Curves
Select the black point dropper and click on the darkest point in your image.
Add a second (or third or fourth) spot color as desired for your piece:
- Go to the Channels menu panel.
- Select “New Spot Channel…” from the drop-down menu.
- Use the eyedropper to select your desired spot color from the Riso swatches panel. (Your first channel will now show up in color)
- Click OK
With your new channel selected, use the paintbrush tool to add in your new spot color. (Use a black swatch.)
Add a channel for each color you want to print.
If Option 2 color conversion works for you, skip ahead to Additional Optional Adjustments.
