
Option 1 | Color Range Selection
Color range selection works best for pieces that are graphic and have only a few clear colors.
Select and convert a color to a Spot Channel
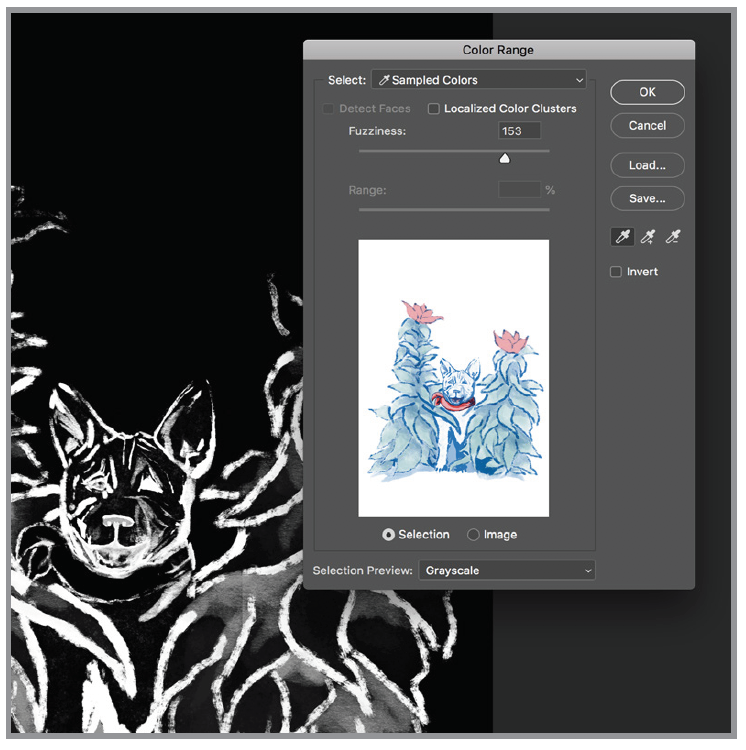
- Select your first color range:
- Menu Bar > Select > Color range…
- Sample one of your colors using the eyedropper tool.
- Use the Fuzziness slider to select more or fewer pixels. The white areas are the pixels selected.
- Click OK
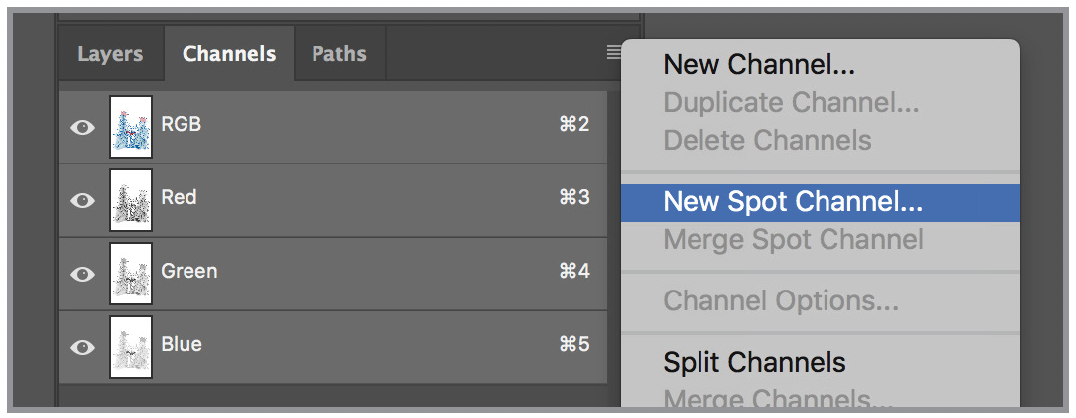
- With selected pixels loaded, go to the Channels menu panel.
- Select “New Spot Channel….” from the drop-down menu.
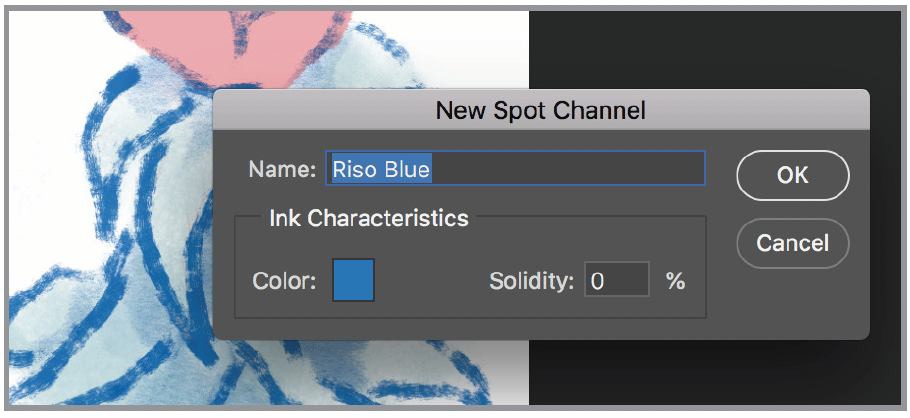
- Use the eyedropper to select your desired spot color from the Riso swatches panel.
- Click OK
Your new Spot Channel will show up with your selected area as a mask.
Repeat for every color.
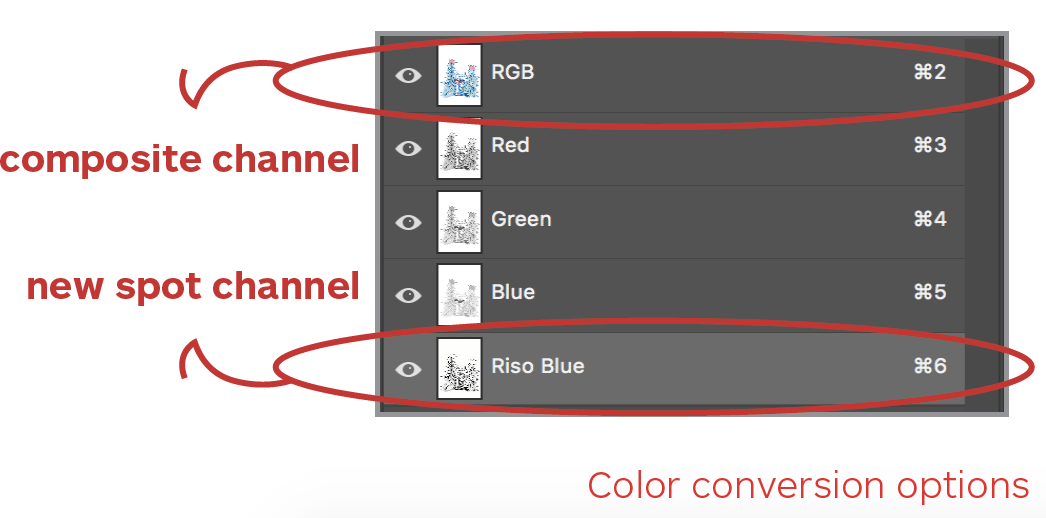
Make sure your composite channel is selected.
Change your mode to Multi-channel
- Menu Bar > Image > Mode > Multichannel
- Delete all non-spot channels
If Option 1 color conversion works for you, skip ahead to Additional Optional Adjustments.