Stuff You Should Know
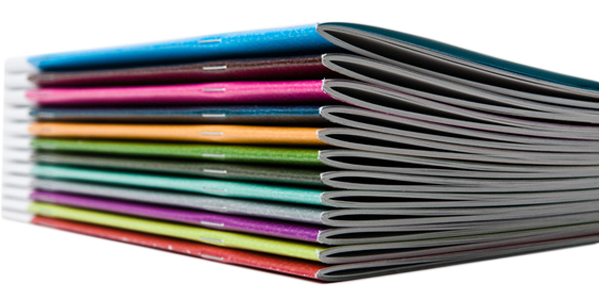
A saddle-stitched bind is among the cheapest and most common methods of bookbinding. Folded sheets are nested by the printer, one inside the other, and stapled through the fold line.
The Imaging Center can print saddle-stitch booklets that are 100 pages or less. The more pages you have, the thicker the book will be. Ideally, this process is most effective with booklets of 64 pages or less. Books with more pages will become bulky once folded and will not lie flat.
A saddle-stitched booklet needs to have pages in multiples of four. This means that your book should have a number of 4, 8, 12, 16, 20, 24, 28, 32, 40, etc. pages.
If your book is not in multiples of four, the RIP software will add a blank page to the end of your document, causing your book to print incorrectly.
There are two ways to submit files for printing saddle-stitch booklets. If you don’t require a full bleed, jump to the section: Printing Saddle Stitch Booklets (the Easy Way). If you do require a full bleed, this requires extra planning; jump to the section: Printing Saddle Stitch Booklets with Crops and Bleeds (also known as the more thought-out way).
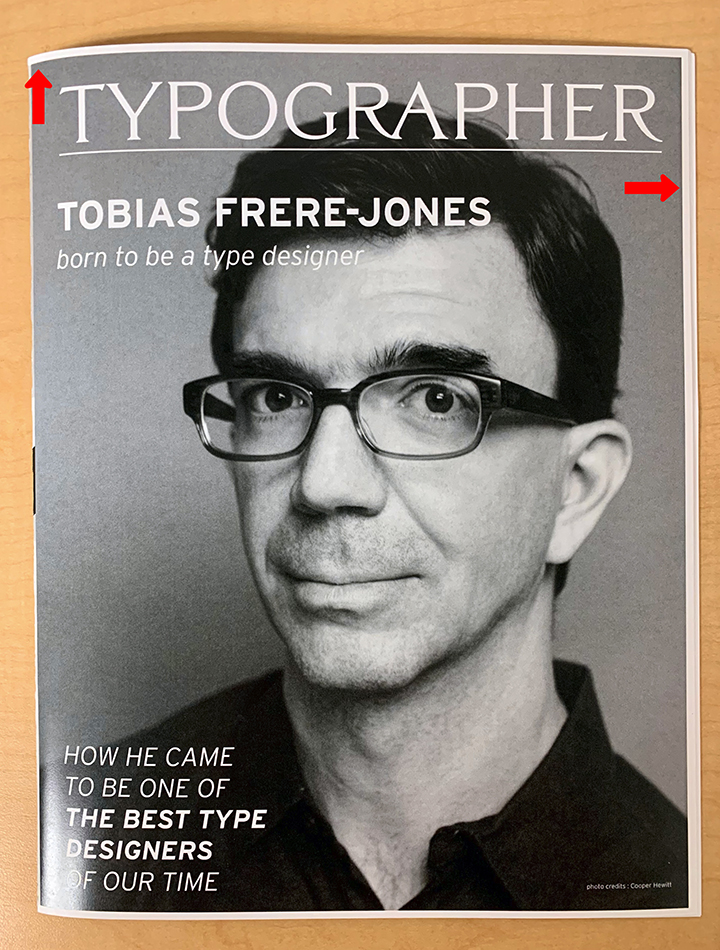
Remember, none of our printers can print to the edge of the paper. There will always be approximately a 1/8” white margin around the entire document.
The minimum height for a saddle-stitch booklet is 5.5”.
Students can designate a thicker stock for the cover and a thinner stock for the insides. If there is nothing specified, the booklet will be printed on the same media.
Printing Saddle Stitch Booklets (the Easy Way)
The size of your document will depend on the size of your folded, final booklet.
Since saddle-stitch booklets are folded sheets of paper, you should determine your document size by using standard paper sizes.
There are two standard options when printing without a full bleed in the IC.
- 5.5” × 8.5” (letter/8.5” × 11” folded in half)
- 8.5” × 11” (tabloid/11” × 17” folded in half)
Your booklet will have a thin white border.
To utilize this method, export your final document to PDF as single pages with no crop or bleed marks.
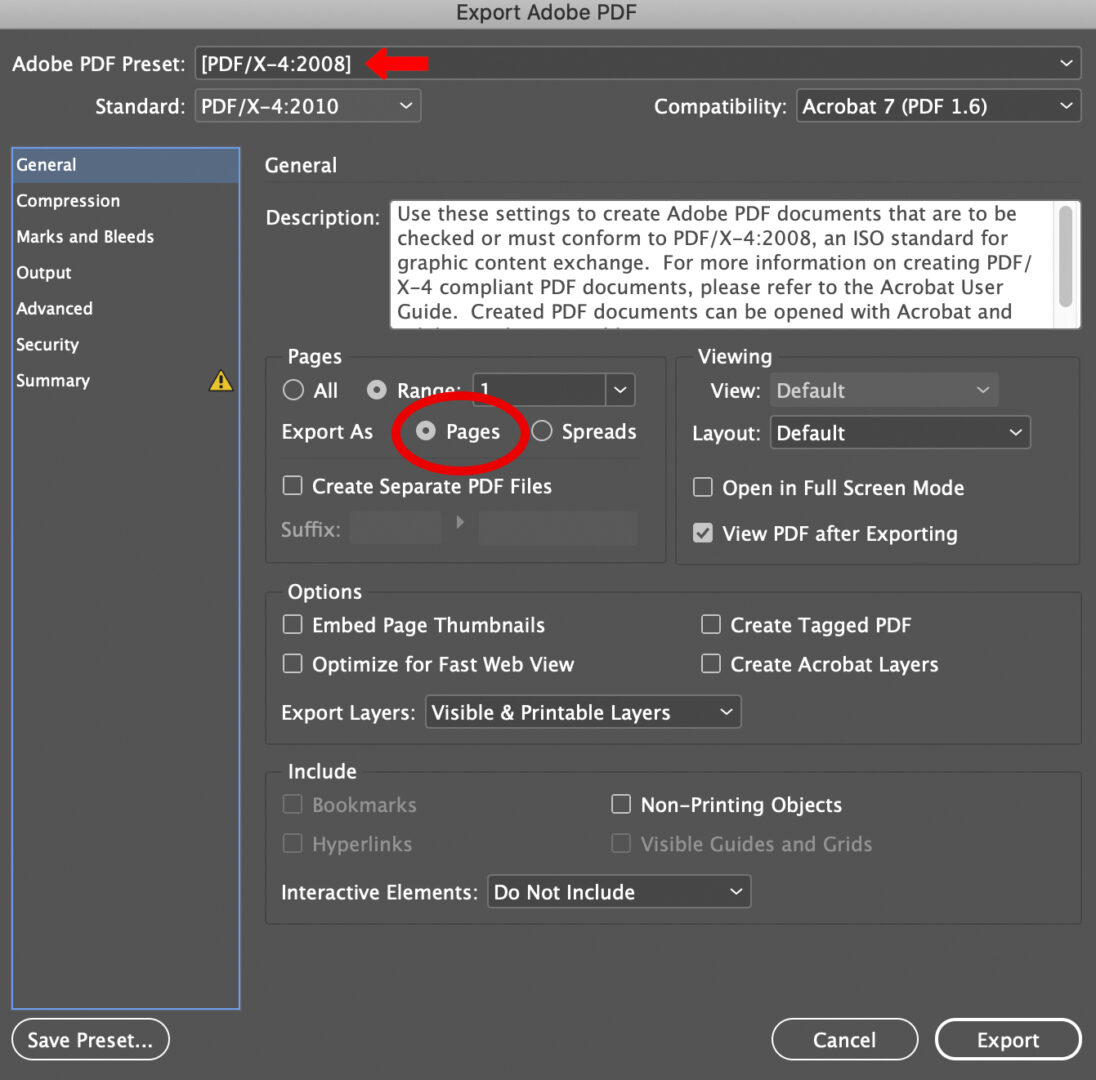
File > Export > Adobe PDF (Print)
Adobe PDF Preset > PDF/X-1a or PDF/X4
Export As > Pages
Confirm that the Pages option is selected. You want single pages when exporting this way.
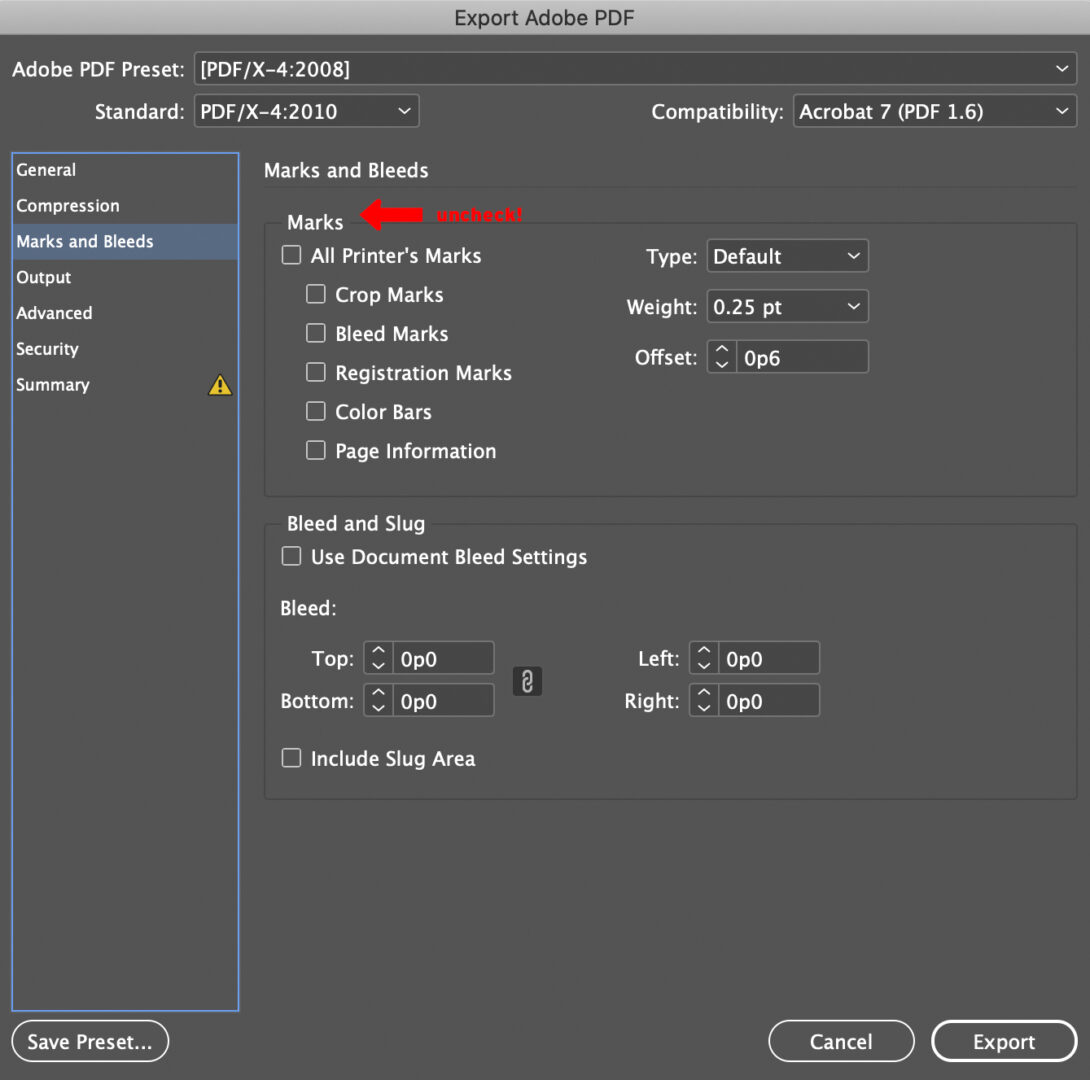
Marks & Bleeds > Make sure all marks & bleed options are unchecked.
Export.
Open your file to make sure that all the pages are in the correct order
Printing Saddle Stitch Booklets with Crops and Bleeds
There are a few different ways to properly prep your saddle-stitch booklet document to print with crop and bleed marks. This will help achieve a clean and accurate cut after printing.
You will need access to Adobe Acrobat Pro and Adobe Distiller. These programs are available in all computer labs on campus.
You will also need to export your document using InDesign’s Print Booklet feature. This process will help you create an imposed file.
Step One – Creating a PostScript file using InDesign
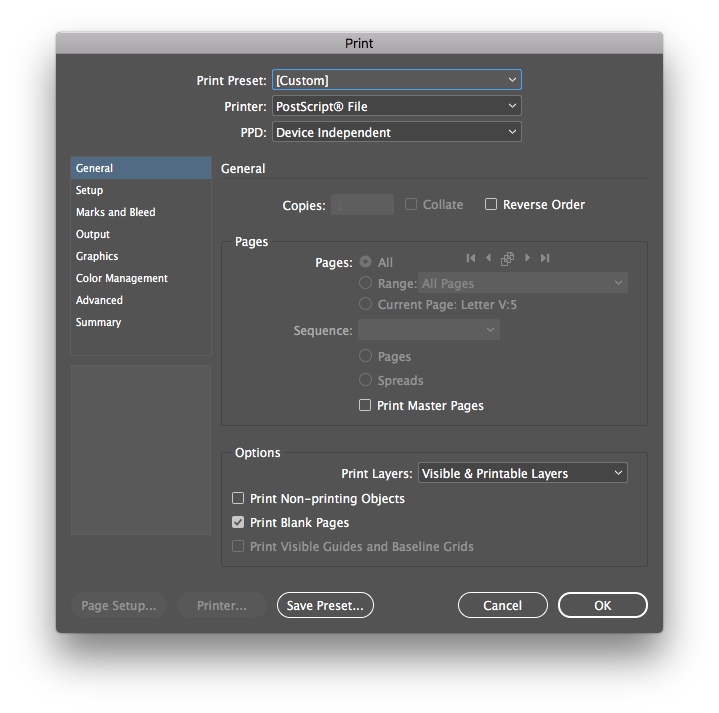
File > Print Booklet
Select Print Settings
- Printer > PostScript File
- PPD > Device Independent
- Print Blank Pages > Checked
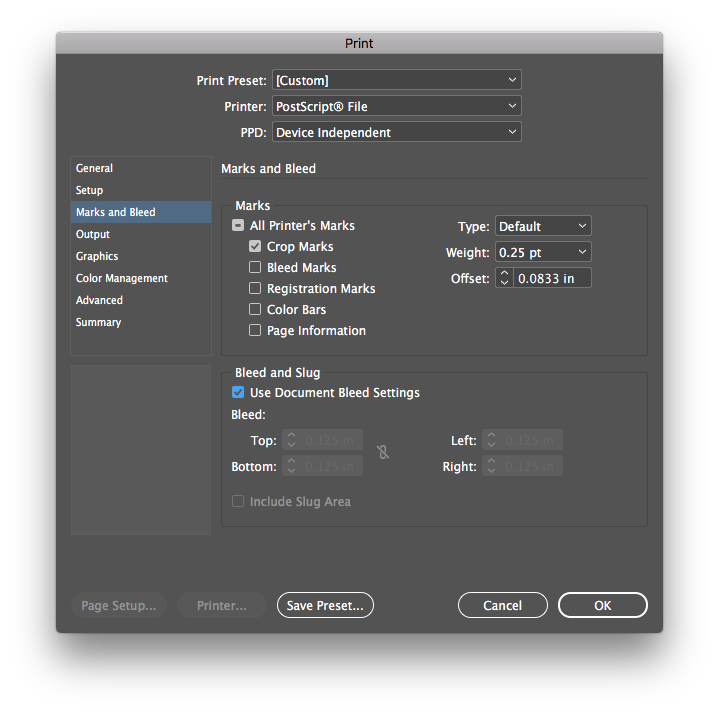
Select the Marks and Bleeds tab in the Print Booklet dialog
- Crop Marks > Checked On
- Bleed Marks > Checked On
- Offset > 0.0833”
- Use Document Bleed Settings > Checked On
Click OK. This will return you to the Print Booklet dialog window.
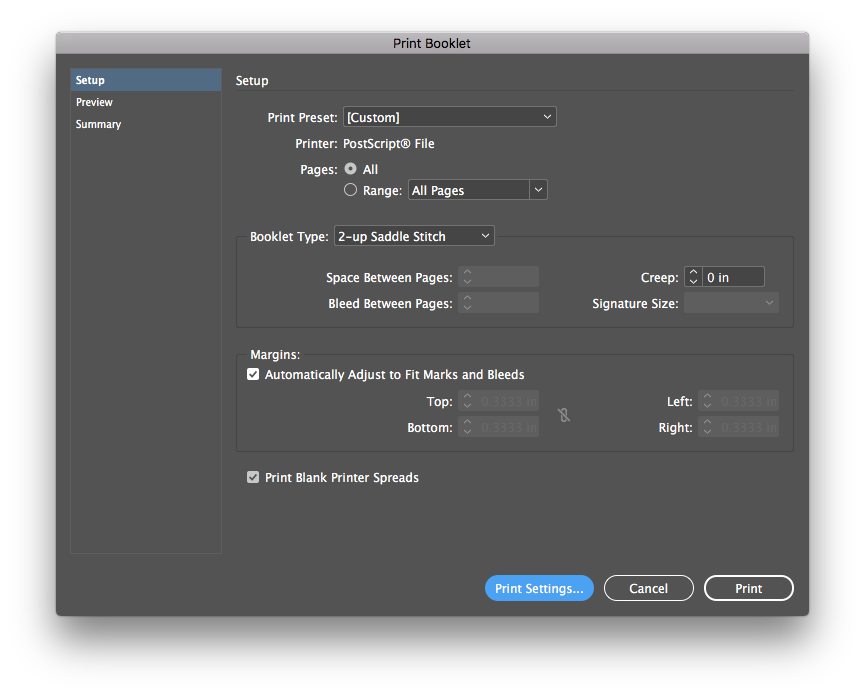
Select the Setup tab in the Print Booklet dialog
- Pages > All
- Booklet Type > 2-up Saddle Stitch
- Margins > Auto
- Print Blank Printer Spreads > Checked On
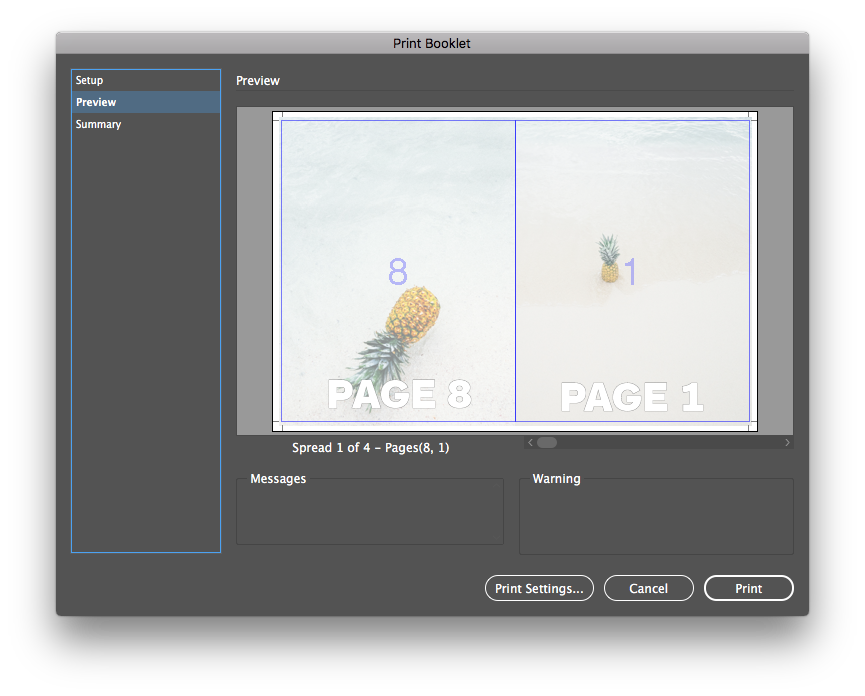
Select the Preview tab. Make sure your file looks correct.
Click Print.
Your file will now be saved as a .ps file (PostScript file)
Step Two – Creating a PDF file using Acrobat Distiller
Open Acrobat Distiller
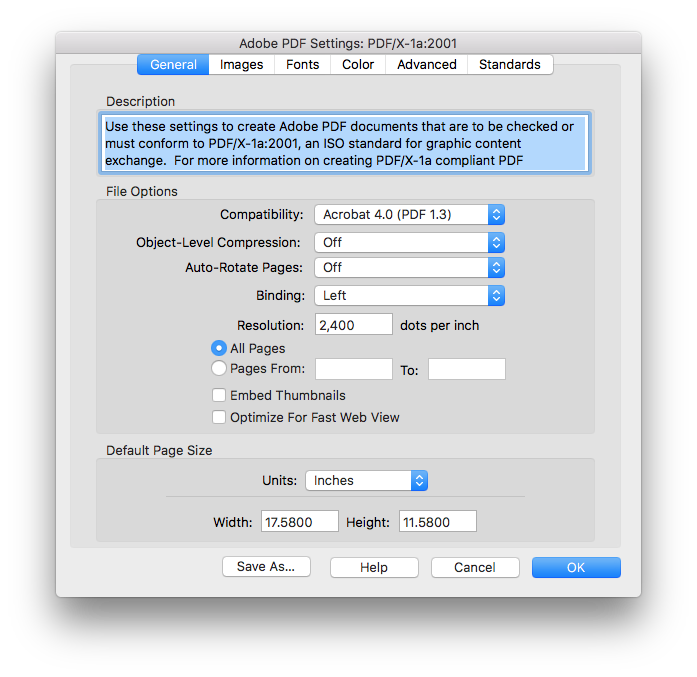
Default Settings > PDF X-1a:2001
Settings Menu > Edit Adobe PDF Settings
You will have to know what your exact document size is. This example is for an 11” × 17” booklet exported with crop marks, using document bleed settings.
Enter the exact width and height of the document.
Select Save As.
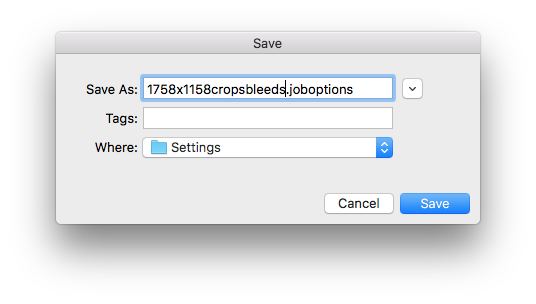
Save the .joboptions file with the image size and brief description of the PDF settings.
Click Save.
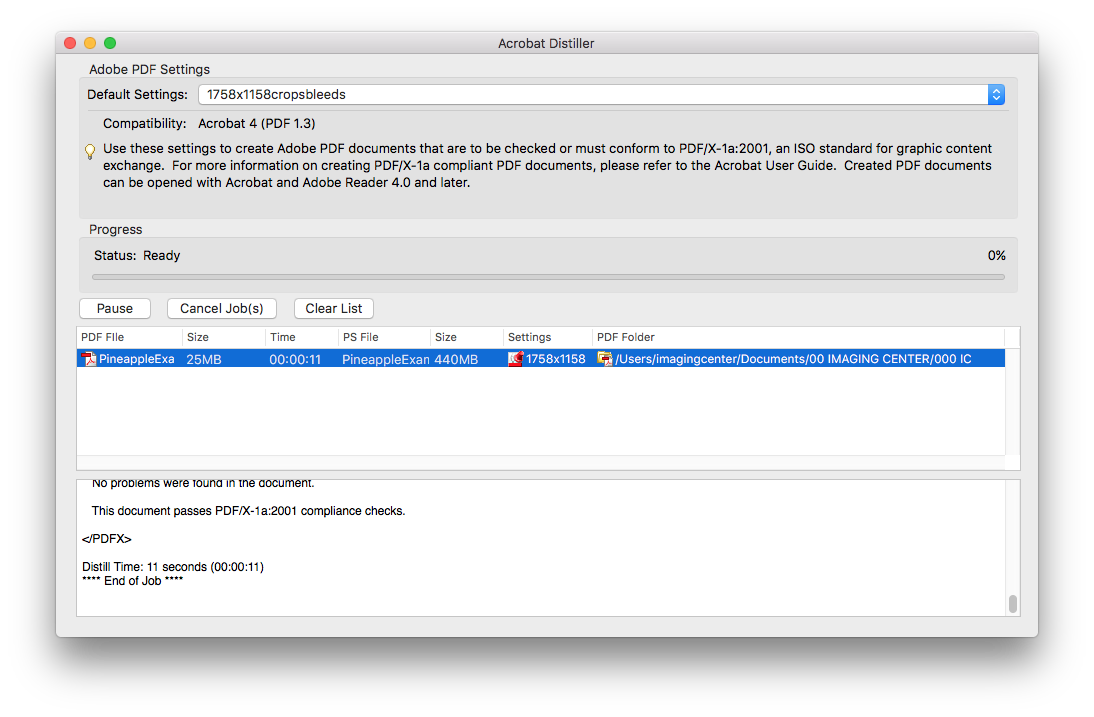
With Acrobat Distiller Open, you should now see your newly saved setting.
File > Open
Select and open the .ps file.
The .ps file will process and then be replaced with a PDF file with the same name. If saved correctly, the progress bar should say Status: Ready.

Open the file in Acrobat to double-check that your file has been saved properly, in the correct page order, and in the center of the page.