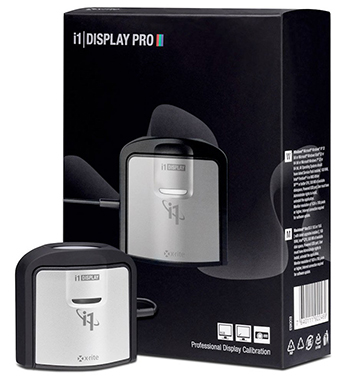
Check out an i1Display Pro from the IC to correct the color on your monitor, tablet, or mobile device.
If this is your first time calibrating your computer, download the i1Profiler application from the X-Rite website and install it onto your computer by clicking HERE
Open the .dmg package and follow the prompts on screen for installation. Installation will include a computer restart.
Profiling Your Device
Before you begin
Ambient light affects profiling outcomes. Set your computer in a place you plan to work often.
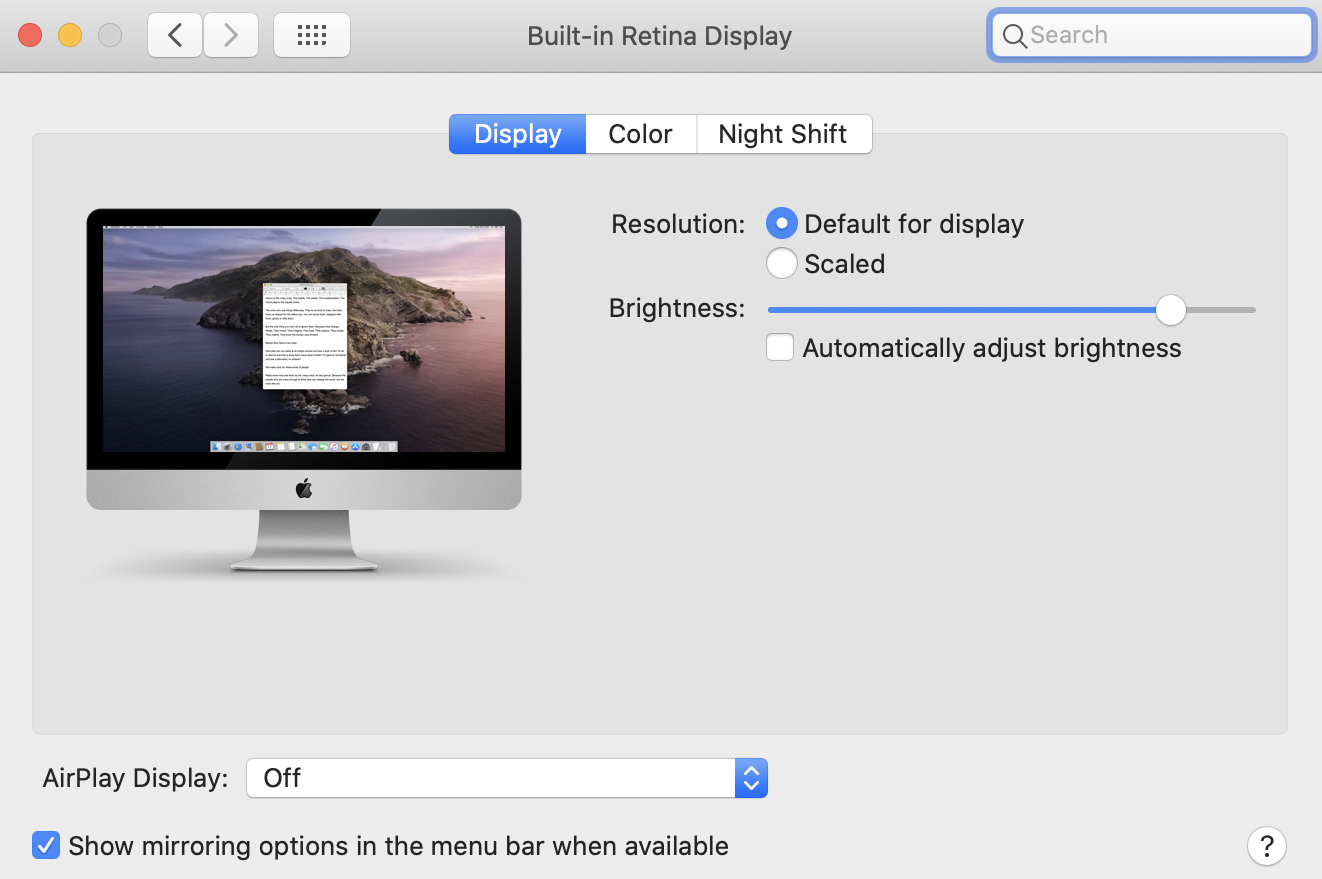
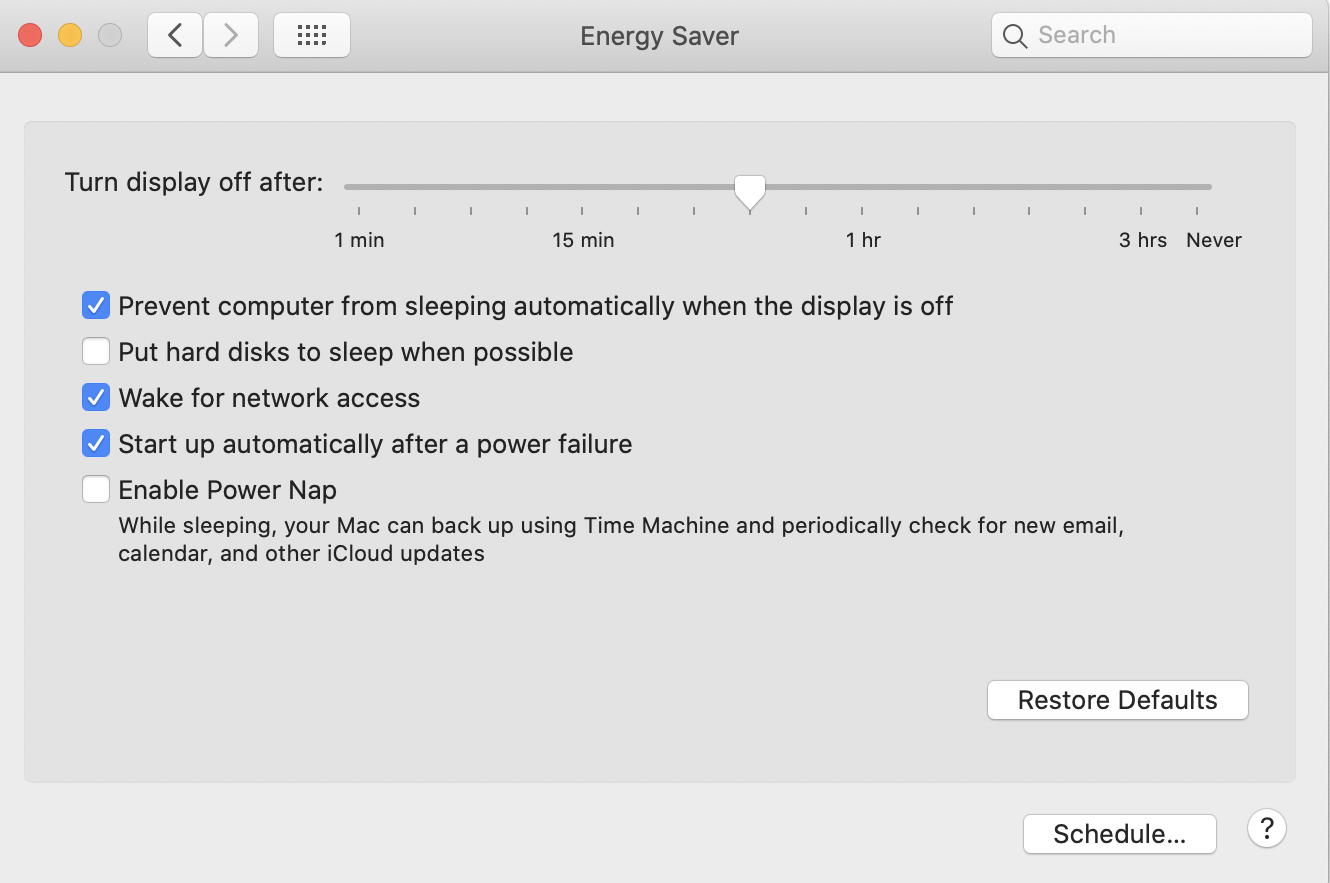
Make sure your screen has been on for 20-30 minutes. Turn off any settings that could possibly change the normal temperature or brightness of the screen while in use. (i.e. Night Shift, Low Power Mode, Screen Saver, etc.)
Don’t forget to clean your monitor so that it is free from fingerprints!
Quit any applications and turn off all settings that might interfere with calibration, such as pop up notifications, flashing updates or messaging services.
In System Preferences, ensure the following preferences are set:

Calibrating Your Monitor
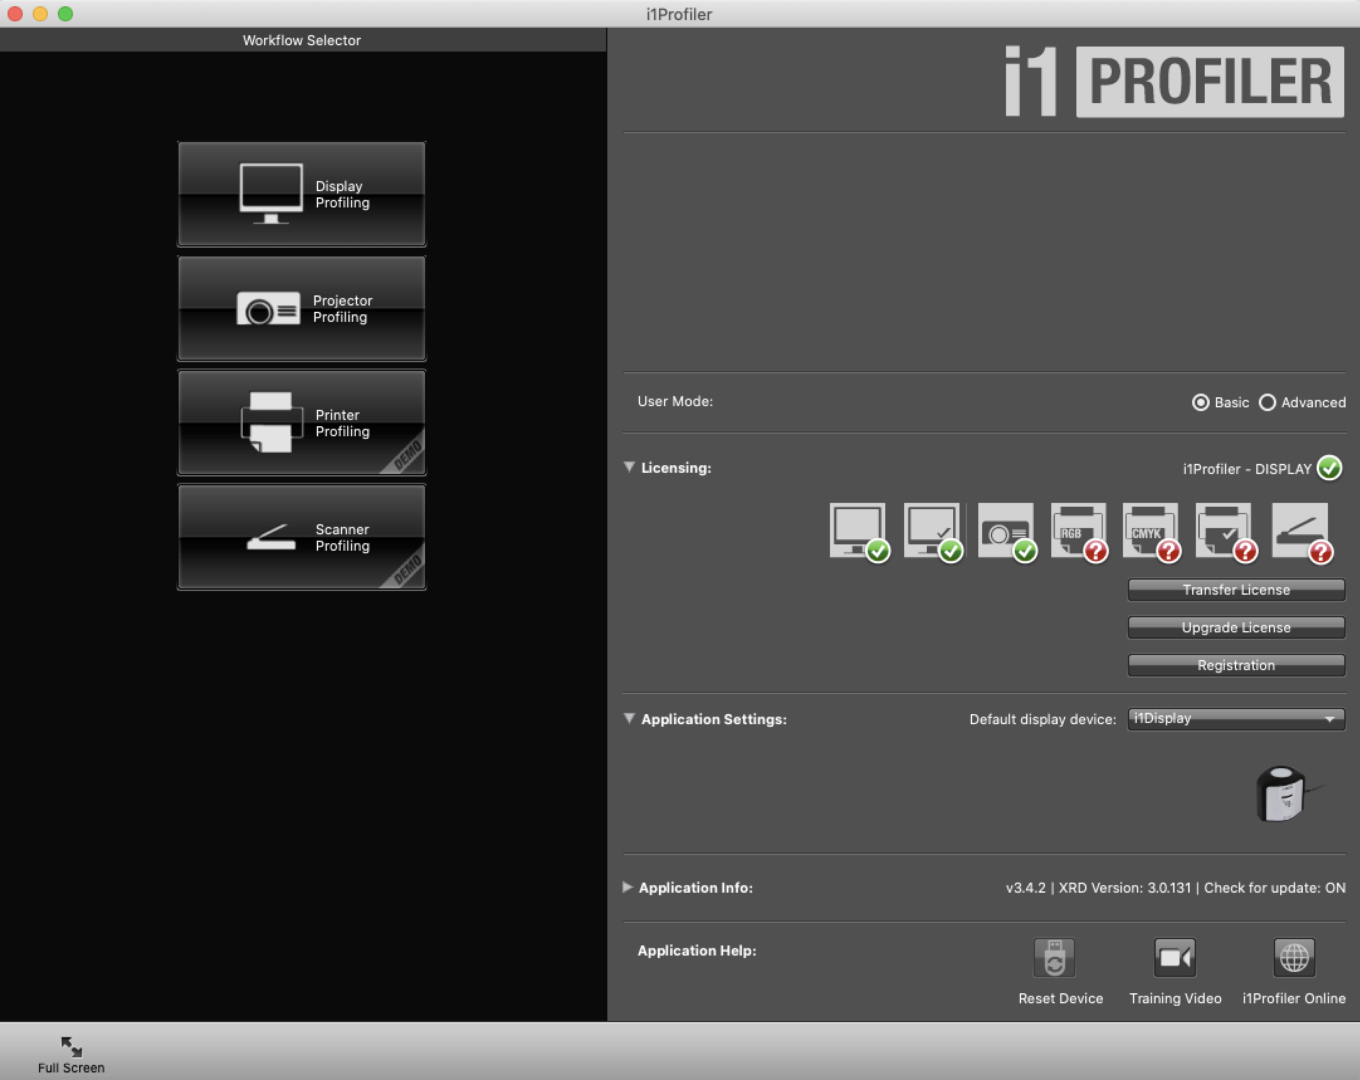
Open the i1Profiler software & connect the calibrator to your computer using the USB cord.
User Mode > Basic
Application Settings > set the Default display device to i1Display
From the Workflow Selector (left column), select the Display Profiling button.
Display Settings
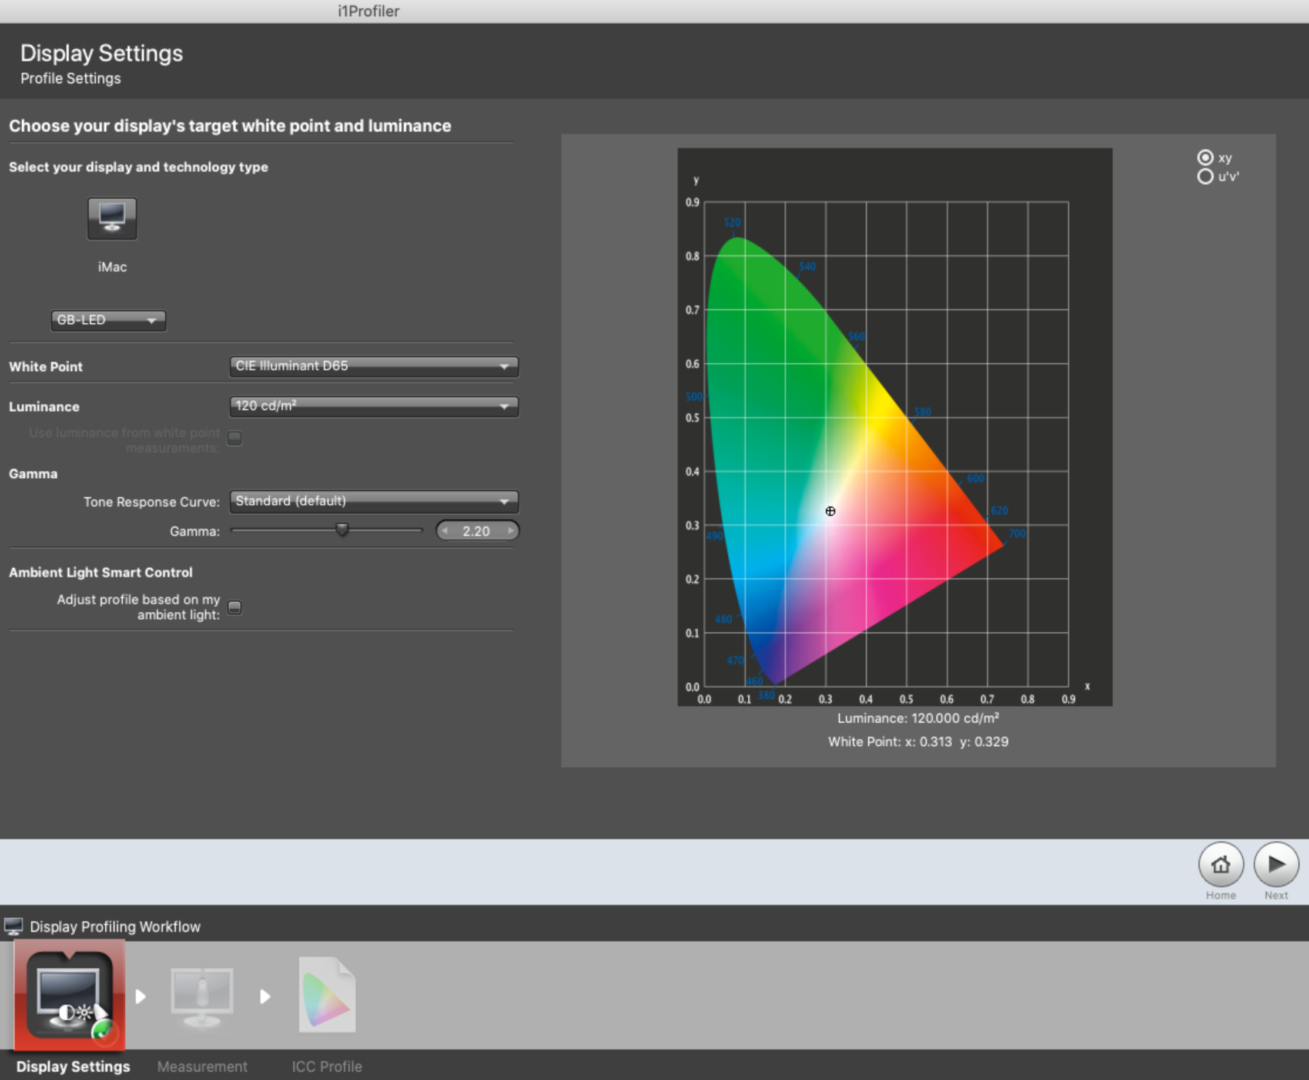
Select the display you are profiling and the type of monitor. In most cases, the program will automatically select it for you.
White Point > CE Illuminant D65
Luminance > 120 cd/m2
Gamma > Standard (default) | 2.20
Uncheck > Adjust profile based on my ambient light
Select the Next button
Note: D50 and D65 are the most common temperatures. D50 is a warmer white used for commercial CMYK printing (IC laser printing) and imitates the yellow-cast of paper. D65 is cooler in color and is best for inkjet printers (IC inkjet printing). D65 is also a good setting for photography and digital output. If you are undecided, use D65.
80 cd/m2 is the lowest level and 250 cd/m2 the brightest. 80-120 are the preferred luminance levels to see shadows. If you prefer to keep your current screen brightness level, select “Native.” The program will retain your current level of screen brightness and profile accordingly. If you are unsure, 100-120 is recommended.
Display Hardware Setup
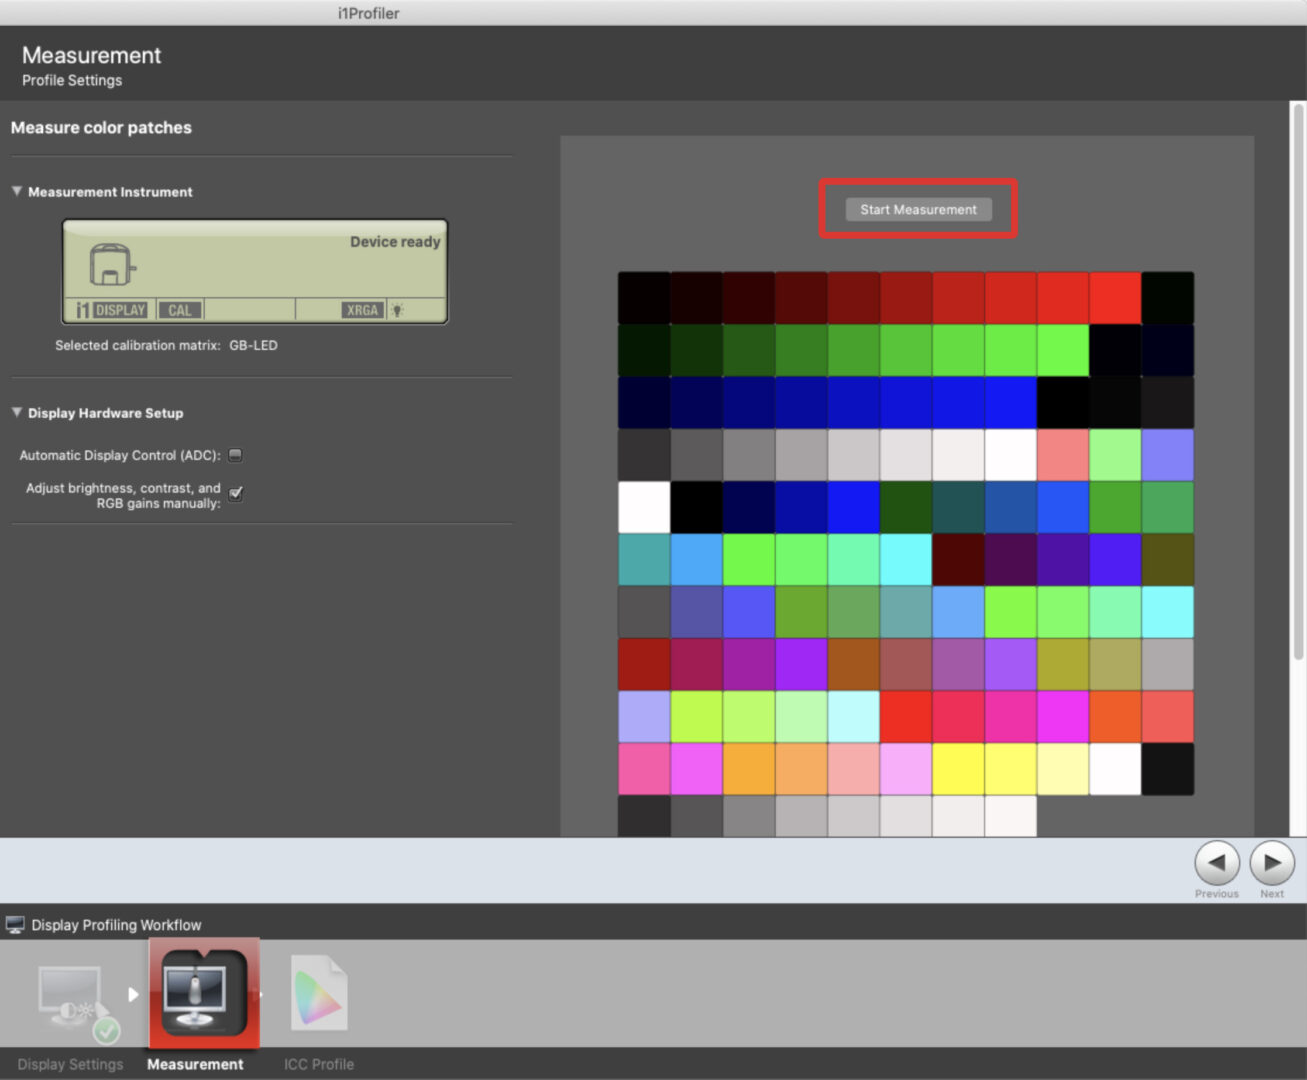
If your computer has Automatic Display Control (ADC), check the ADC box. If you are unsure, undecided, or know your computer does not have ADC, use the manual mode.
Check > Adjust brightness, contrast, and RGB gains manually.
Select > Start Measurement
Measurement
Place the measurement device onto your screen using the counterweight provided on the USB cord.
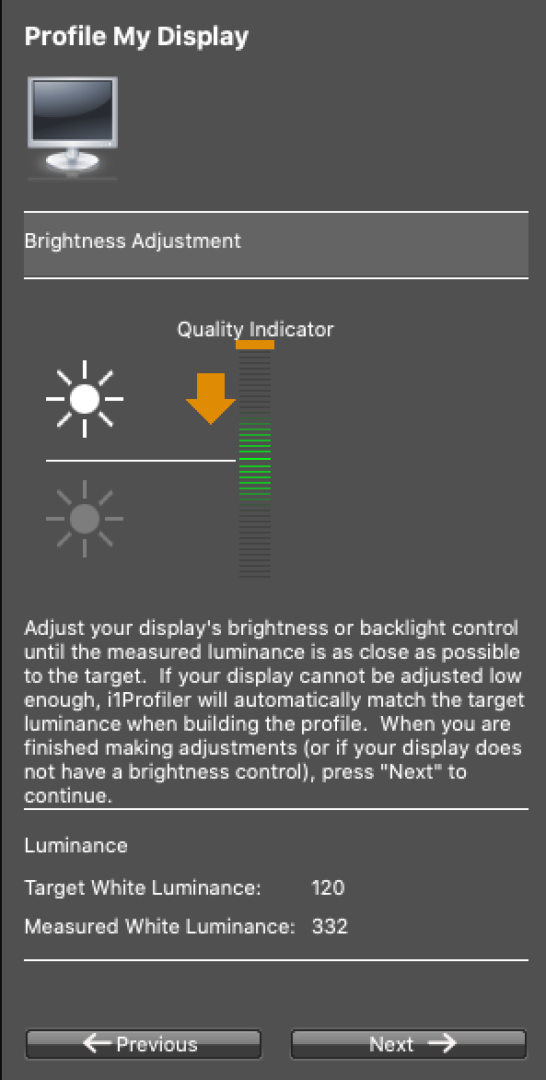
Follow the instructions on the screen to adjust your brightness. Get as close as you can; the brightness is usually not a perfect match, but the device will calibrate according to your brightness.
The computer will then flash different colors and the spectrophotometer will calibrate based on these colors.
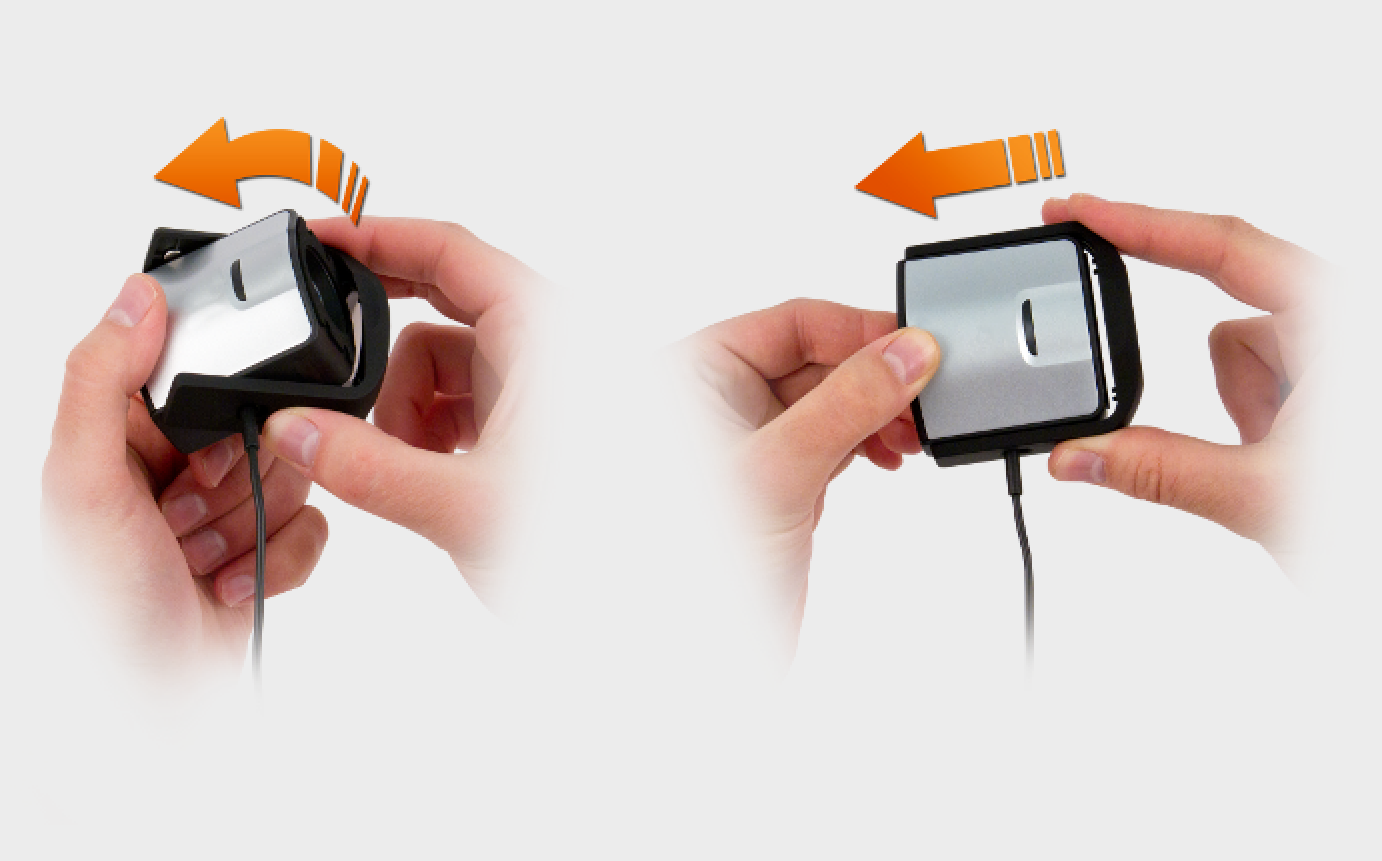
When prompted by the program, remove the i1Display device from the screen, turning the diffuser back over the lens.
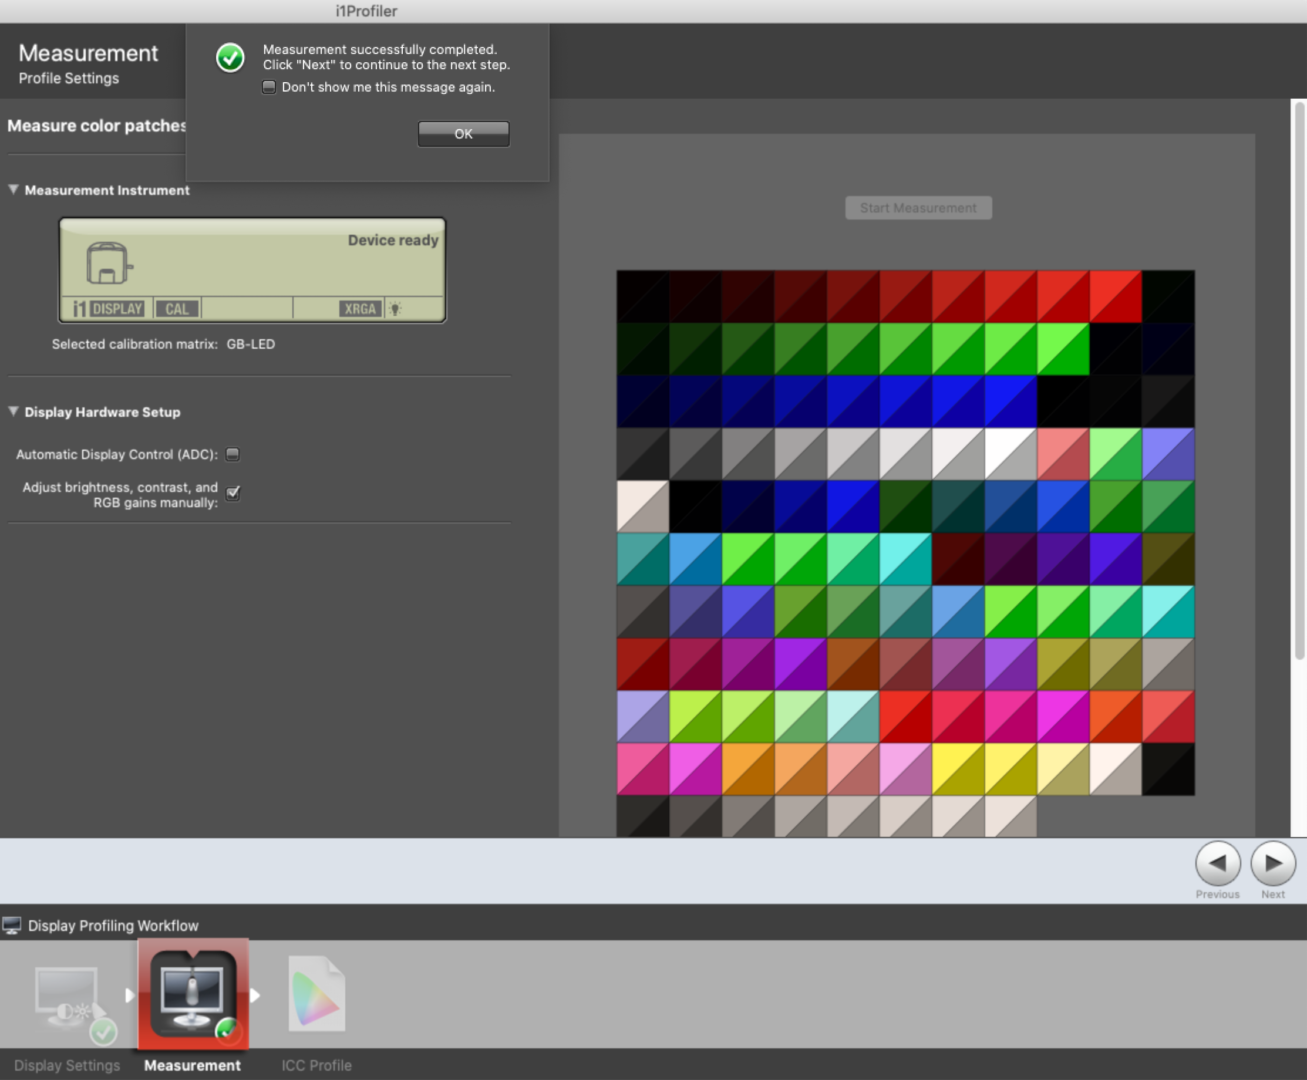
Once finished, the program will display a series of patches split into before and after triangles. Each triangle pair should only differ in value. If any pair are a completely different color, it is likely that a screen pop up interfered with the calibration process, and the measurements must be taken again.
If the patches are correct, click Next or select ICC Profile.
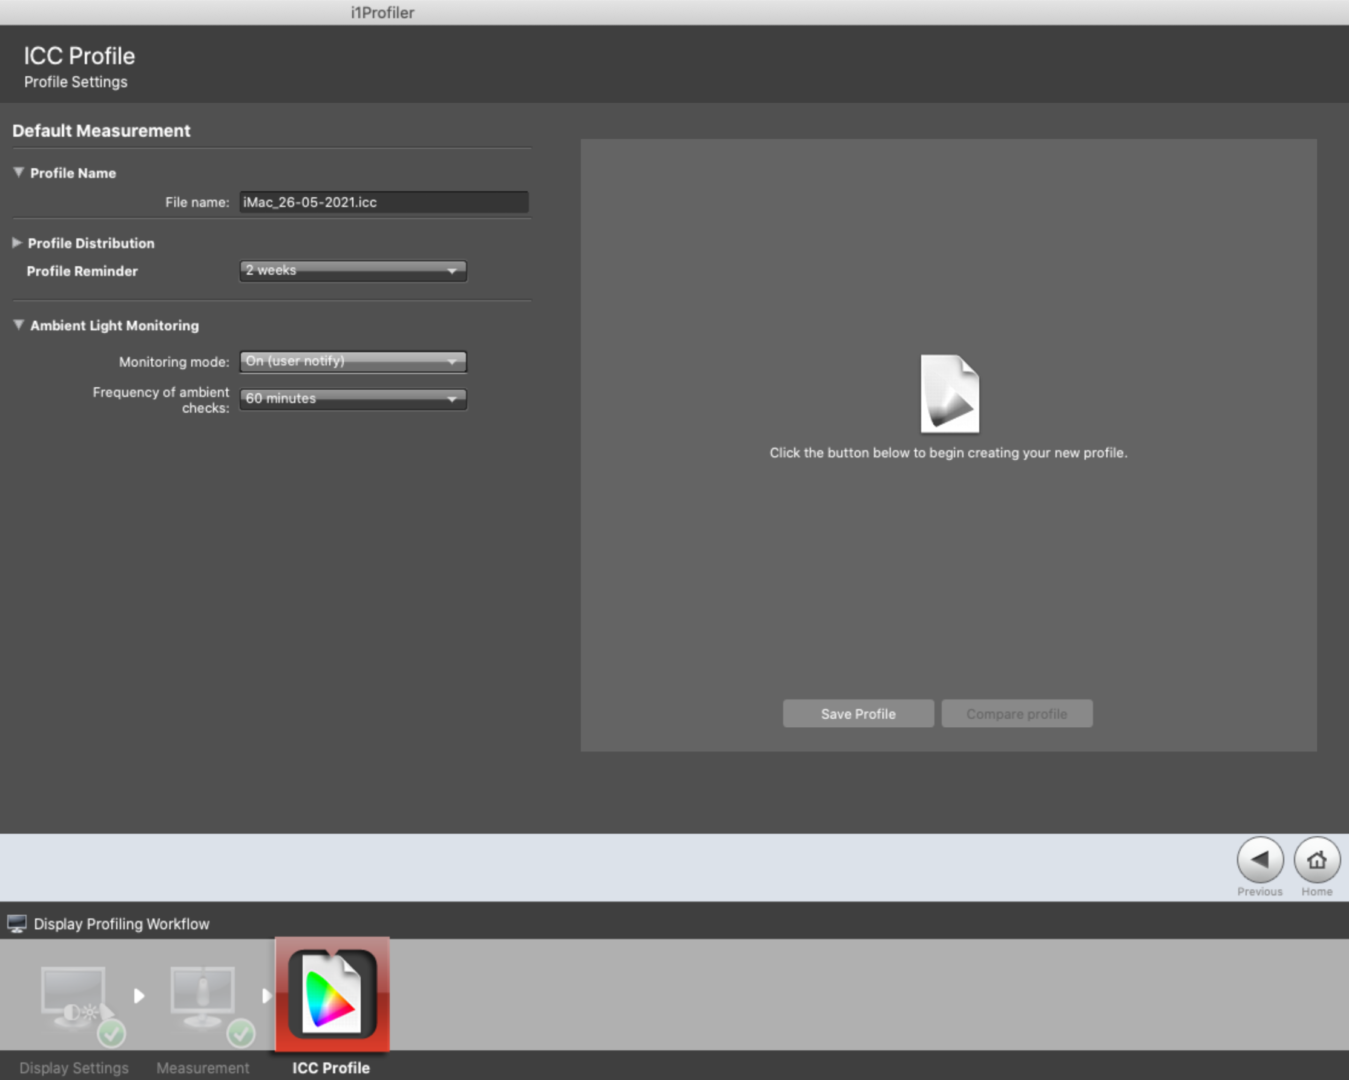
Name your profile; include date and monitor type. Example: 2018-01-30-Macbook-Office.icc
Set user access for the profile.
Set up a Profile Reminder of 1-4 weeks. If you are doing color-critical work, profile every week. Otherwise, every 2-4 weeks should be sufficient.

You can view results and select “before” and “after” images as examples of your improved color.
