Rendering your Zoom .mp4 file will take additional time at the end of your meeting. Please allow a minimum of 15 minutes in your planning time for this process. Do not leave a file rendering. Rendering may take longer depending on the length of your meeting/recording.
Start your meeting as you usually would.
As a courtesy, remind your participants that your meeting is going to be recorded.
When you are ready to start recording, click on the “record” button at the bottom of the meeting window.

You will be asked where you wish to save your recording. Choose a location on you computer or record to the Zoom Cloud.
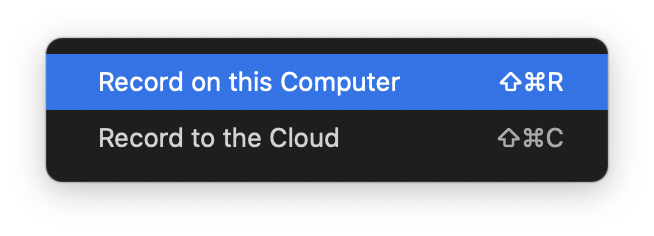
Note: If you choose to save your recording to the Zoom Cloud you will have 15 days to download your recording before it is automatically deleted.
To finish recording, click on the “Stop Recording” button at the bottom of the meeting window.

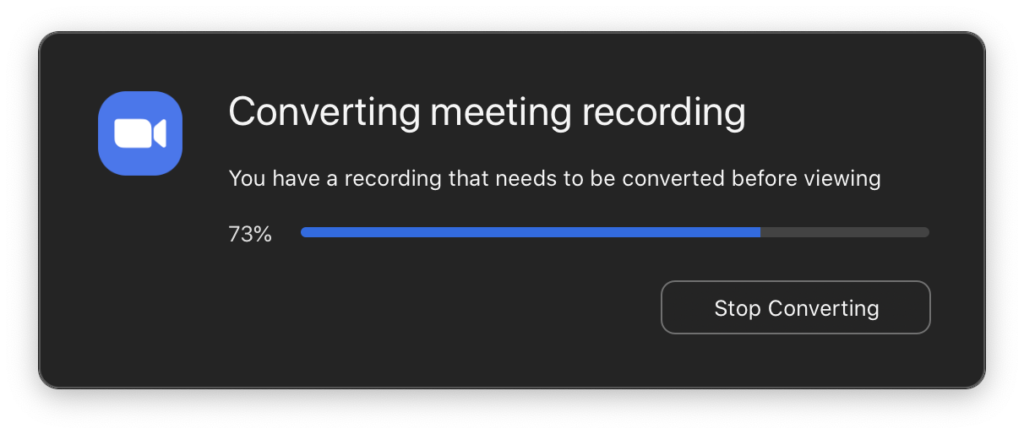
A message will appear at the top of the window to remind you that the recording has not yet rendered and that the file will render when the meeting ends.
End your meeting as you usually would by clicking on the “End Meeting” button at the bottom of the meeting window.
The recording will render as an .mp4. You will see a pop-up with a status bar indicating that the recording is rendering.
If you selected to save your file locally it should now be available on your machine. If you selected to save it to the Zoom Cloud, you will need to log in to https://collegeforcreativestudies.zoom.us/ to download your media files.