Docusign Payment Requisitions, Purchase Requisition, and Travel & Expense Form Procedures
Fill out your form like usual but leave out the signatures on the bottom left. Then save it in a place you can easily get back to.
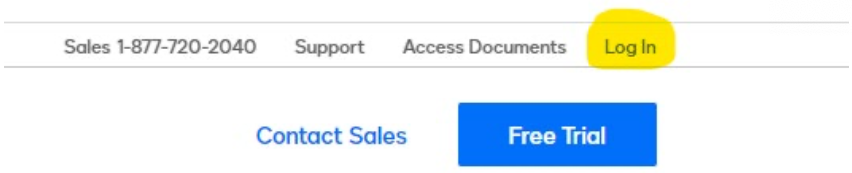
Navigate to Docusign and then click Login in the top right corner.
Log in using your CCS email and the password you set up after your invite.
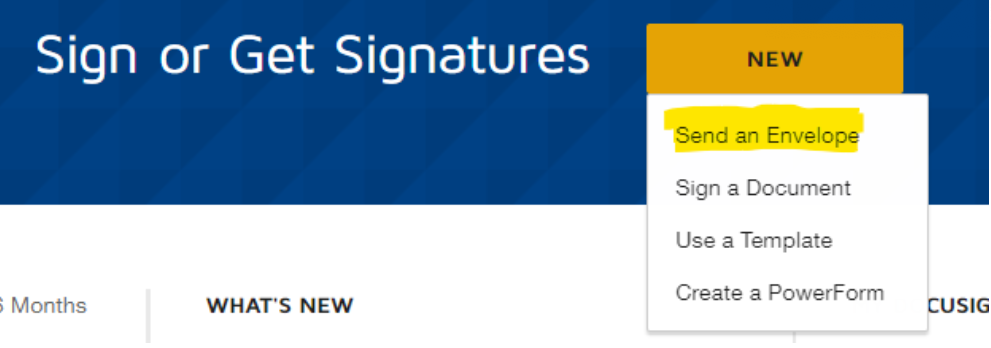
On the home page, select the yellow NEW button towards the top of the page.
Then select Send an Envelope.
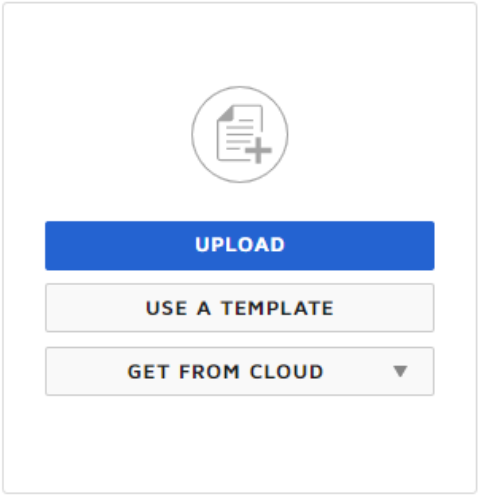
Then click the blue UPLOAD button to attach your completed payment or purchase requisition.
If you have any invoices, quotes, receipts or other backup that would normally accompany your form to the Business Services department, please add it as another document upload using the same blue button from Step 6.
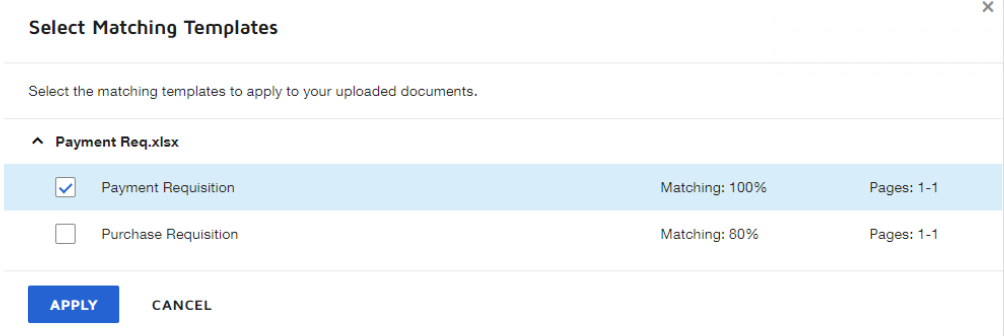
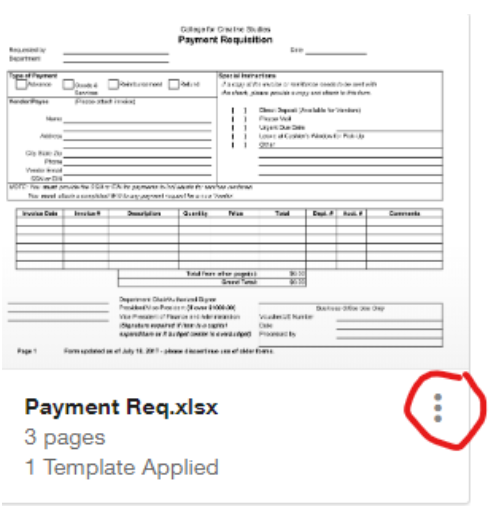
The system might recognize what form you are and suggest a template to apply. If it does, please select the appropriate file and then skip step 9. If it does not, please move on to step 9.
Next click on the three vertical dots button on the right of your file name and select Apply Templates.
Please click the heading named Browse at the top and it will show you the templates available. Select either the Payment Requisition, Purchase Requisition, or Travel & Expense template depending on what you are submitting to us and click Apply Selected.
Scroll down and add your Department Chair, Director, or Authorized Signer information under the appropriate field.
If it’s over $1,000, then add your President/Vice President’s/Dean’s information under the correct section.
If your purchase or payment requisition is not for a capital item please remove the “VP of Finance/CFO – Only if capital item” by clicking the X that shows up next to that section when you hover your pointer over it. This section will not appear on a Travel & Expense form.
For Purchase Requisitions, please delete one of the signers in spot 4 based on if your request is for $1,000 or above. For Payment Requisitions and Travel & Expense forms, please leave the Accounts Payable/Business Services approval’s alone as this is how your order/payment will be processed.
Scroll down and you can change your Email message that the signers will receive. We recommend adding adequate information so the signers know what they are being asked to sign when they receive the message.
Then click Send Now.
You will get emails along the way, so that you know where your document is in the process.