Differentiation Tags is a Canvas feature that allows instructors to create custom sets of students within a course. These sets are hidden from students and can be used for various organizational and instructional purposes. You can use differentiation tags to assign specific content to customized sets of students. Please note the following:
- Differentiation Tags are not visible to students.
- Differentiation Tags are not retained during course imports or exports.
- Individual courses are limited to a total of 40 tags and 10 variants per tag set.
- There is no limit to the number of tags that can be assigned to a given student. However, a student can only be assigned one tag per tag set.
- When a student belongs to multiple tags or sections with conflicting due dates for the same assignment, the assignment with the latest due date will apply. However, if there’s an individual override set for the student, that due date will take precedence over all others.
- Tags are not supported for Group Assignments and will not appear as an option when creating them.
Use the following links to jump to specific sections in this guide:
- Why Would I Use Differentiation Tags?
- When Would I Use a Tag Over a Section or a Group?
- What are some examples of how I can use Differentiation Tags in my course?
- Creating Differentiation Tags
- Assigning Differentiation Tags
- Using Differentiation Tags in Your Course
- Additional Resources
Why Would I Use Differentiation Tags?
- Targeted Assignments: Easily assign homework, quizzes, or other materials to specific student tag sets using the “Assign To” feature.
- Differentiated Instruction: To provide personalized learning experiences, create tag sets based on learning styles, academic needs, or interests.
- Accommodation Tracking: Discreetly tag students who require accommodations, allowing instructors to identify and address their needs quickly.
- Streamlined Communication: Communicate with specific student tag sets through the Inbox without alerting the whole class.
- Gradebook Filtering: Filter the traditional gradebook to view and analyze the performance of specific student tag sets.
When Would I Use a Tag Over a Section or a Group?
Since Sections are frequently connected to the SIS (Student Information System – for CCS, this is Colleague), and making edits or creating new Sections can create downstream consequences, they’re often heavily restricted. Preventing instructors from using them. Groups, on the other hand, are inherently collaborative, always visible to students, and come with a “mini course” where students can collaborate on assignments.
Tags give instructors more flexibility in organizing their courses and managing content without interfering with SIS sync or being visible to students.
What are some examples of how I can use Differentiation Tags in my course?
- Create a tag for students who need extended time on assignments.
- Tag students who prefer visual learning materials.
- Tag students according to their interests for project-based learning activities.
- Identify students who might benefit from extra support or challenges.
- Use Tags to segment students for moderators/graders.
Creating Differentiation Tags
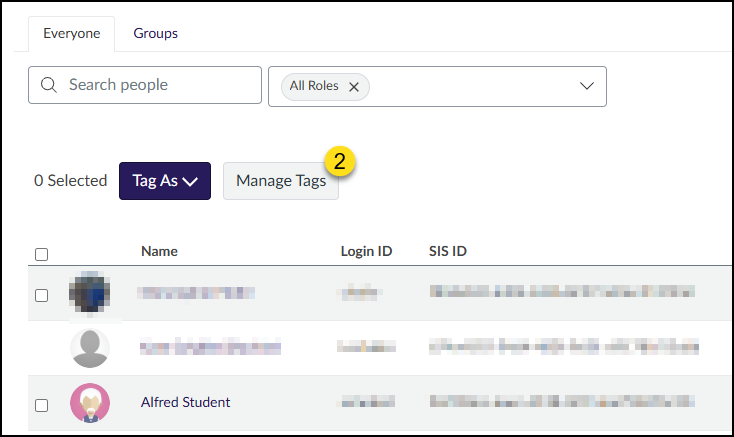
- Click on the People link in your left-hand course navigation menu.
- Click on the Manage Tags button. A slide-out menu will appear on the right side of your screen.
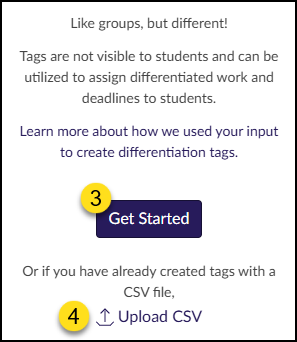
- Click the Get Started button to start creating Differentiated Tags.
- Optional: Click the Upload CSV link if you have already created tags with a CSV file.
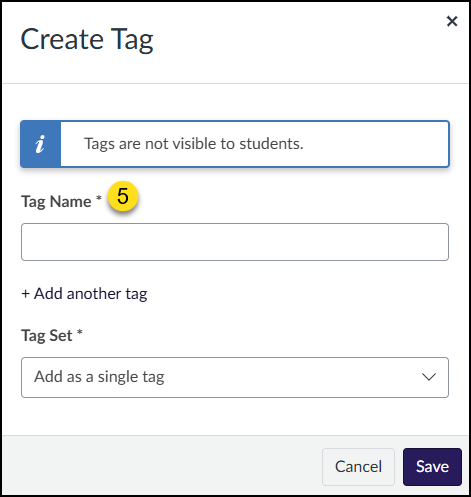
- To create a new tag, enter a Tag Name, and then skip to Step #9 below.
- Examples: Extra Time, Special Project, Extra Credit, etc.
A Tag Set allows you to group similar items together. For example:
- Add a new Tag Name as described in Step #5 above.
- Click on the + Add another tag link to add additional variants of your Tag Name.
- Variants are names of larger group sets. In the example illustration below, we’ll use program names (variants) of Illustration, Fashion Design, and Entertainment Arts.
- In the Tag Set Name textbox, add a name for your tag set. In our example, we’ll use the name Majors.
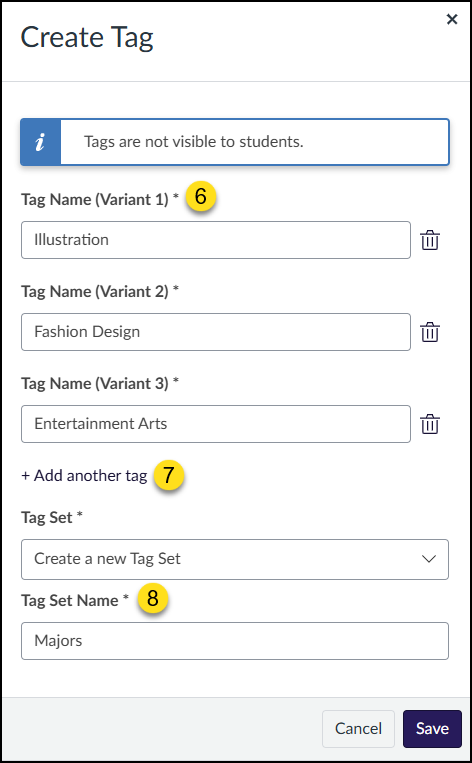
- Click the Save button to create your new tag(s).
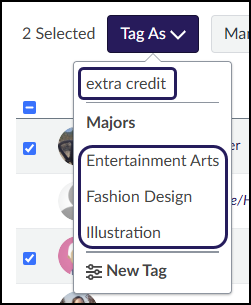
As an example, you can see that one Differentiation Tag has been named extra credit. (See Step #5 above.) Additionally, a Tag Set has been created with the name Majors. Within this Tag Set, three Differentiation Tags are listed for you to pick from: Entertainment Arts, Fashion Design, and Illustration.
Assigning Differentiation Tags
Once you have created Differentiation Tags, you can assign those tags to students in your course.
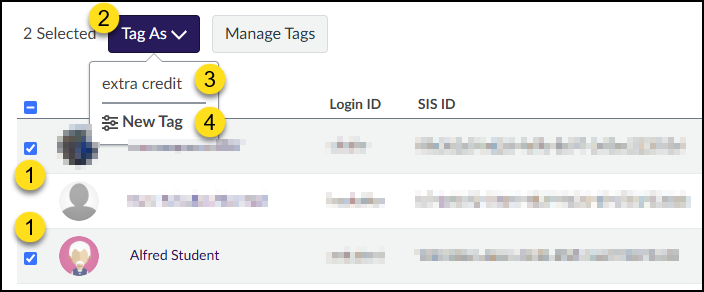
- On the People page of your course, place a checkmark next to each student you would like to assign to a specific Differentiation Tag.
- Click on the Tag As button.
- Select the name of a tag you created earlier. In the below example, a tag called extra credit was created.
- Optional: Click on New Tag to return to the Create Tag window as described in Creating Differentiation Tags.
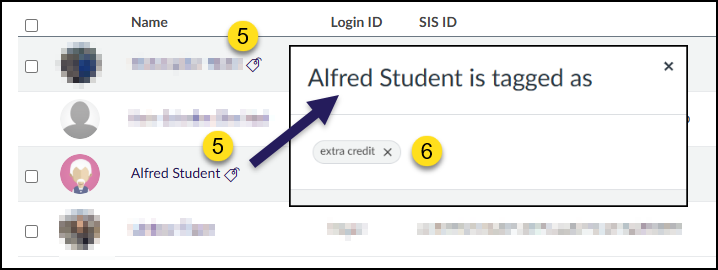
- Once a Differentiation Tag has been assigned, a tag icon appears next to the student’s name.
- Click on the tag icon, and a pop-up window will appear listing any tags that have been assigned to the student.
Using Differentiation Tags in Your Course
Now that you have created Differentiation Tags, you can use those tags in parts of your Canvas course.
Modules
Note
Although these instructions specifically relate to Modules, you can also use the Assign To… function to assign Differentiation Tags to Pages, Discussions, Assignments, and Quizzes. Only students assigned to those specific items will see them based on the Differentiation Tags you’ve created. The instructions for those areas of Canvas are similar to what you see here.
You can assign a module to individual students or sections (for example, if you had two or more courses cross-listed together). You can also assign modules to students using Differentiation Tags.
- Click on the Modules link in your left-hand course navigation menu.
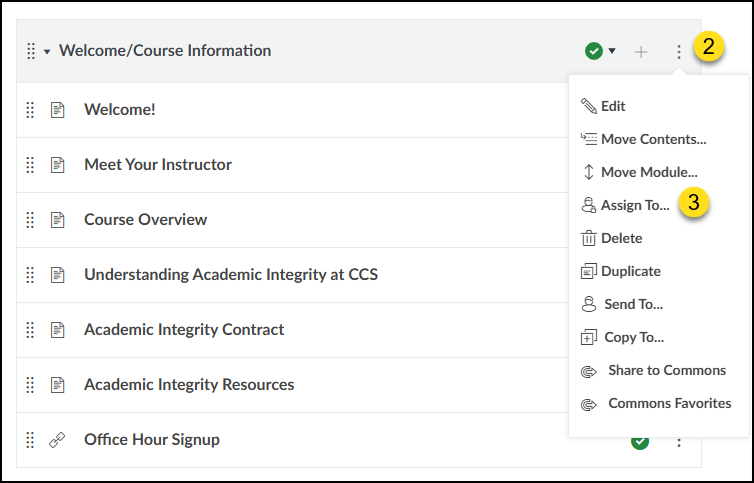
- Click on the three vertical dots icon to the right of the module name that you’d like to assign Differentiation Tags to.
- Click on the Assign To… option. This will display a fly-out menu on the right side of your screen.
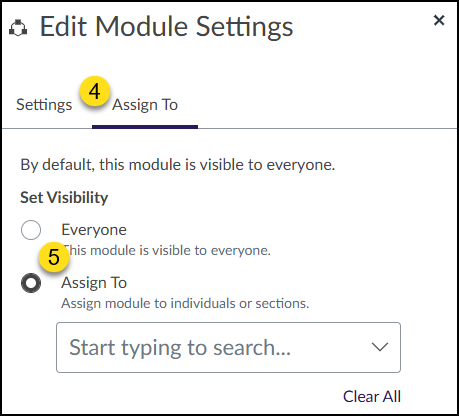
- In the Edit Module Settings fly-out menu, click on the Assign To tab.
- Click on the Assign To radio button to assign your module using Differentiation Tags.
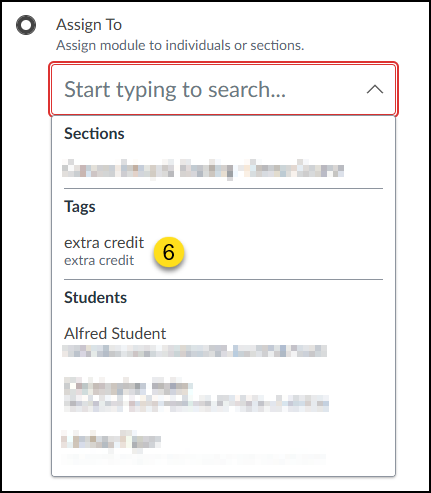
- From the Assign To drop-down list, click on the name of the Differentiation Tag that you created via the People page. You may add additional sections, students, or Differentiation Tags by repeating this step.
- Click the Save button to save your changes.
Gradebook
Differentiation Tags can be used as filters in your Gradebook.
- Click on the Grades link in your left-hand course navigation menu.
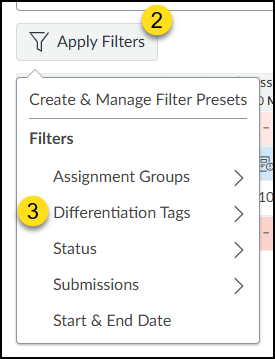
- Click on the Apply Filters button on the top left corner of the screen.
- Click on the Differentiation Tags option.
- Click on the name of the Differentiation Tag that you created via the People page of your course.
- To remove your filter(s), you have a few options:
- Repeat steps 2-4
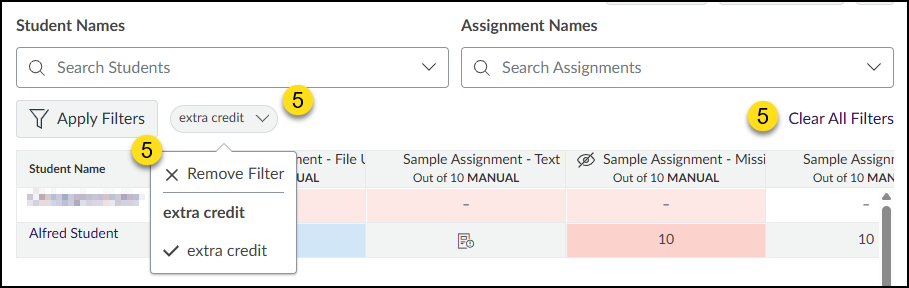
- Click on the filter name pill to the right of the Apply Filters button, and then click on either Remove Filter or click on the name of your Differentiation Tag.
- Click on the Clear All Filters link near the top right corner of your Grades page.
Inbox
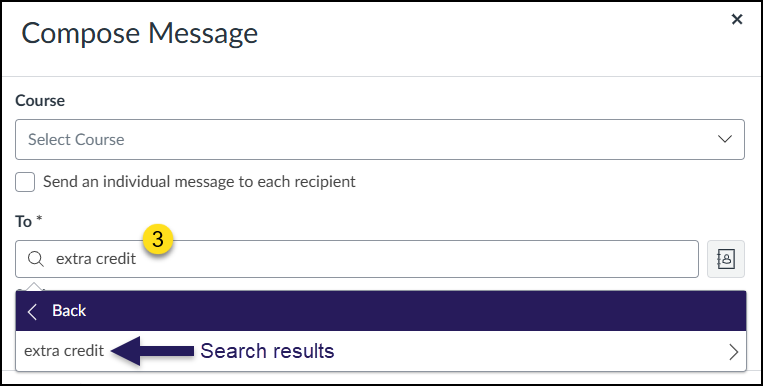
In the Inbox, you can use Differentiation Tags to send messages to specific tag groups. When sending a message to students with Differentiation Tags, the Send an individual message to each recipient checkbox is disabled. This prevents accidental exposure of which students are associated with a tag.
- Click on the Inbox link in your left-hand course navigation menu.
- Click on the Compose button at the top right corner of the screen.
- In the To field, one of the easiest ways to quickly add your Differentiation Tag is to type the name of it in the provided text box. Canvas will find the name of your Differentiation Tag for you to add to the To field.
- Fill out any other relevant information for your message to students, and then click the Send button.