“Themes are a quick and easy way to add an aesthetic boost to your Canvas content!”
Cidi Labs, DesignPLUS: Themes – Video Hub
“Content Blocks help us organize pages and provide structure – both with visual aesthetics, and with accessible headings for our screen reader users. They make your process easier, as you can pull in a gorgeous template, duplicate a block, or reorder them in a blink. And since your students aren’t greeted with an unending wall of black and white text, Content Blocks reduce their cognitive load.”
Cidi Labs, DesignPLUS: Content Blocks – Video Hub
Cidi Labs, the folks behind DesignPLUS, provides helpful video tutorials on how to use DesignPLUS. Tutorials for Themes and Content Blocks can be found at the bottom of this page under Additional Resources.
The ET+I team at CCS recommends you first try building Themes and Content Blocks in your Canvas “sandbox” course. Once you are comfortable creating Themes and Content Blocks in your “sandbox” course, you can move forward to add these items in your semester course content pages.
Your “Sandbox” Course
Your Canvas “sandbox” course typically has a course name of [YourFirstName]’s Sandbox. You may need to go to your Courses >> All Courses screen in Canvas to locate this “sandbox”. Your “sandbox” course is available for you to try out things in Canvas before you implement them in your semester course(s). No actual CCS students are added to “sandbox” courses in Canvas. However, a dummy student account, “Alfred Student”, is added to each “sandbox” course.
Adding a Banner/Theme to a Content Page
- In your “sandbox” course, create a new, blank Canvas page.
- Click on the ✏️ Edit button at the top right-hand corner of the screen.
- Click on the 🚀 rocket ship icon at the top right-hand corner of your screen to open the DesignPLUS sidebar.
- Alternatively, use the keyboard shortcut Alt/Option + Shift + D.
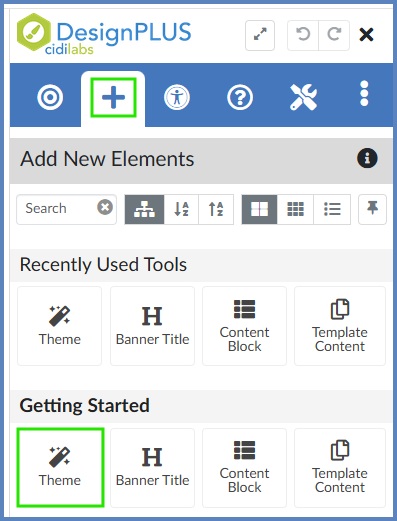
- On the top blue toolbar of the DesignPLUS sidebar, click on the ➕ Add New Elements tab.
- Under the heading Getting Started, click on the Theme button. This will add a banner in the Rich Content Editor (RCE) that you can apply a theme to.
- Below the Content panel, click on the Style panel to open it.
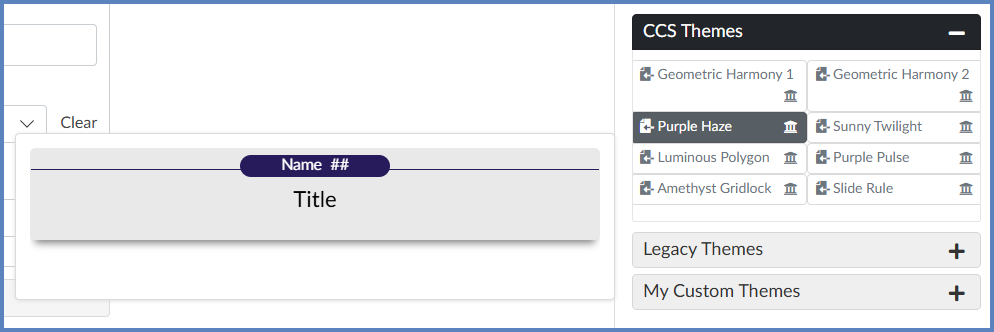
- Expand any of the Themes panels available to you. Hover over a theme name to get a preview of what it would look like on your page. When you find one that you like, click on it to apply the theme to your page. If you don’t like the way a theme looks on the page, select another one.
The following Theme panels may be available to you:- 2024 Themes and 2025 Themes contain themes designed by fellow DesignPLUS users from around the world.
- CCS [Color] Themes contain themes designed by members of the CCS ET+I team, organized by dominant color within the theme.
- Legacy Themes contain themes designed by Cidi Labs when their Design Tools (now DesignPLUS) product was first developed.
- My Custom Themes contain themes that you have developed in your own course. (This panel may or may not show in your view.)
In the below illustration, the CCS Gray Themes panel has been selected, and the Purple Haze theme is displayed as a preview to the left of the panel.
Adding a Content Block to a Page
- Place your cursor where you want to insert the content block (such as below your banner).
- On the top blue toolbar of the DesignPLUS sidebar, click on the ➕ Add New Elements tab.
- Under the Getting Started heading, click on the Content Block icon. A new content block will be added to your page with the chosen theme applied.
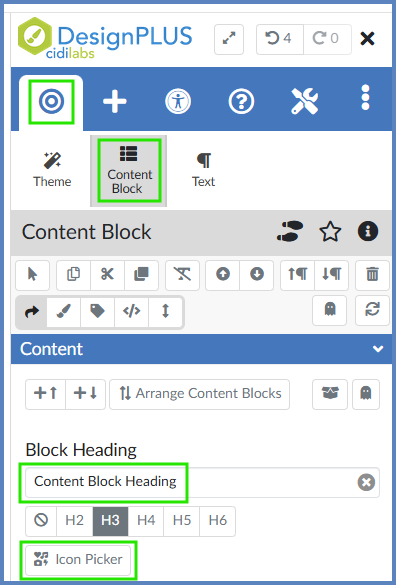
- Click your mouse somewhere within the content block in the RCE. Ensure that the 🎯 Edit Current Element tab is selected within the DesignPLUS sidebar, and that the Content Block button is selected.
- Edit the Block Heading text box to change the name of the heading for your content block.
- Use the Icon Picker button to select an icon that, in some way, matches the description used in your heading. (Example: If your heading was about forests, you might find an icon of a 🌲 tree.)
- Add any additional content (text, images, videos, etc.) below heading you just created.
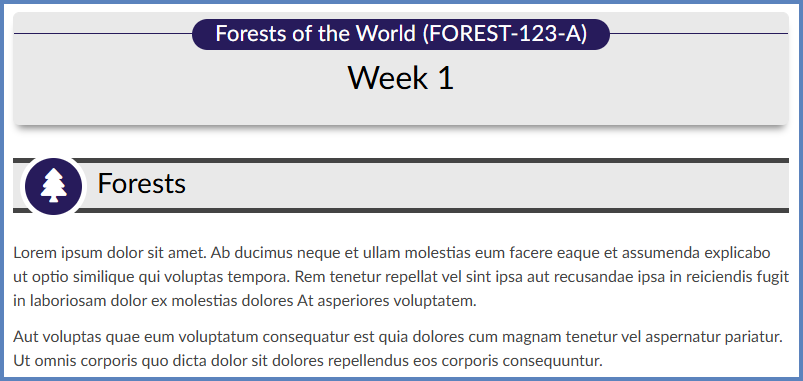
This is an example of a finished page which includes a banner and a content block applied with a theme designed by the ET+I team at CCS:
Additional Resources
Content Blocks: [New] DesignPLUS User Guide
Watch at least the first five (5) minutes of this video tutorial from Cidi Labs on Content Blocks.
NOTE: Some options in this video may differ slightly than what you have on your screen.