You can set up Appointments within the Zoom interface in your Canvas course to meet with your students. For example, you might want to hold virtual office hours and block out specific days/times that you are available to meet with your students via a Zoom meeting.
- Setting-Up-Appointments
- Student View of a Scheduled Appointment
- Instructor View of a Scheduled Appointment
Setting up Appointments
- Log in to your Canvas course.
- In Course Navigation, click the Zoom link.
- If you are not able to see the Zoom course navigation menu item, follow the steps in Configuring Course Navigation: Course Navigation to enable it in your course.
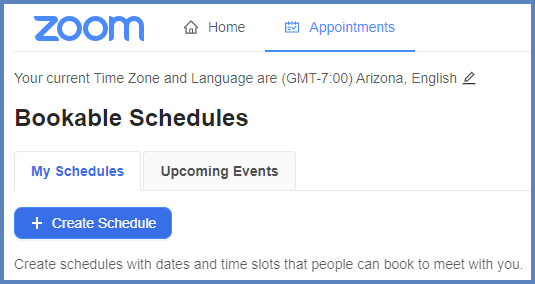
- Click on the Appointments tab at the top of the Zoom interface.
- Click on the ➕ Create Schedule button.
- On the New Bookable Schedule screen, select the days and times that you are available to meet with your students. Click the Create button when you have added your information.
- Example: You are available on Tuesdays (9 a.m. to 10:30 a.m.) and Thursdays (1:30 p.m. to 3:30 p.m.). During these times, you want students to be able to select a 30-minute block of time (Duration).

- Your new appointment displays on the My Schedules tab. Click the Edit button to make changes to the schedule. Click the Delete button to remove it from your screen.

Student View of a Scheduled Appointment
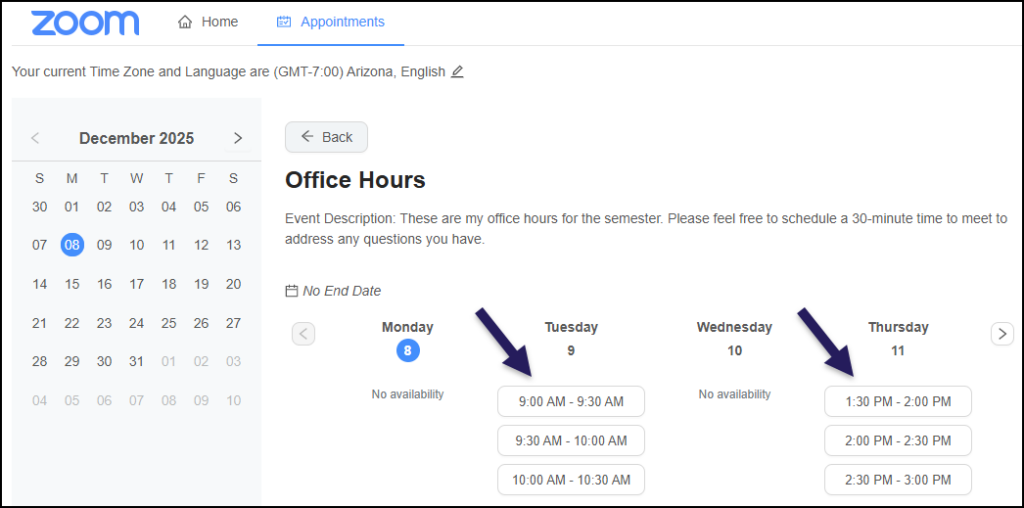
To schedule a meeting, students click the Zoom link in Canvas course navigation and select the Appointments tab. In this example, they can view and book a 30-minute session with the instructor.
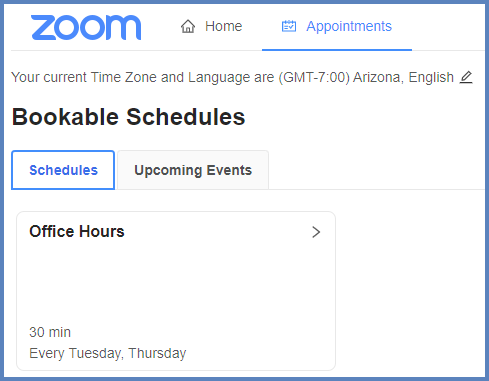
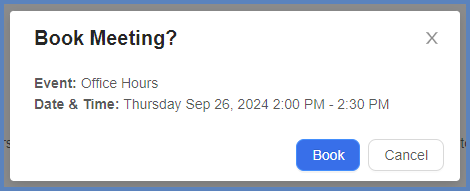
Students click Office Hours to view available time slots and book a meeting.
A pop-up confirmation message will appear. Students click on the Book button to schedule the meeting.
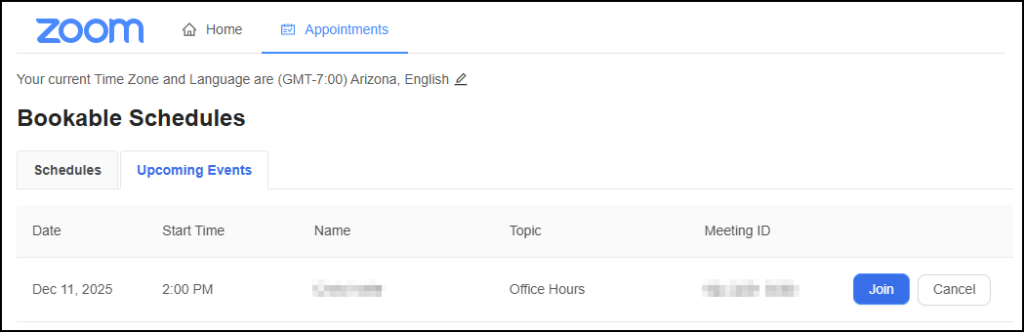
When students goes to their Appointments screen and click on the Upcoming Events tab, they will see the scheduled meeting that was selected…including the name of the instructor and Zoom Meeting ID.
Instructor View of a Scheduled Appointment
After a student books, select the Upcoming Events tab under Appointments. This displays the meeting details, student name and/or e-mail address, and a Start button.
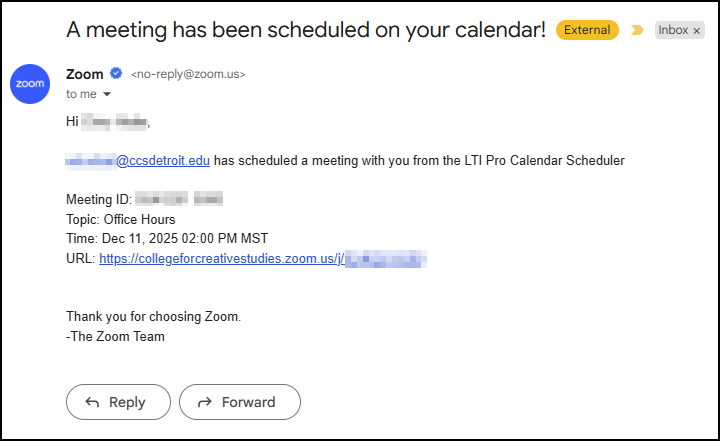
You will also receive an e-mail notifying you that a student has scheduled a meeting. The message will look similar to: