While there are a wide range of use cases for Canvas Studio, this guide focuses on how to use Studio as a tool to add captions and transcripts to videos to ensure they meet accessibility requirements.
To jump to specific sections of this guide, use the links below:
- Upload a Video to Canvas Studio
- Add, Review and Edit Captions
- Add the Captioned Video to a Canvas Course
- Additional Resources
Upload a Video to Canvas Studio
To upload a video to Canvas Studio, start by logging into Canvas. Then, using the main navigation, click on Studio.
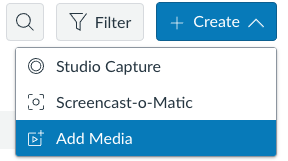
Find and click + Create on the top right of the Studio page and select Add Media.
The user can add their video in one of two ways:
- Drag and drop the video file from your local computer into the part of the pop-up that says “Drag & Drop or Upload Media.“
- Click Browse Files and search your local computer for the video file.
Once your file is uploaded, it will appear in the My Library section of Studio.
Add, Review and Edit Captions
After a video has been recorded or uploaded using Canvas Studio, the user will receive an email indicating that automatic captions have been generated for the video. Once you receive this email notification, log into Canvas. Then, using the main navigation, click on Studio.
In the Canvas Studio Library, find and click on the video.
Beneath the video find and click on the Captions tab.

There should be a link indicating English captions have been generated for the video, and to the right of that link, the user should see “Not published.”

Click the 3 vertical dots icon to the right of “Not published” and select Review and Publish.
Note: It is essential for all users to review and publish their captions for accuracy.
On the screen that appears, the user will see caption text and timing on the left side and a video preview on the right. Press play on the video preview to see the captions along with the video.
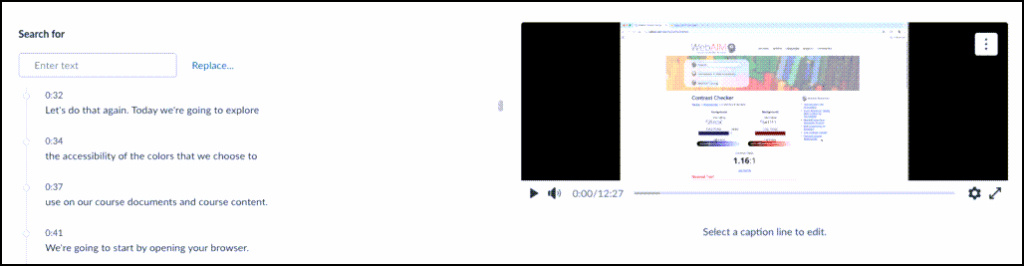
While watching the video look for any misspellings, grammar errors or other caption content that needs to be edited.
If a caption needs to be edited, click into the caption text along the left of the screen. A text box will then appear under the video preview along the right.
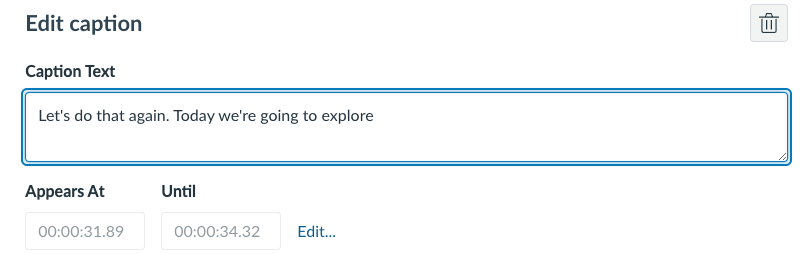
Click into the text box to make any desired text changes.
Click Edit next to the timings to adjust how long the caption appears on the screen.
Once the changes are made, verify the content along the left of the screen has been updated to match. Continue editing captions as needed.
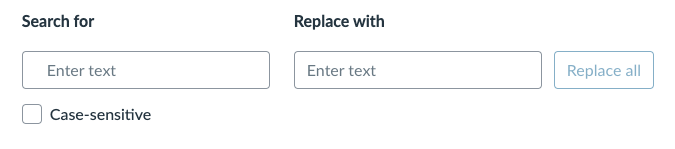
If you notice a word that is misspelled and used frequently throughout the video, use the Search for feature along the top left of the screen.
Enter the misspelled word and press enter to find every instance of it in your captions. You can also enter the misspelled word, then click Replace… This allows you to replace all instances of the misspelled word with the correct word with the click of a button. Enter the correct spelling in the Replace with field. Then press Replace all.
Once all captions have been updated, find and click Publish on the top right of the page.
The user can verify captions are now added to the video, by finding a CC icon along the bottom right of the video preview.
Note: Just because captions have been added to the video in Studio does not mean it is available to your students. You must also add the captioned video to your course.
If you previously added the video to a course, then added captions later, the captions will automatically appear on the video in your course.
Add the Captioned Video to a Canvas Course
To add a captioned Canvas Studio video to your Canvas course, start by visiting the desired course.
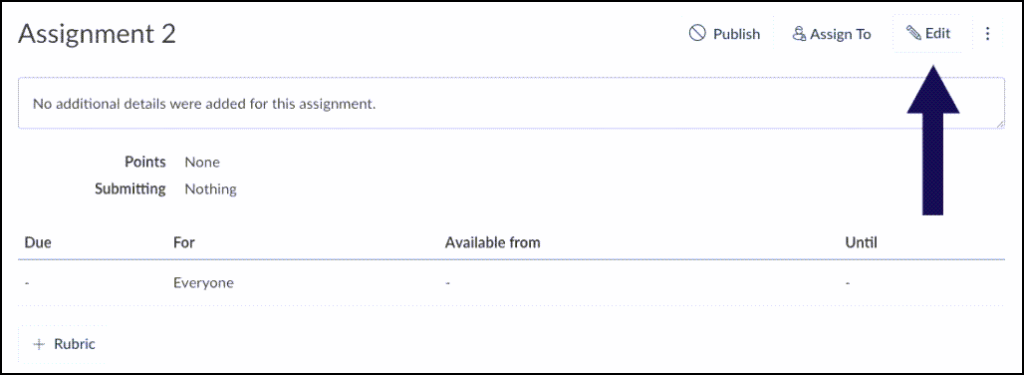
Click into the module, page, assignment or location where you would like to add the video and select Edit on the top right.
In the text editor, click your cursor where you would like the video to be added. Then find and click the Plug icon along the top of the editor and select Canvas Studio.
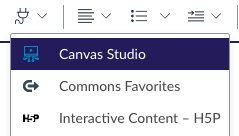
If Canvas Studio does not appear as an option, click View All. Then, find and select Canvas Studio.
Select the desired video.
The user then has the option of whether or not to display Basic Media Tabs. If left toggled on, students will see a tab that will allow them to leave comments on the video. If this is not desired, toggle this feature off.
Once the desired settings are in place, click Embed Media.
Make any other needed updates to the content editor. Then, press Save or Save and publish at the bottom of the page.
- Save– saves the content. If the content is already published, it will publish all new content. If the content is not published, it will save the content without publishing it.
- Save and publish – saves the content and publishes it so it is visible to students.
Additional Resources
- How do I upload media files in my Canvas Studio account?
- How do I add auto-generated captions to my media file in Canvas Studio?
- How do I upload a caption file in Canvas Studio?
- How do I create captions for media in Canvas Studio?
- How do I use the Caption Editor to edit a caption file?
- How do I embed Canvas Studio media in a Canvas course using a Chrome or Edge Browser?
- How do I embed Canvas Studio media in a Canvas course using a Safari or Firefox Browser?