Completing Expense Reports using a mobile device
Submitting your monthly expense report is easy and can be completed in four steps through J.P. Morgan Next on either the web or mobile app.
Expense reports are due within five (5) business days of receiving the monthly statement. The new program follows a traditional monthly cycle. For example, for the September 1–30, 2026 statement period, all transactions must be completed by Wednesday, October 7, 2026, which is five business days after the statement period ends. Late submissions will trigger automated reminders to both you and your supervisor.
Step 1: Log into J.P. Morgan | Next
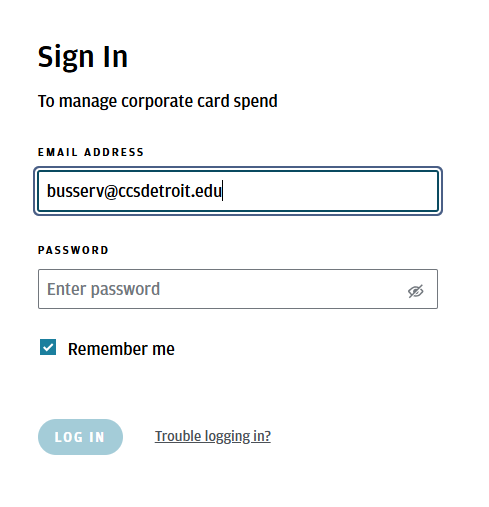
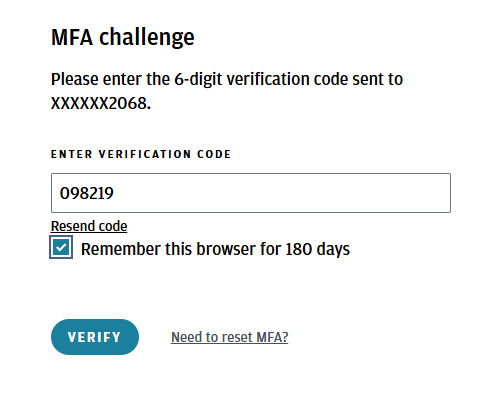
To manage your account, log in using your CCS credentials. You will be prompted to enter a 6-digit verification code sent to your cell phone. You also have the option to set up an authenticator app for verification. If you select “Remember this browser for 180 days,” you should not be prompted to enter a verification code again on that browser during that time.
Step 2: Receipt Matching
Users must complete all required fields and attach a receipt for each individual transaction. We recommend completing transactions as you go rather than waiting until the end of the month to complete them all at once.
From your mobile app, you can view all incomplete and recent card transactions by selecting Transactions from the Navigation panel on the bottom of your screen.
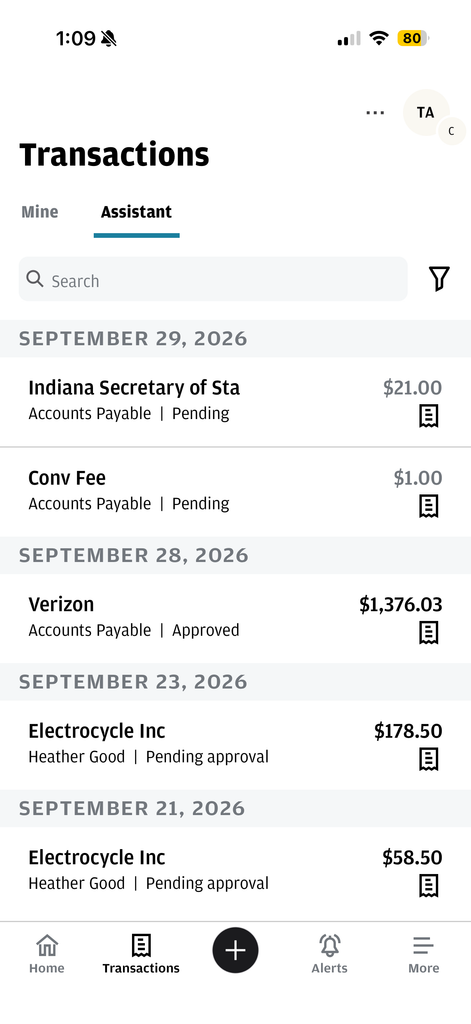
If you are a cardholder, select “Mine” under Transaction Detail. If you are acting as an Assistant and entering transaction details on behalf of someone else, select “Assistant.”
You can search for or filter transactions using the Search bar or filter icon.
When you select a transaction, the transaction details will expand. The Required Fields section shows any information that must be entered before the transaction can be considered complete.
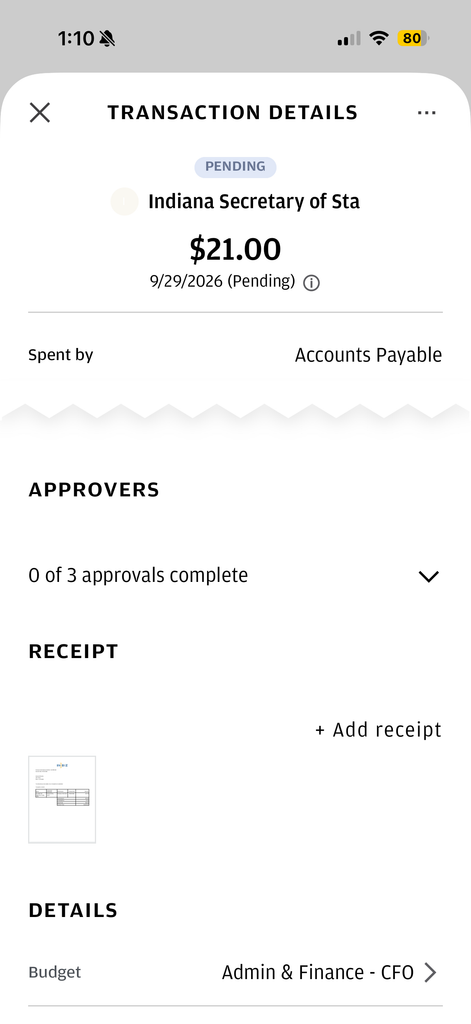
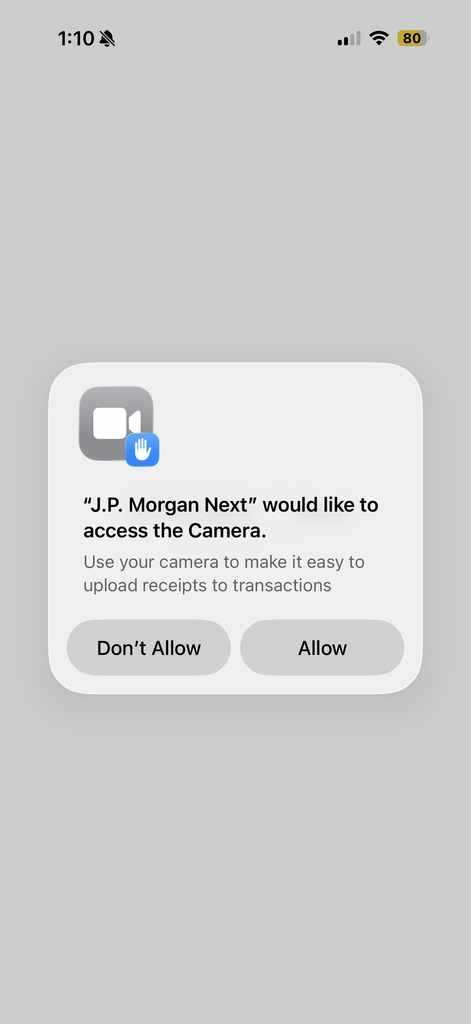
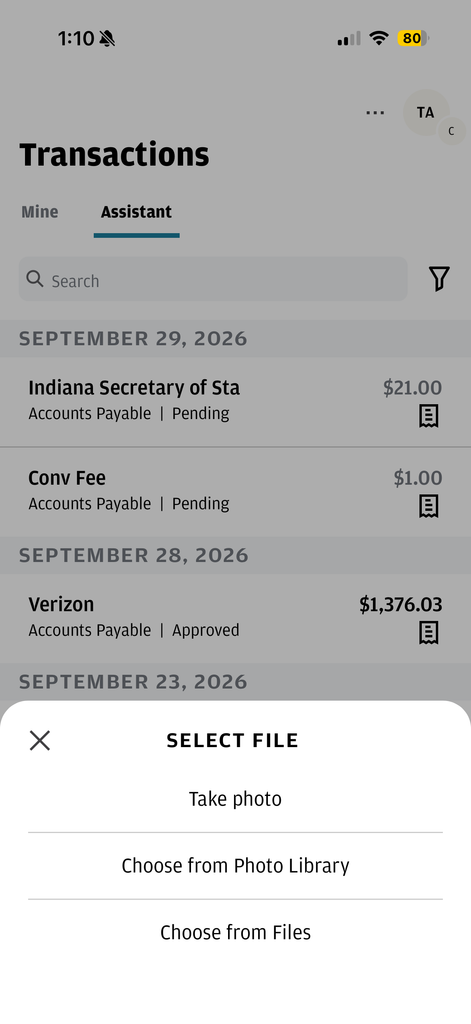
To take a photo of your receipt, click + Add Receipt. If this is your first time using the camera through the mobile app, you will be prompted to allow camera access.
From there, you can take a photo, upload an existing photo from your Photo Library, or select a receipt from your Files. You can also upload multiple receipts or additional supporting documentation.
Step 3: Expense coding
To complete a required field, open the drop-down menu and make the appropriate selection. Any changes made to the transaction are saved automatically.
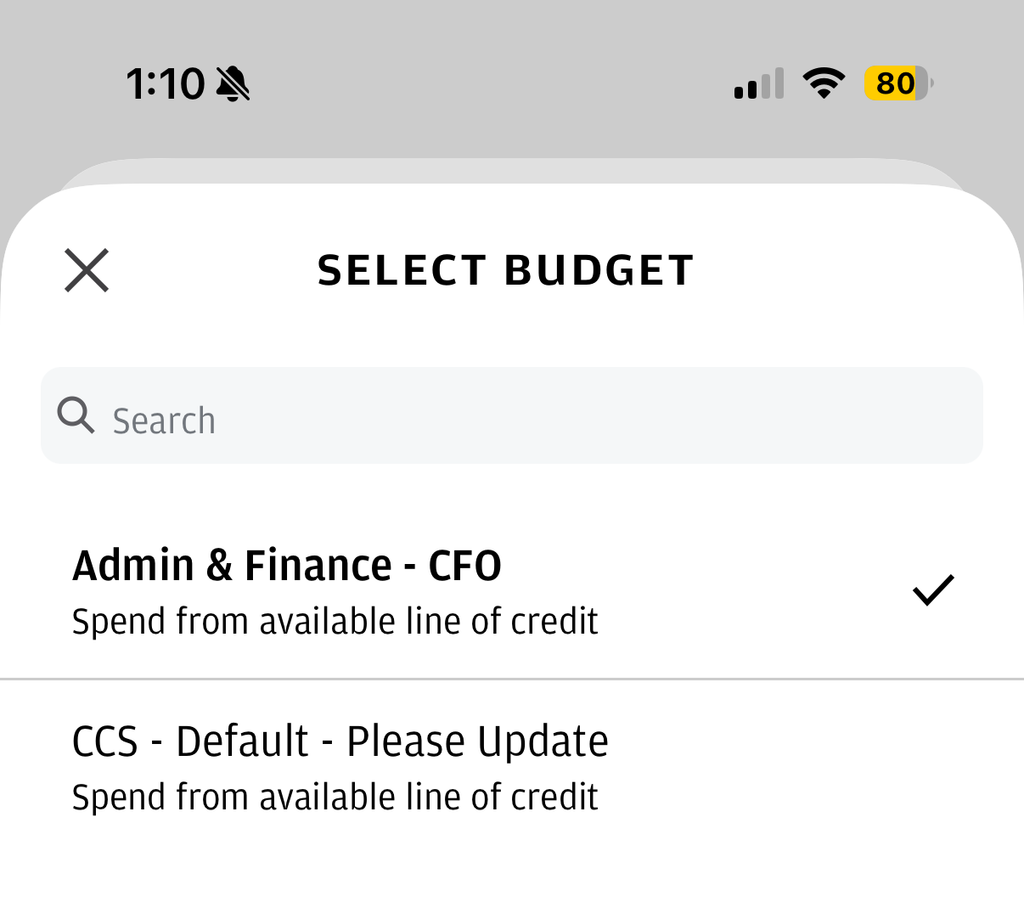
Under the Details heading, you will first need to select a Budget. J.P. Morgan does not allow us to change this field name, but in this system, Budget refers to your divisional group. This selection determines how your transaction is routed to the appropriate leadership person for approval.
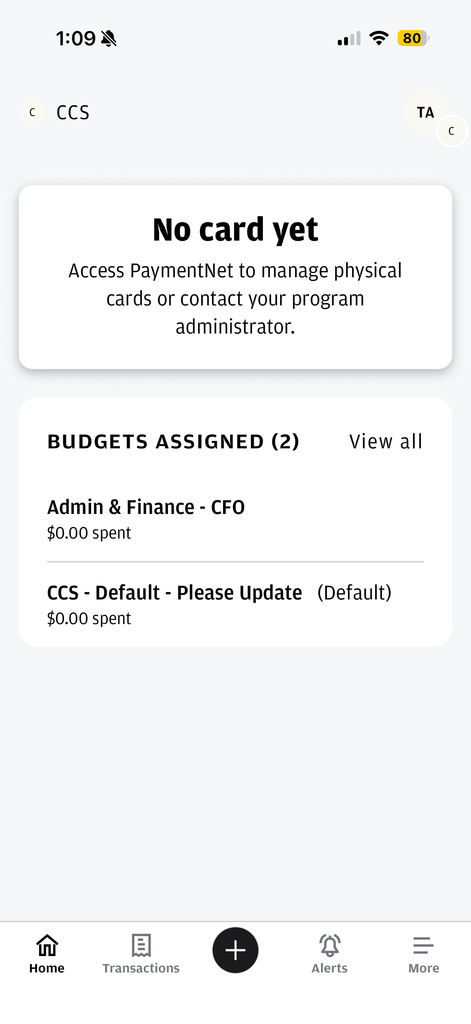
Most cardholders will see two options. By default, everyone is assigned to CCS – Default – Please Update. You will need to manually select your appropriate divisional group for each transaction.
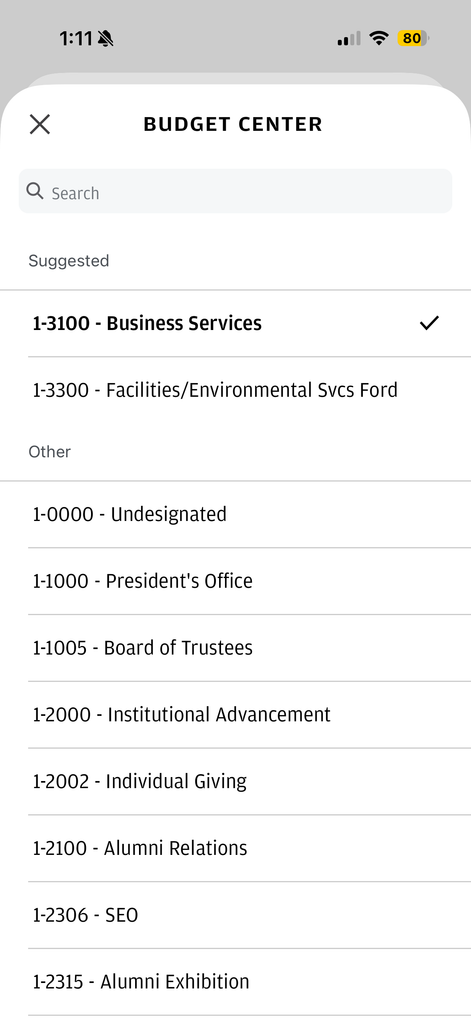
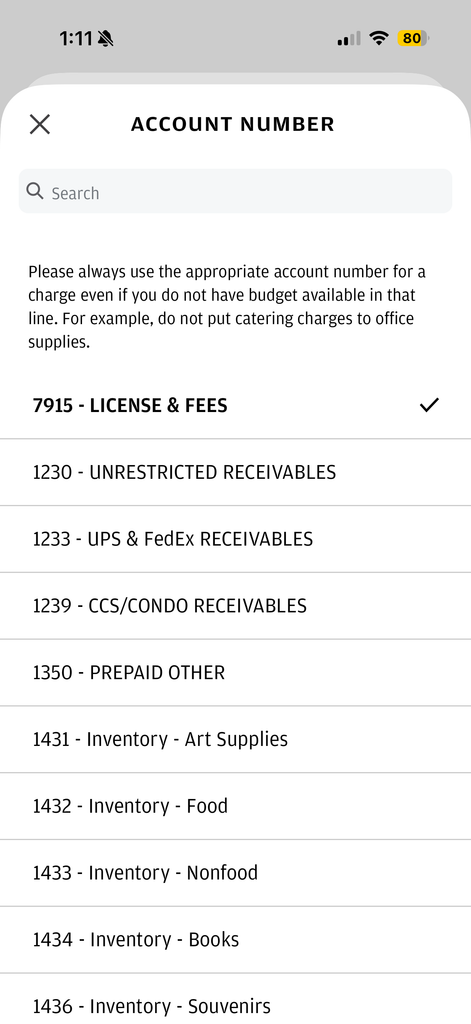
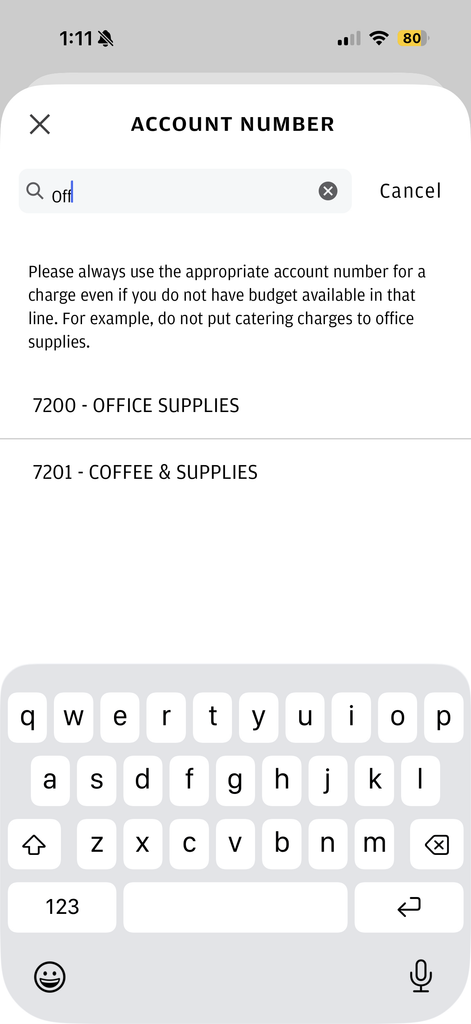
Next, you will need to update the CCS Budget Center and Account Number. Click into each field to view a list of available options in numerical order. You can also search by typing the budget center or account number or name.
As you use the system, it will learn which budget centers and account numbers you use most often and display them in a Suggested list at the top of the screen for quicker selection.
Always select the appropriate account number based on the type of expense, even if there is not enough budget available in that line. For example, a printing expense should not be coded to a catering account simply because funds are available there.
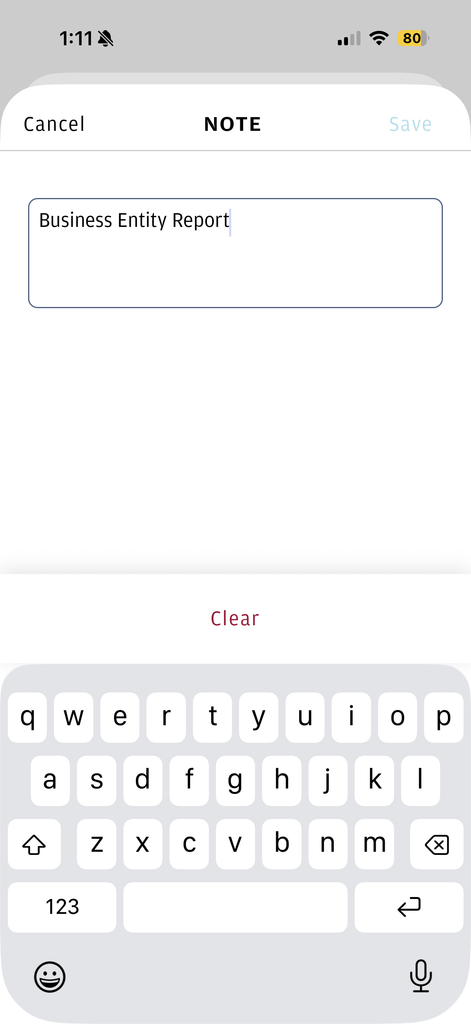
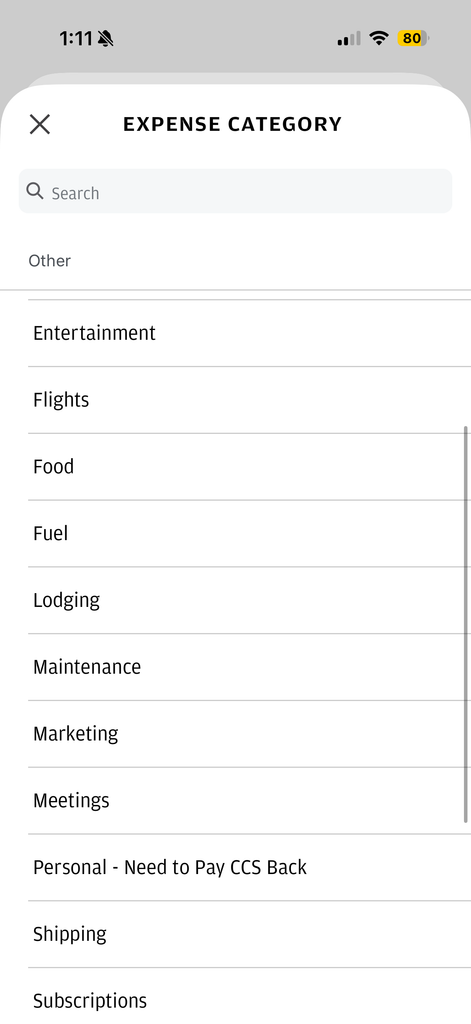
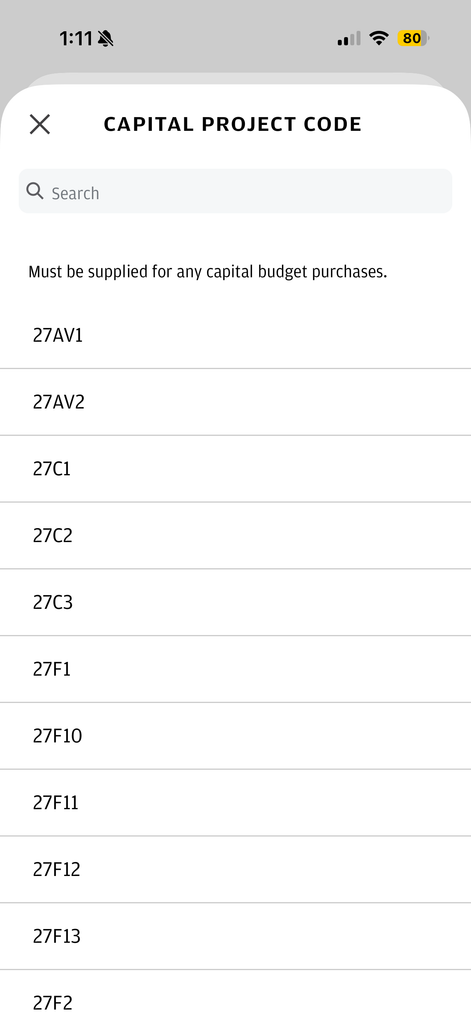
The final two required fields are Business Purpose and Expense Category.
In the Note section, enter the business purpose for the transaction. If the expense is for a meal with others on behalf of CCS, be sure to list the names of all individuals who attended.
The Expense Category may automatically populate based on the transaction. For example, a Delta purchase may automatically be categorized as Flights. Always review the category to make sure it is accurate. If the transaction does not clearly fit into one of the available categories, you may select Other.
If your purchase is related to an approved capital project, select the appropriate code from the Capital Project Code dropdown. This field should only be used if you have an approved capital budget code for the purchase.
Step 4: Submission
Once you have completed all required fields, you can follow your transaction through its approval activity.
Each transaction routes first to your Supervisor/Manger, then to the Budget Owner (Leadership), and finally to Purchasing for approval. If you are both the Supervisor and Budget Owner, you will only need to approve the transaction once.
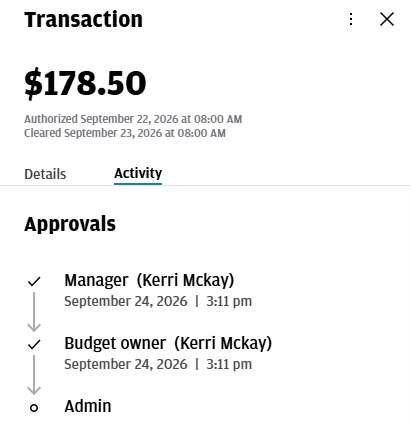
Status Definitions
- Incomplete: Transaction is missing required information, such as required fields, transaction category, or receipt attachment.
- Pending Approval: Transaction includes all required information and has been approved by you, but needs approval from another user.
- Upcoming Approval: The transaction includes all required information but is awaiting approval from the next approval level.
- Denied: Transaction has been denied by a budget owner or administrator.
- Complete: All required information, such as custom fields and receipts, has been completed and the transaction has been approved
Support and Training
We want to make this transition as smooth as possible for everyone. Here is how you can get help:
1:1 Training: You can schedule a personalized session by reaching out to any member of the Business Services team by emailing us at busserv@ccsdetroit.edu