CCS students, faculty, and staff now receive Adobe Creative Cloud for educational use in all CCS labs and offices and up to two personal computers without the need to purchase or renew a license. CCS users receive access to the full Creative Cloud, Creative Cloud Services, and Adobe Cloud storage.
1. Access your new CCS Adobe Creative Cloud Account
Go to the CCS Access Manager by visiting https://idp.collegeforcreativestudies.edu/. Ensure that you log in using your current CCS credentials.
Click on the “Adobe” icon, which will redirect you to Adobe Account Access at account.adobe.com.
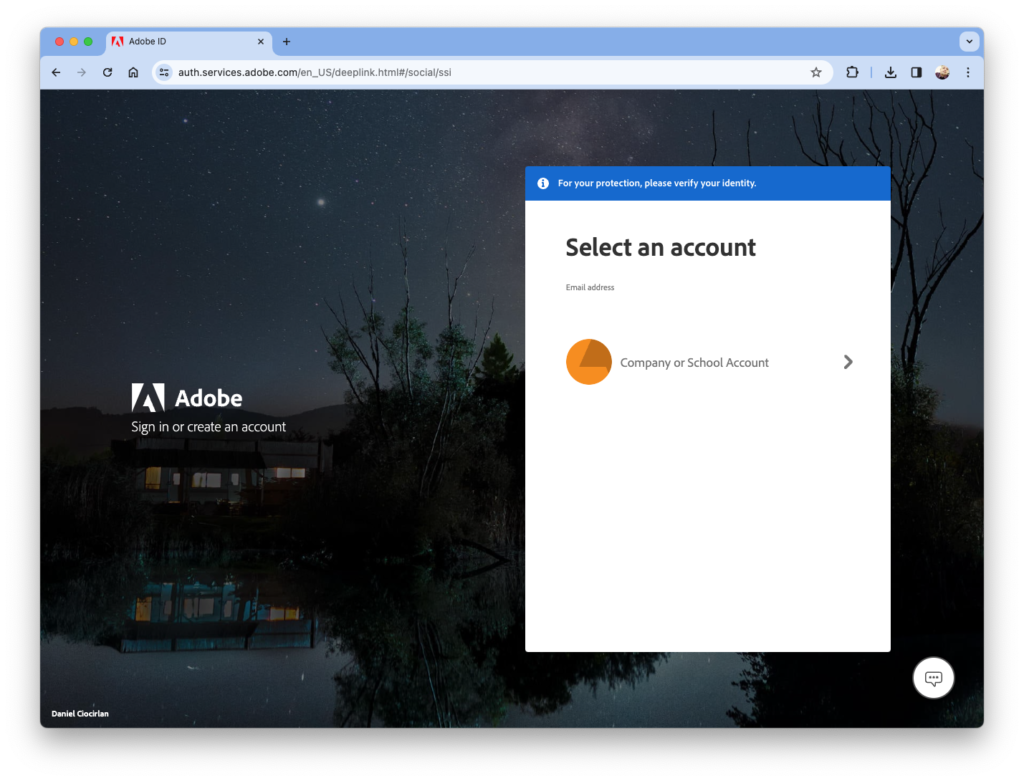
On the Adobe Account Page, click “Continue with Google.” If you are logged in correctly to your CCS account, you will be prompted to choose an account. Select your CCS account details.
Choose the option “Company or School Account.”
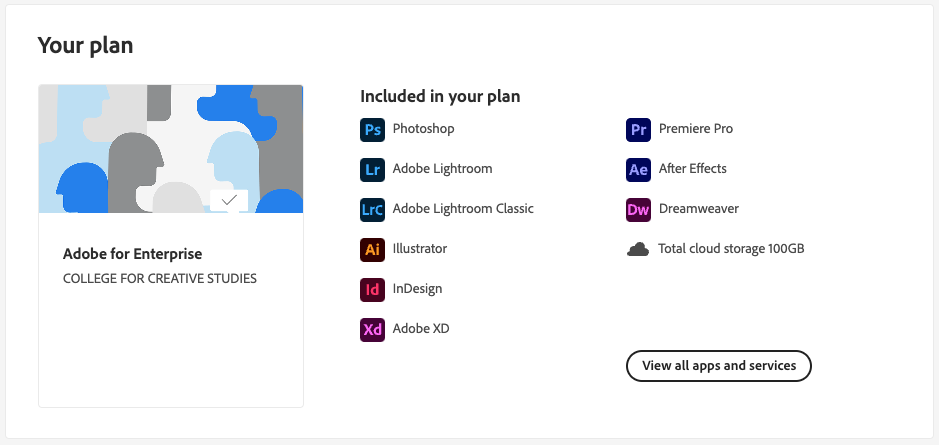
You should now have access to the tools associated with your CCS Adobe account. Click on “View all apps and services.”
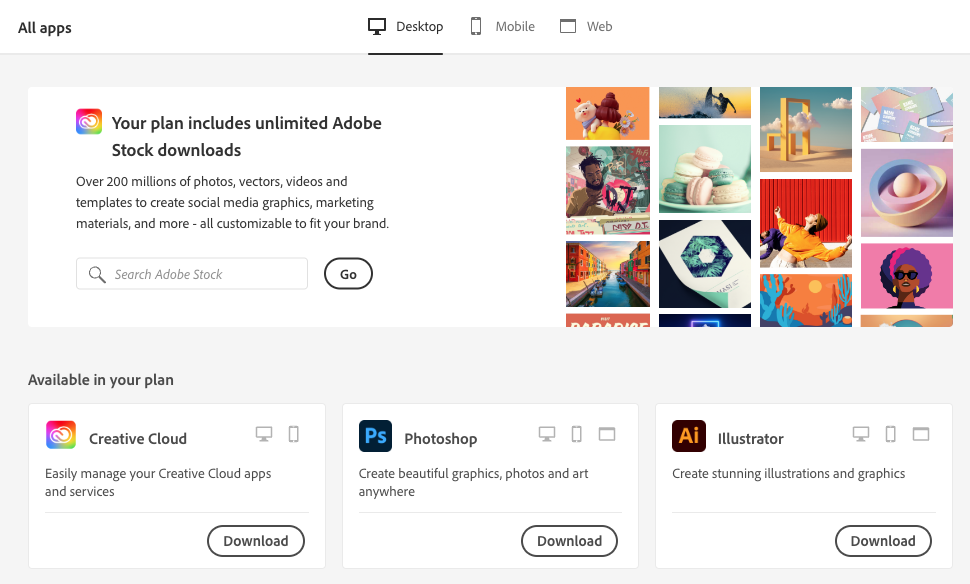
On the next page, select “Access your apps and services.”
Download the Creative Cloud application to your personal machine. Once downloaded, you can proceed to download the specific applications you want to use.
2. Access the Creative Cloud Software
Computers in CCS Labs
From the applications folder, click to open the software application that you want to use, for example, Photoshop or Illustrator.
When prompted, log in to your CCS Adobe Enterprise ID account that you created in Step 1 on the previous page.
The selected application will launch for use.
You can now open any Adobe application on the computer you are currently signed in to.
SIGN OUT OF ADOBE BEFORE YOU LEAVE THE COMPUTER.
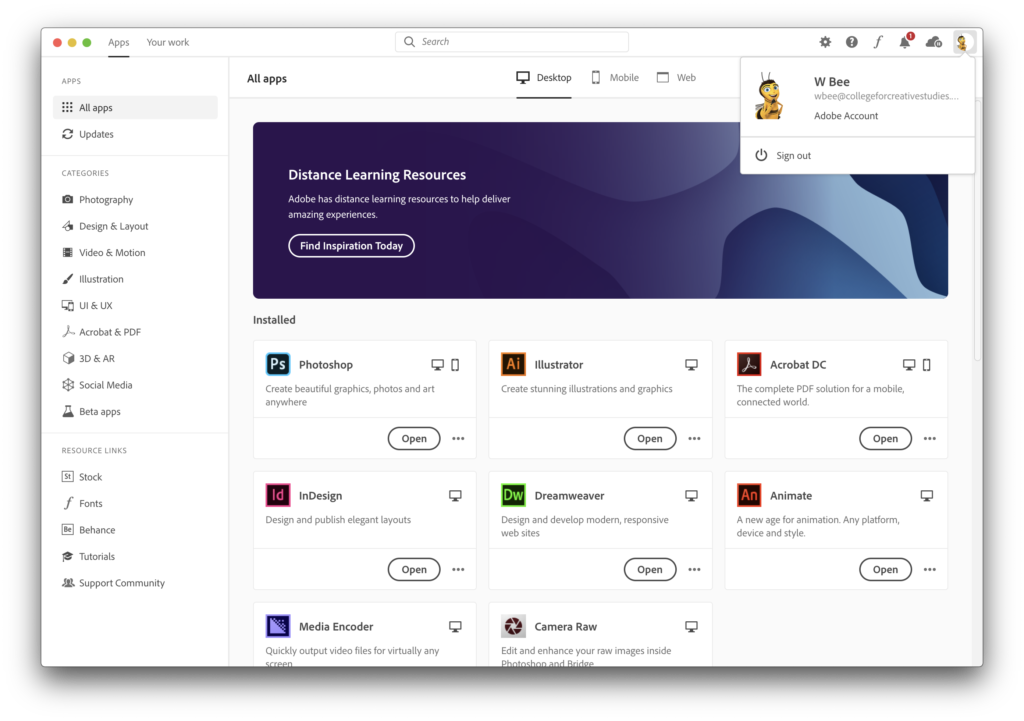
If you do not sign out of the Creative Cloud application, anyone with access to that computer will also have access to all of your work. DO NOT select “Quit” within the application you are working as this will not log you out.
To sign out, click on “Help” in the upper toolbar and then select “Sign Out.”
Please remember to sign out.
On your own Computer
- Download Creative Cloud Desktop App:
- Visit the Adobe Creative Cloud website (https://www.adobe.com/creativecloud.html).
- Click on “Sign In” and log in with your CCS credentials using the “Continue with Google” link” Option.
- Once logged in, find the “Download Creative Cloud” button and click on it.
- The Creative Cloud Desktop App installer will be downloaded to your computer.
- Install Creative Cloud Desktop App:
- Locate the downloaded installer file and run it.
- Follow the on-screen instructions to install the Creative Cloud Desktop App.
- Log In to Creative Cloud Desktop App:
- Open the Creative Cloud Desktop App.
- Sign in using your CCS credentials.
- Browse and Install Applications:
- Within the Creative Cloud Desktop App, you’ll see a list of available Adobe applications.
- Browse through the available applications or use the search bar to find specific ones.
- Click on the “Install” button next to each application you want to download.
- Installation Process:
- The selected Adobe applications will start downloading and installing automatically.
- The progress of each installation will be displayed.
- Launch Applications:
- Once the installations are complete, you can launch the Adobe applications directly from the Creative Cloud Desktop App or from your computer’s application menu.
- Updates:
- Creative Cloud will manage updates for the installed applications. It’s recommended to keep the applications up-to-date for the latest features and security patches.